
How to Make an Inexpensive Sketching Armature
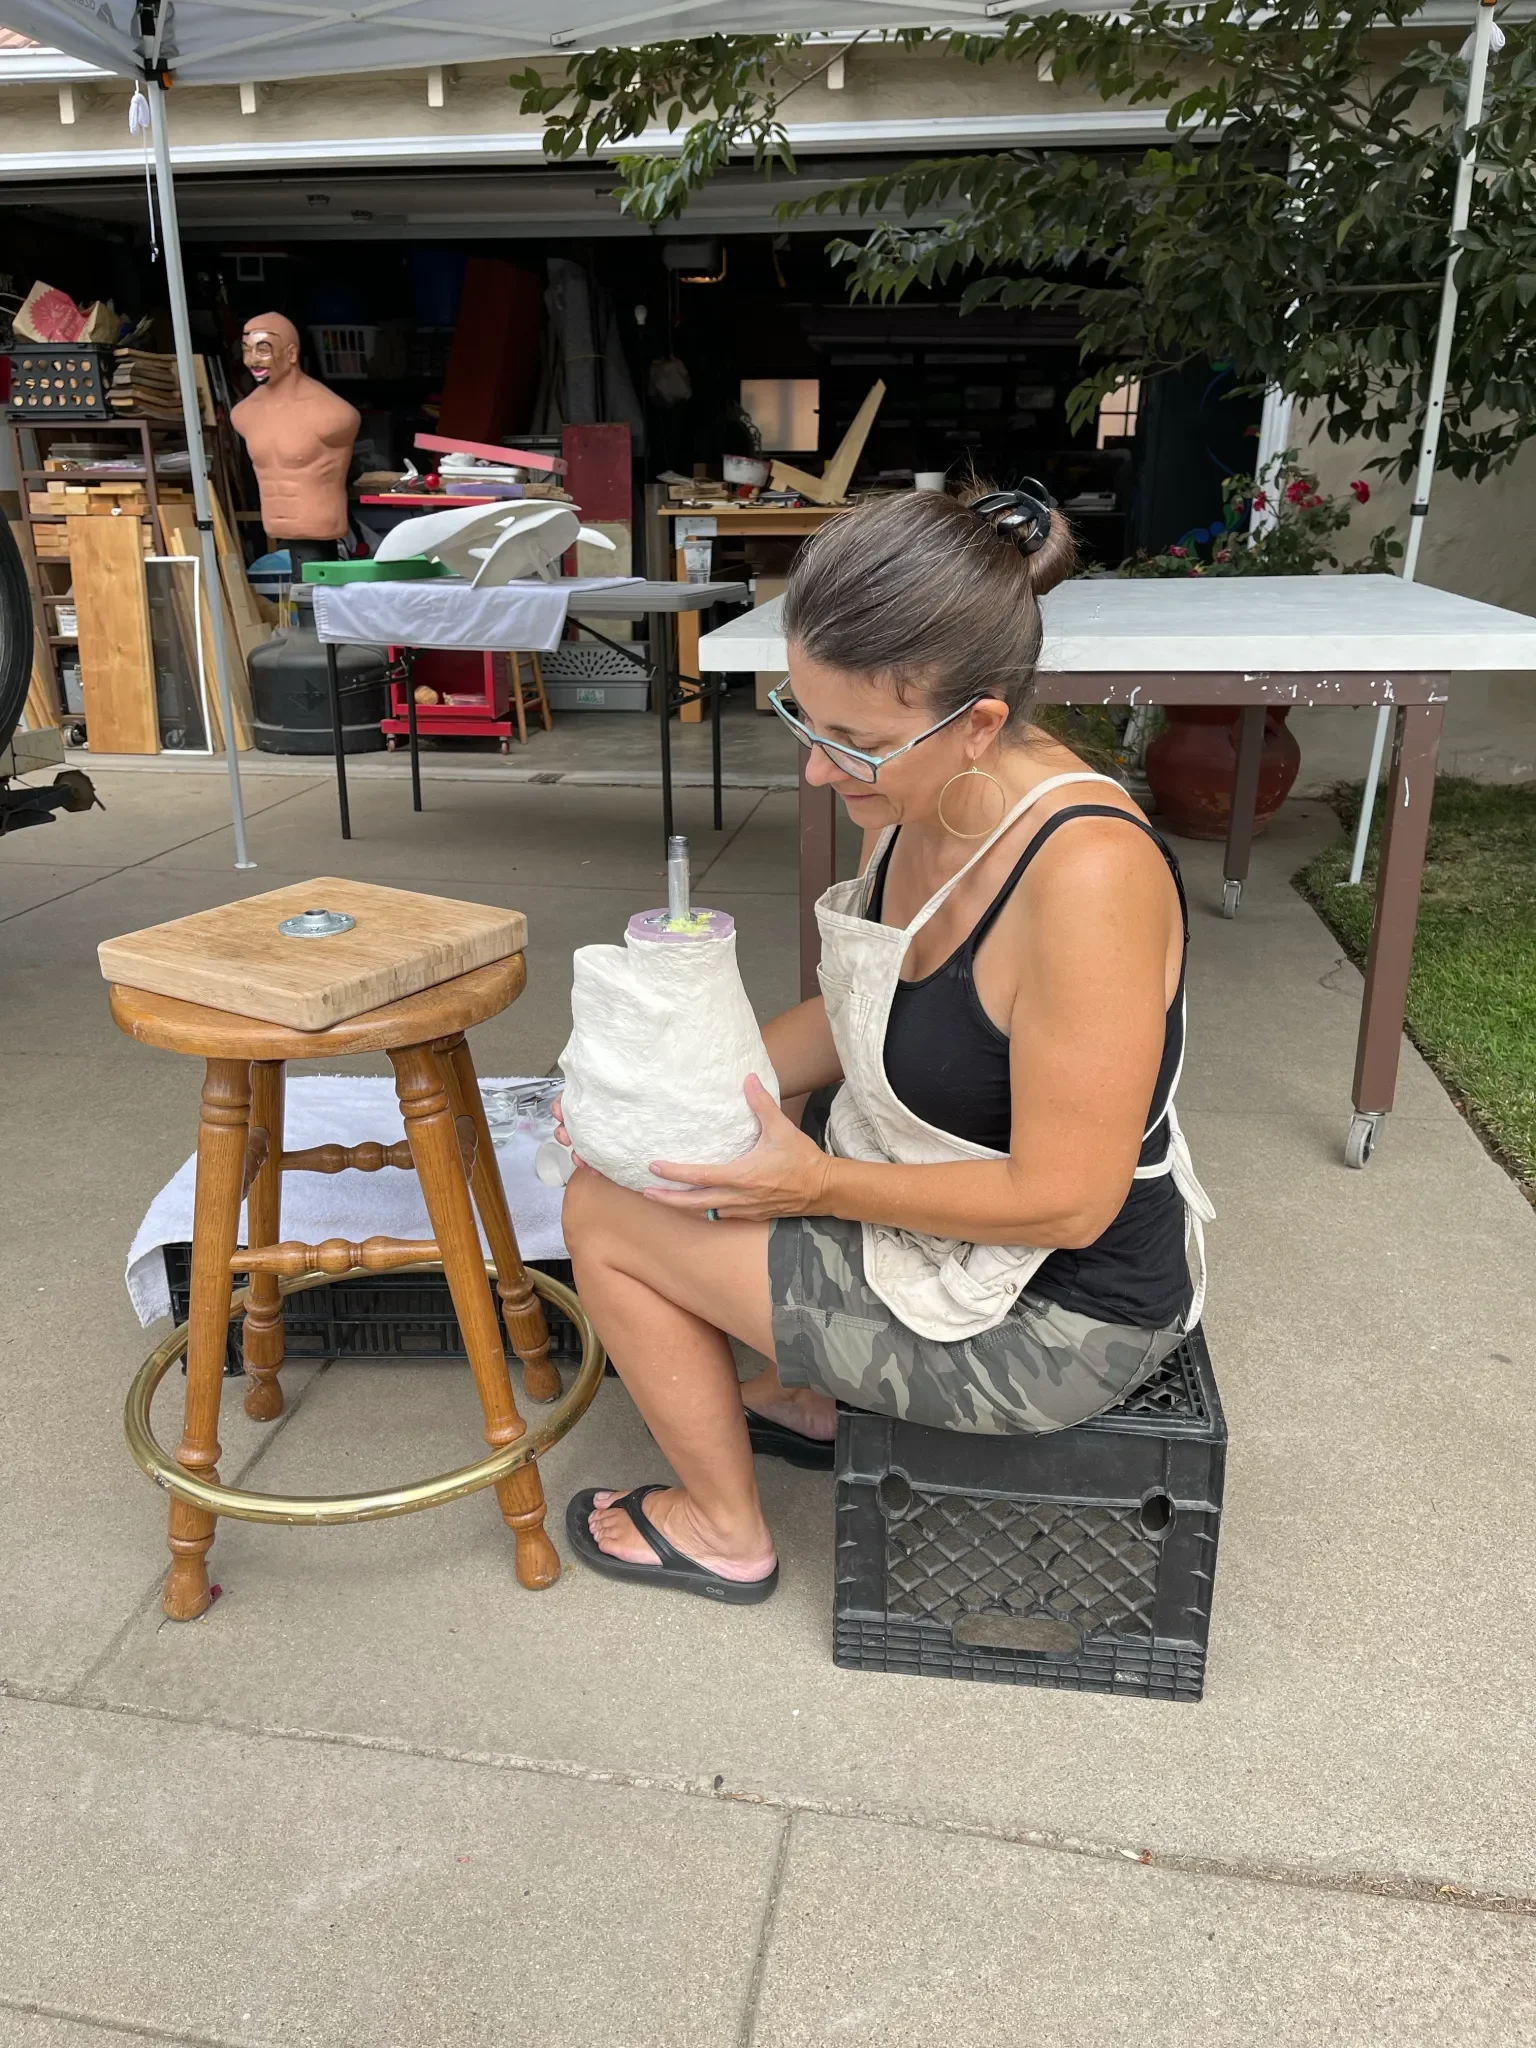
Much like an artist’s sketchbook, this sculpting armature was born out of my need for an easy way to practice sketching the human face or whatever kind of face I might have in my imagination. The head functions as the perfect support for sketching in oil clay.
If you are unfamiliar with “oil clay” it is an oil based sculpting medium that won’t dry. This means you can leave it out in your studio uncovered indefinitely. Oil clay is great for non-permanent sculpting practice.
There are a number of oil clay manufacturers such as Chavant Roma Plastilina Modeling Clay, Van Aken Plastalina Modeling Clay, and Monster Clay. I would recommend only using a sulfur free oil clay just in case you decide to make a mold of your work as sulfur is incompatible with silicone rubber compounds.
The following is a pictorial and caption sequence for making the armature.
Start with some basic supplies: paperboard (cereal boxes etc), masking tape, paper, and a McDonald’s coffee cup (neck). You can use whatever you have in your recycling bin - from foil to a plastic container.
The inside of your form does not matter as it simply serves as support.
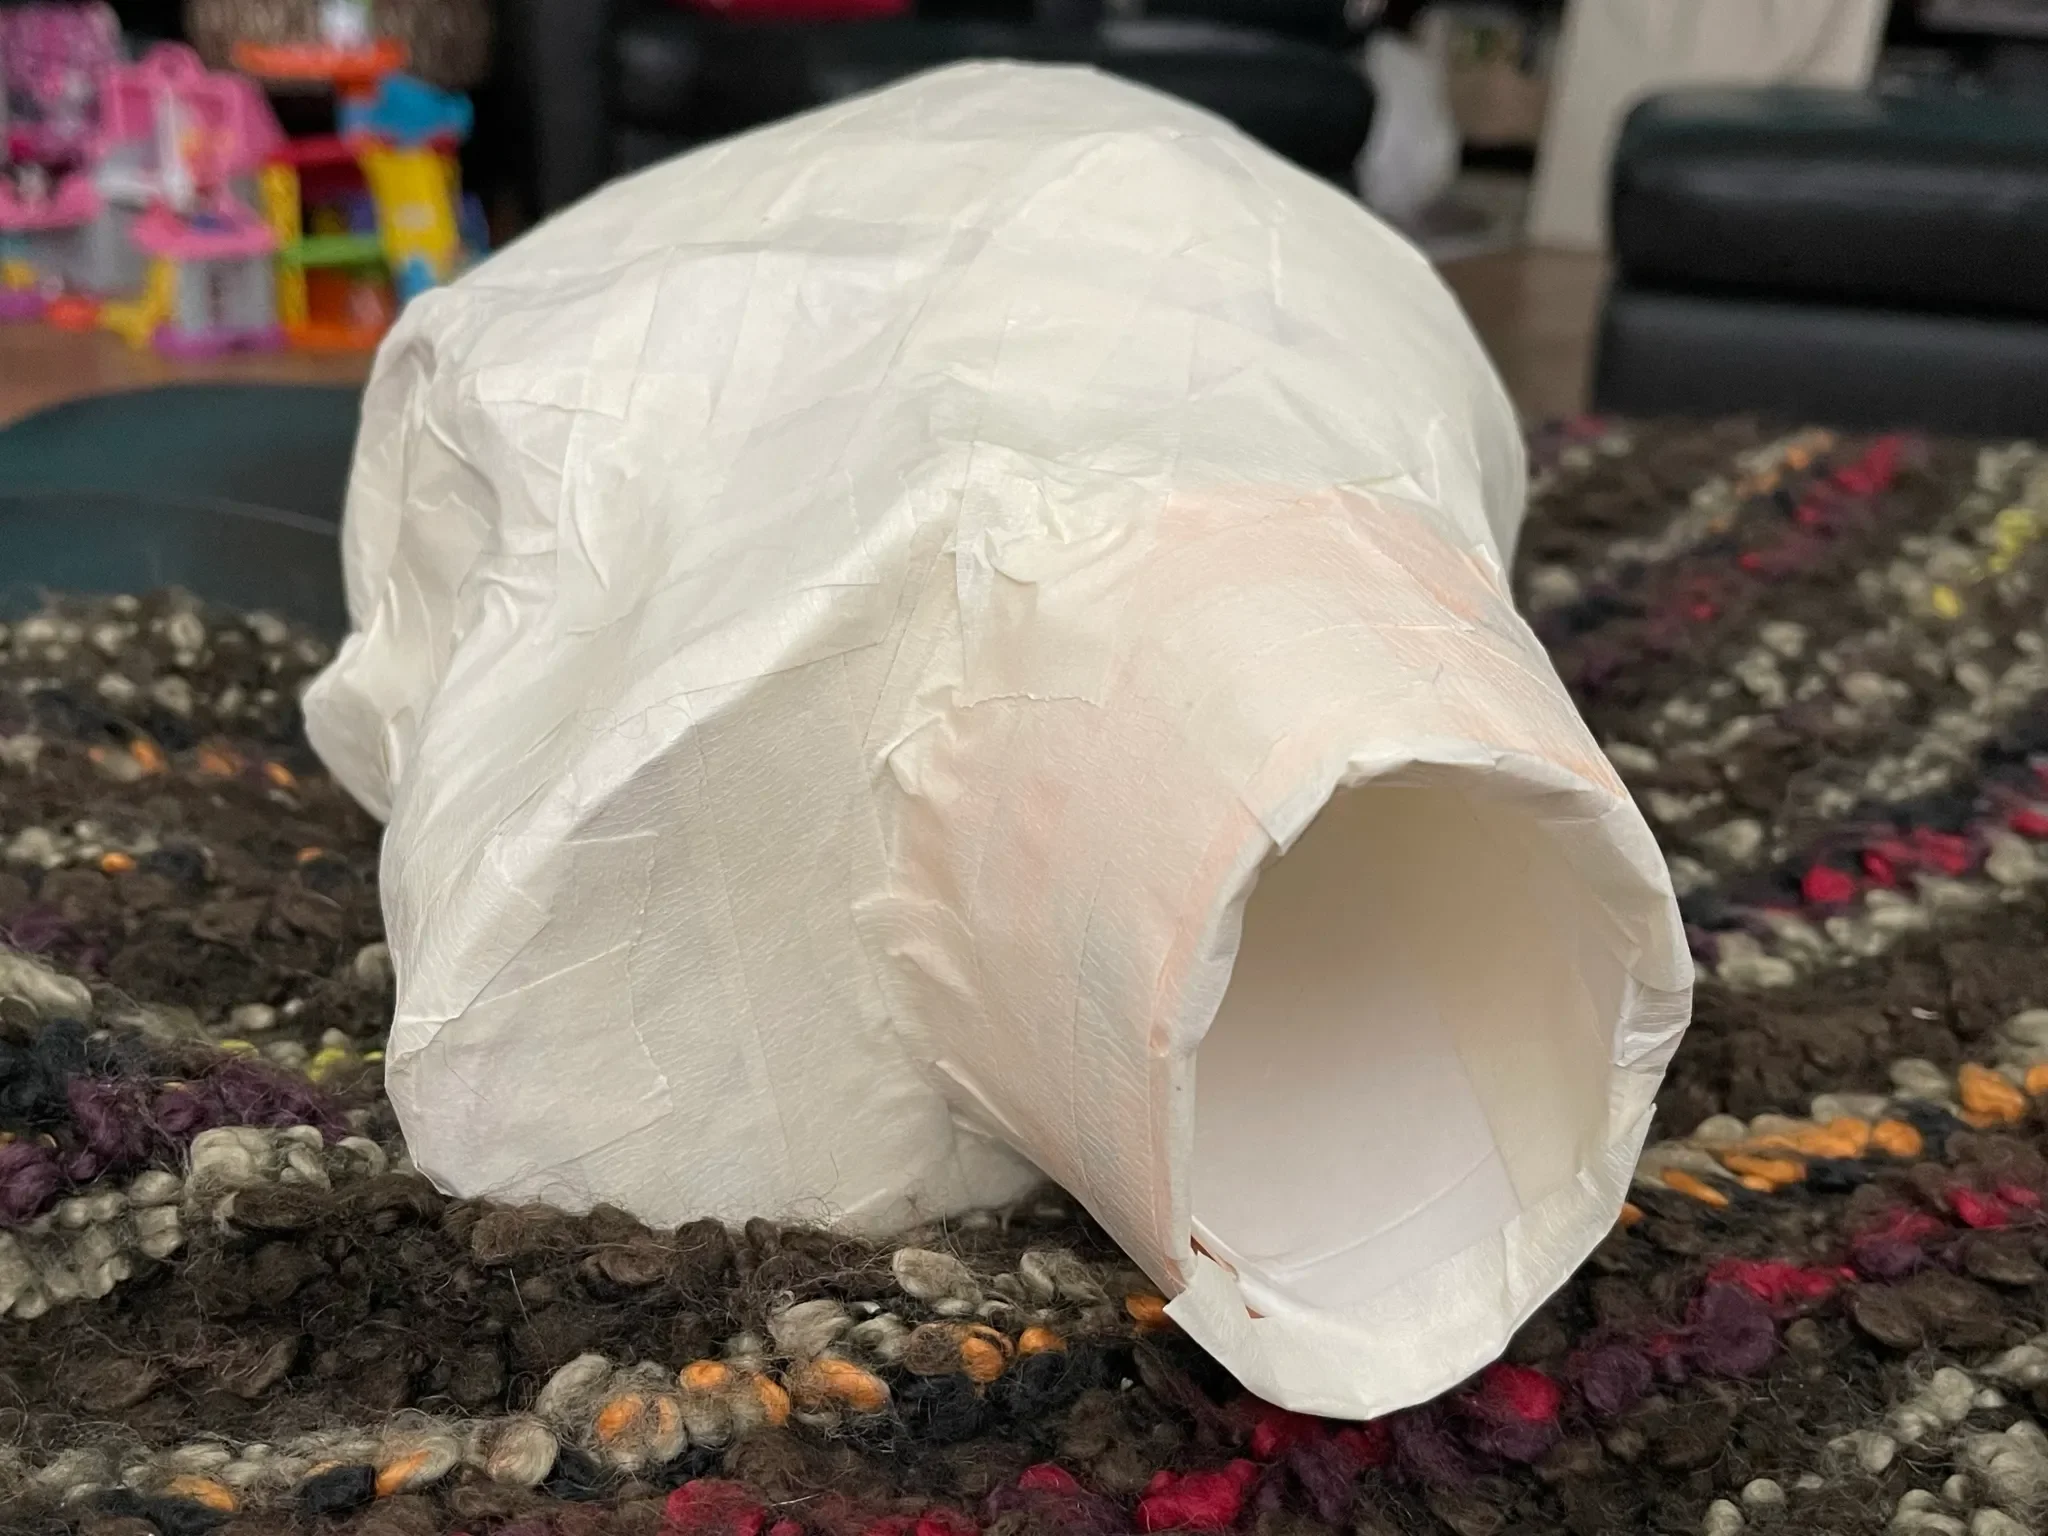
Make a skull shape by balling up paper, foil etc and cover the whole thing in masking tape.
It doesn’t need to be perfect but try to keep both sides symmetrical.
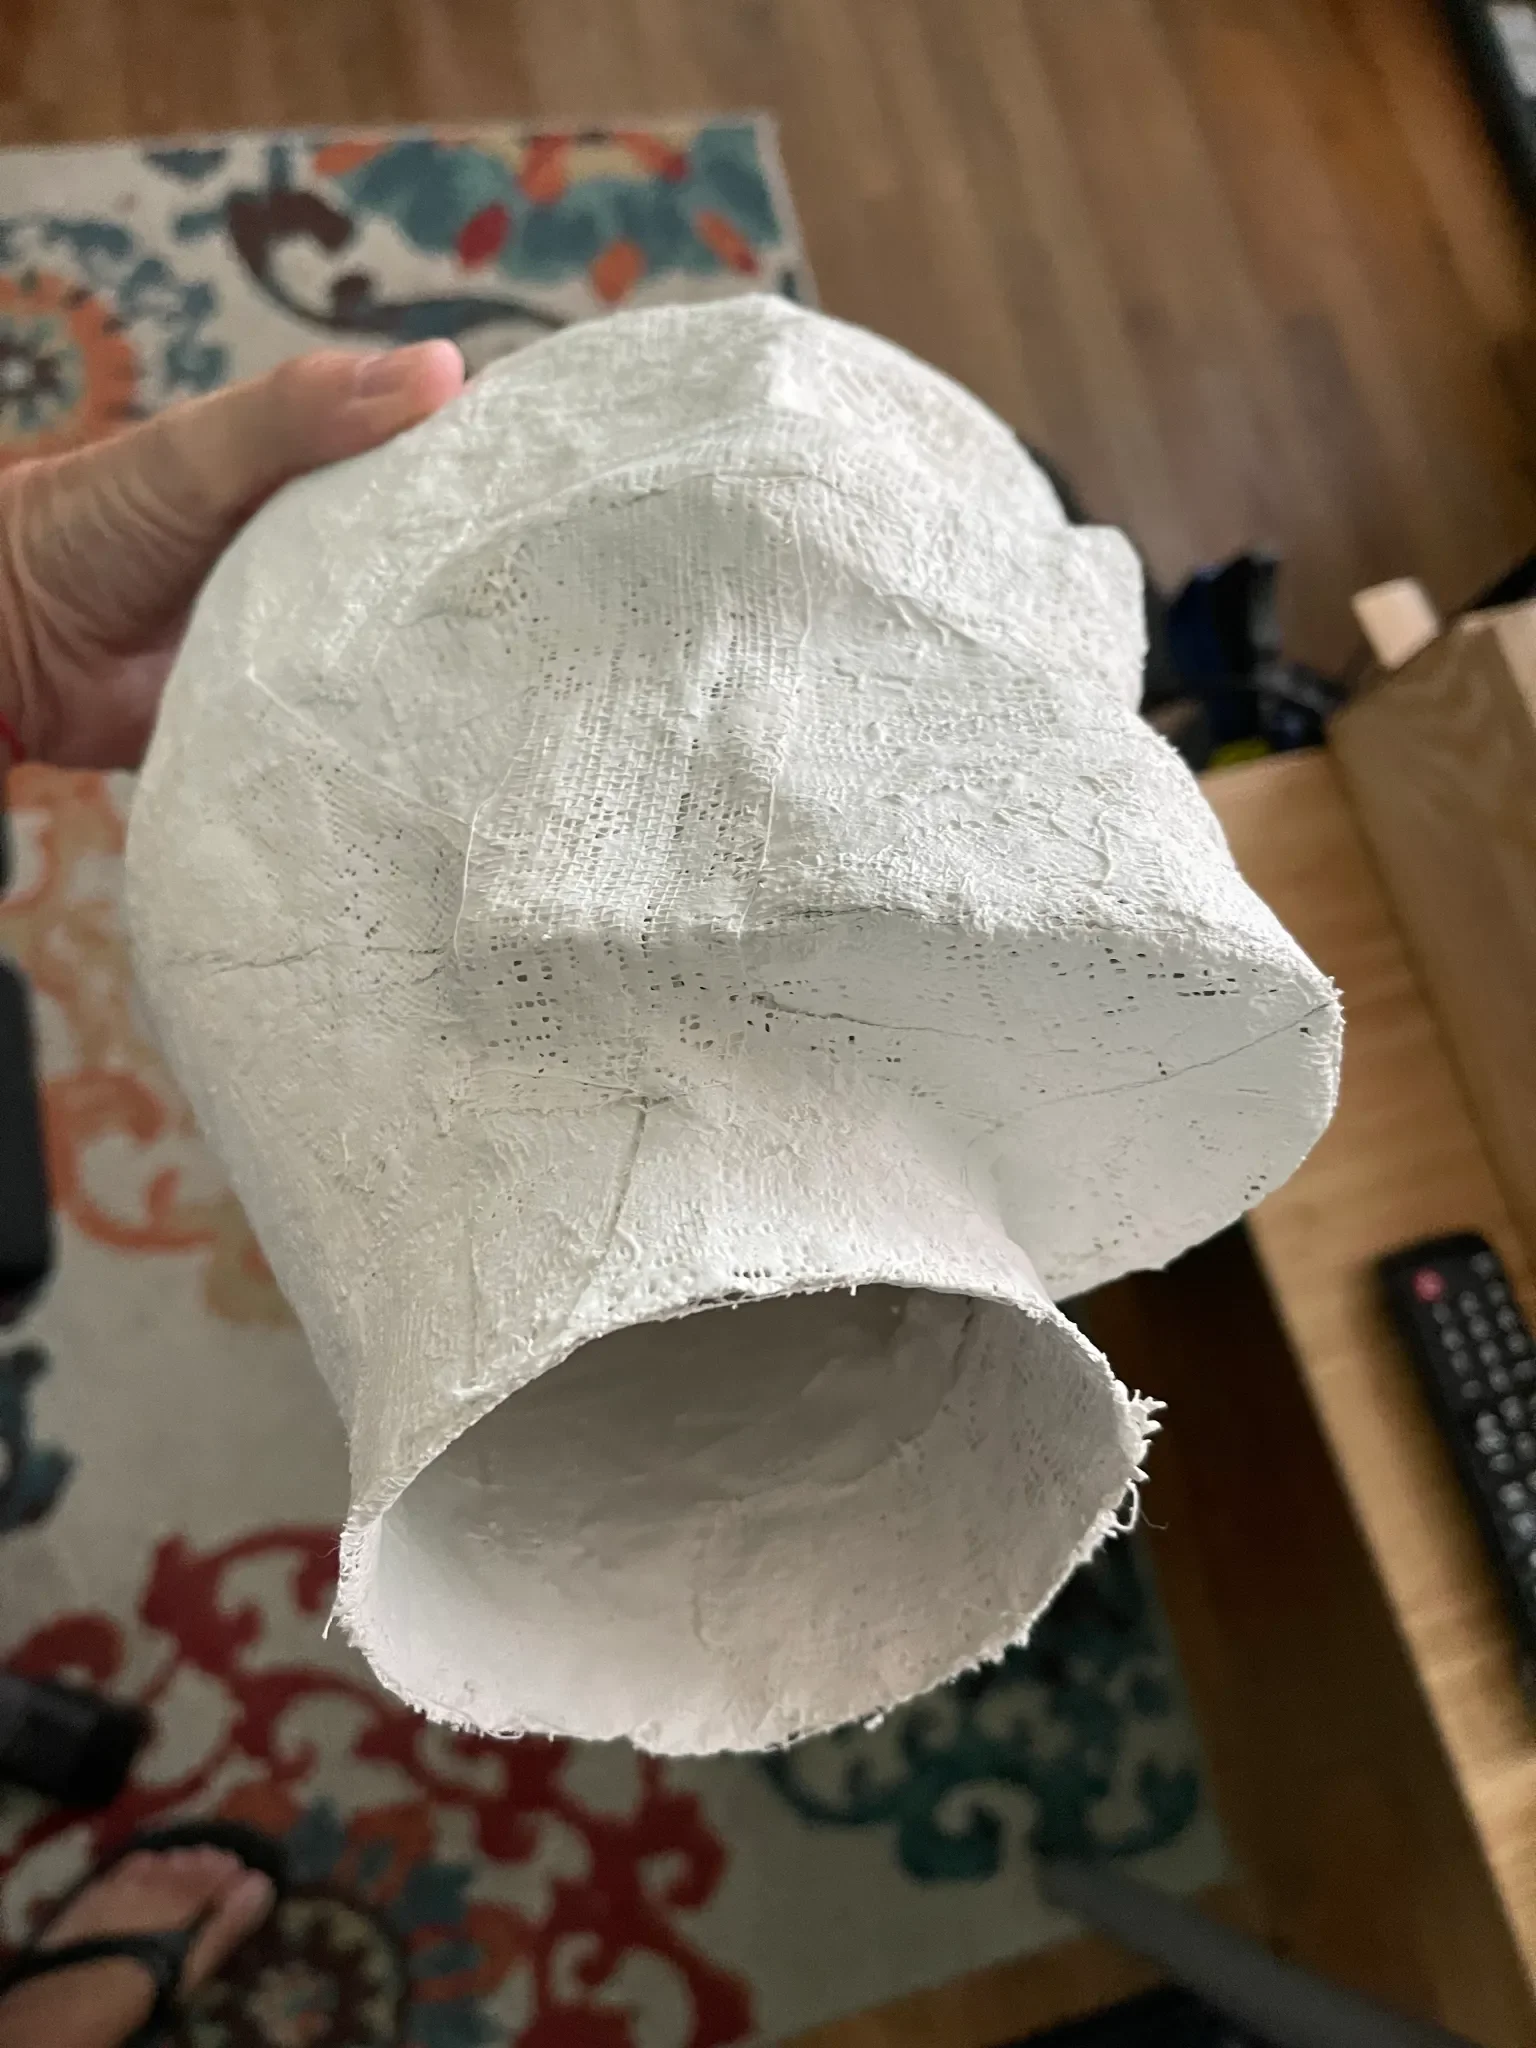
Then, cover the outside surface in at least two layers of plaster cloth / plaster bandages.

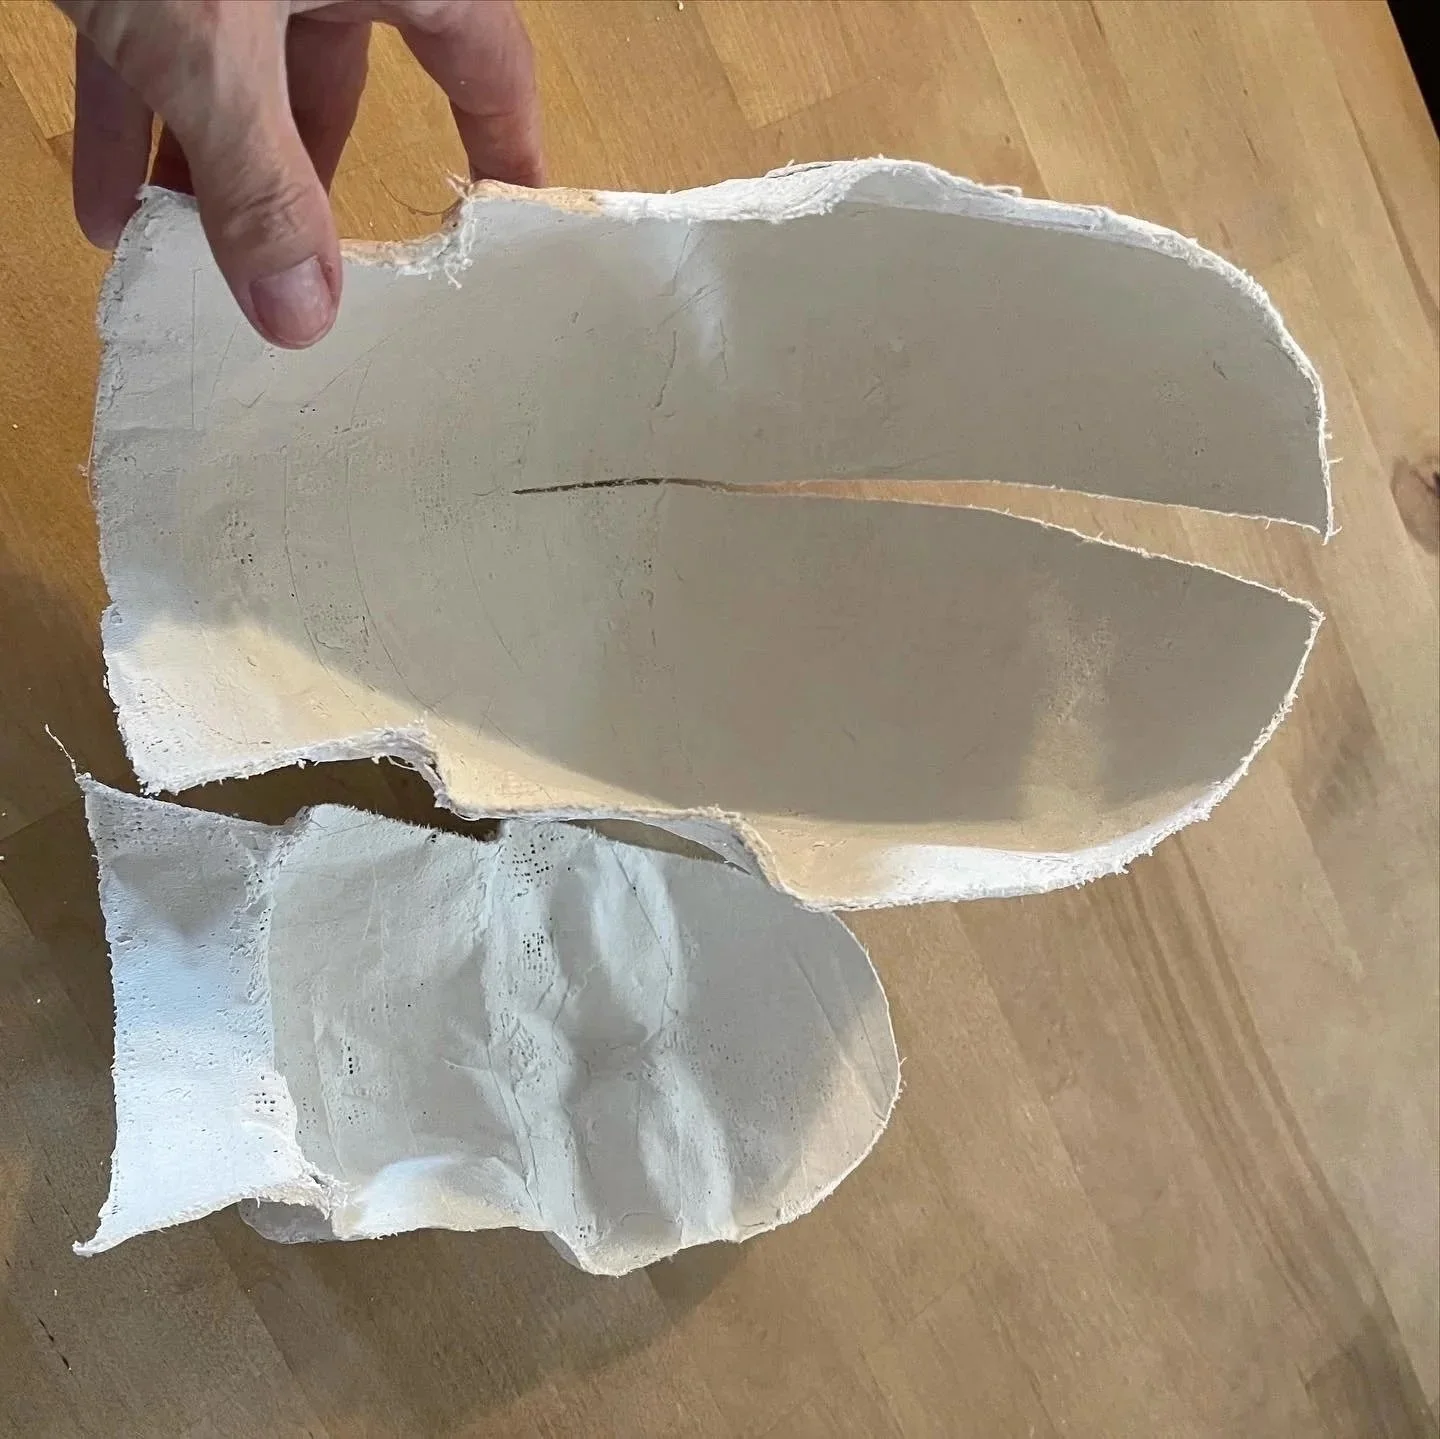
Once dry, cut the plaster cloth off the support.
Plan your cuts to create sections that will make removal easier at the undercut where the neck meets the jaw.
Draw lines as guides and use repeated strokes of a utility knife to make your cuts.
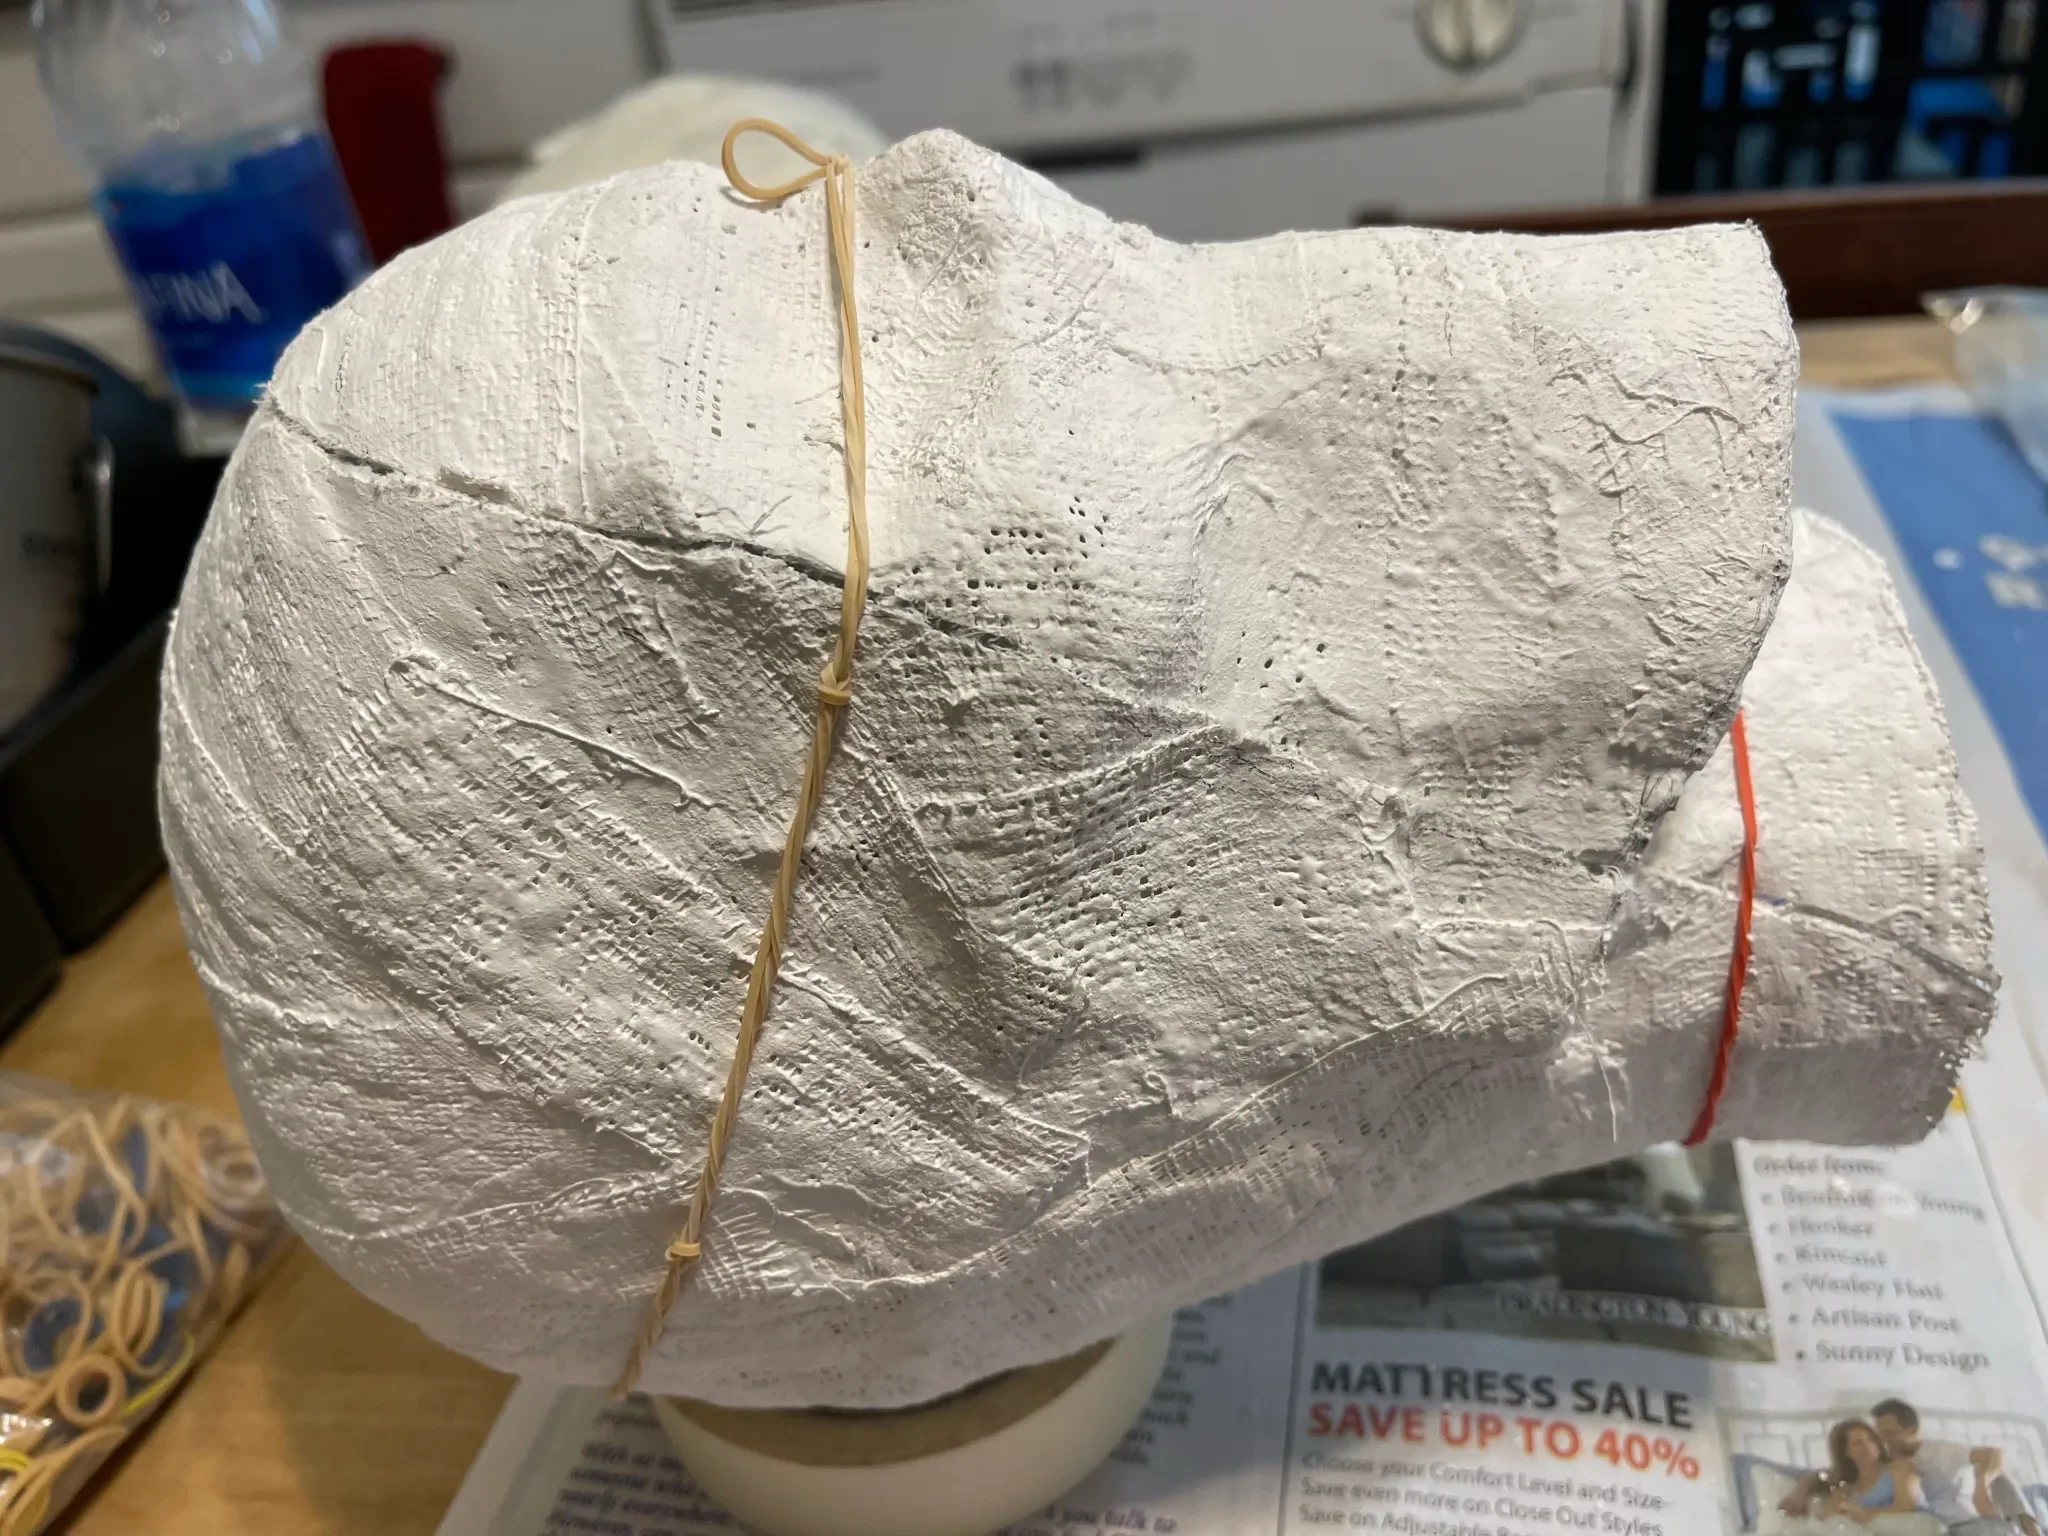
Rubber band it all back together well enough to hold the sections while you add another layer or two of plaster cloth to reconnect the pieces.
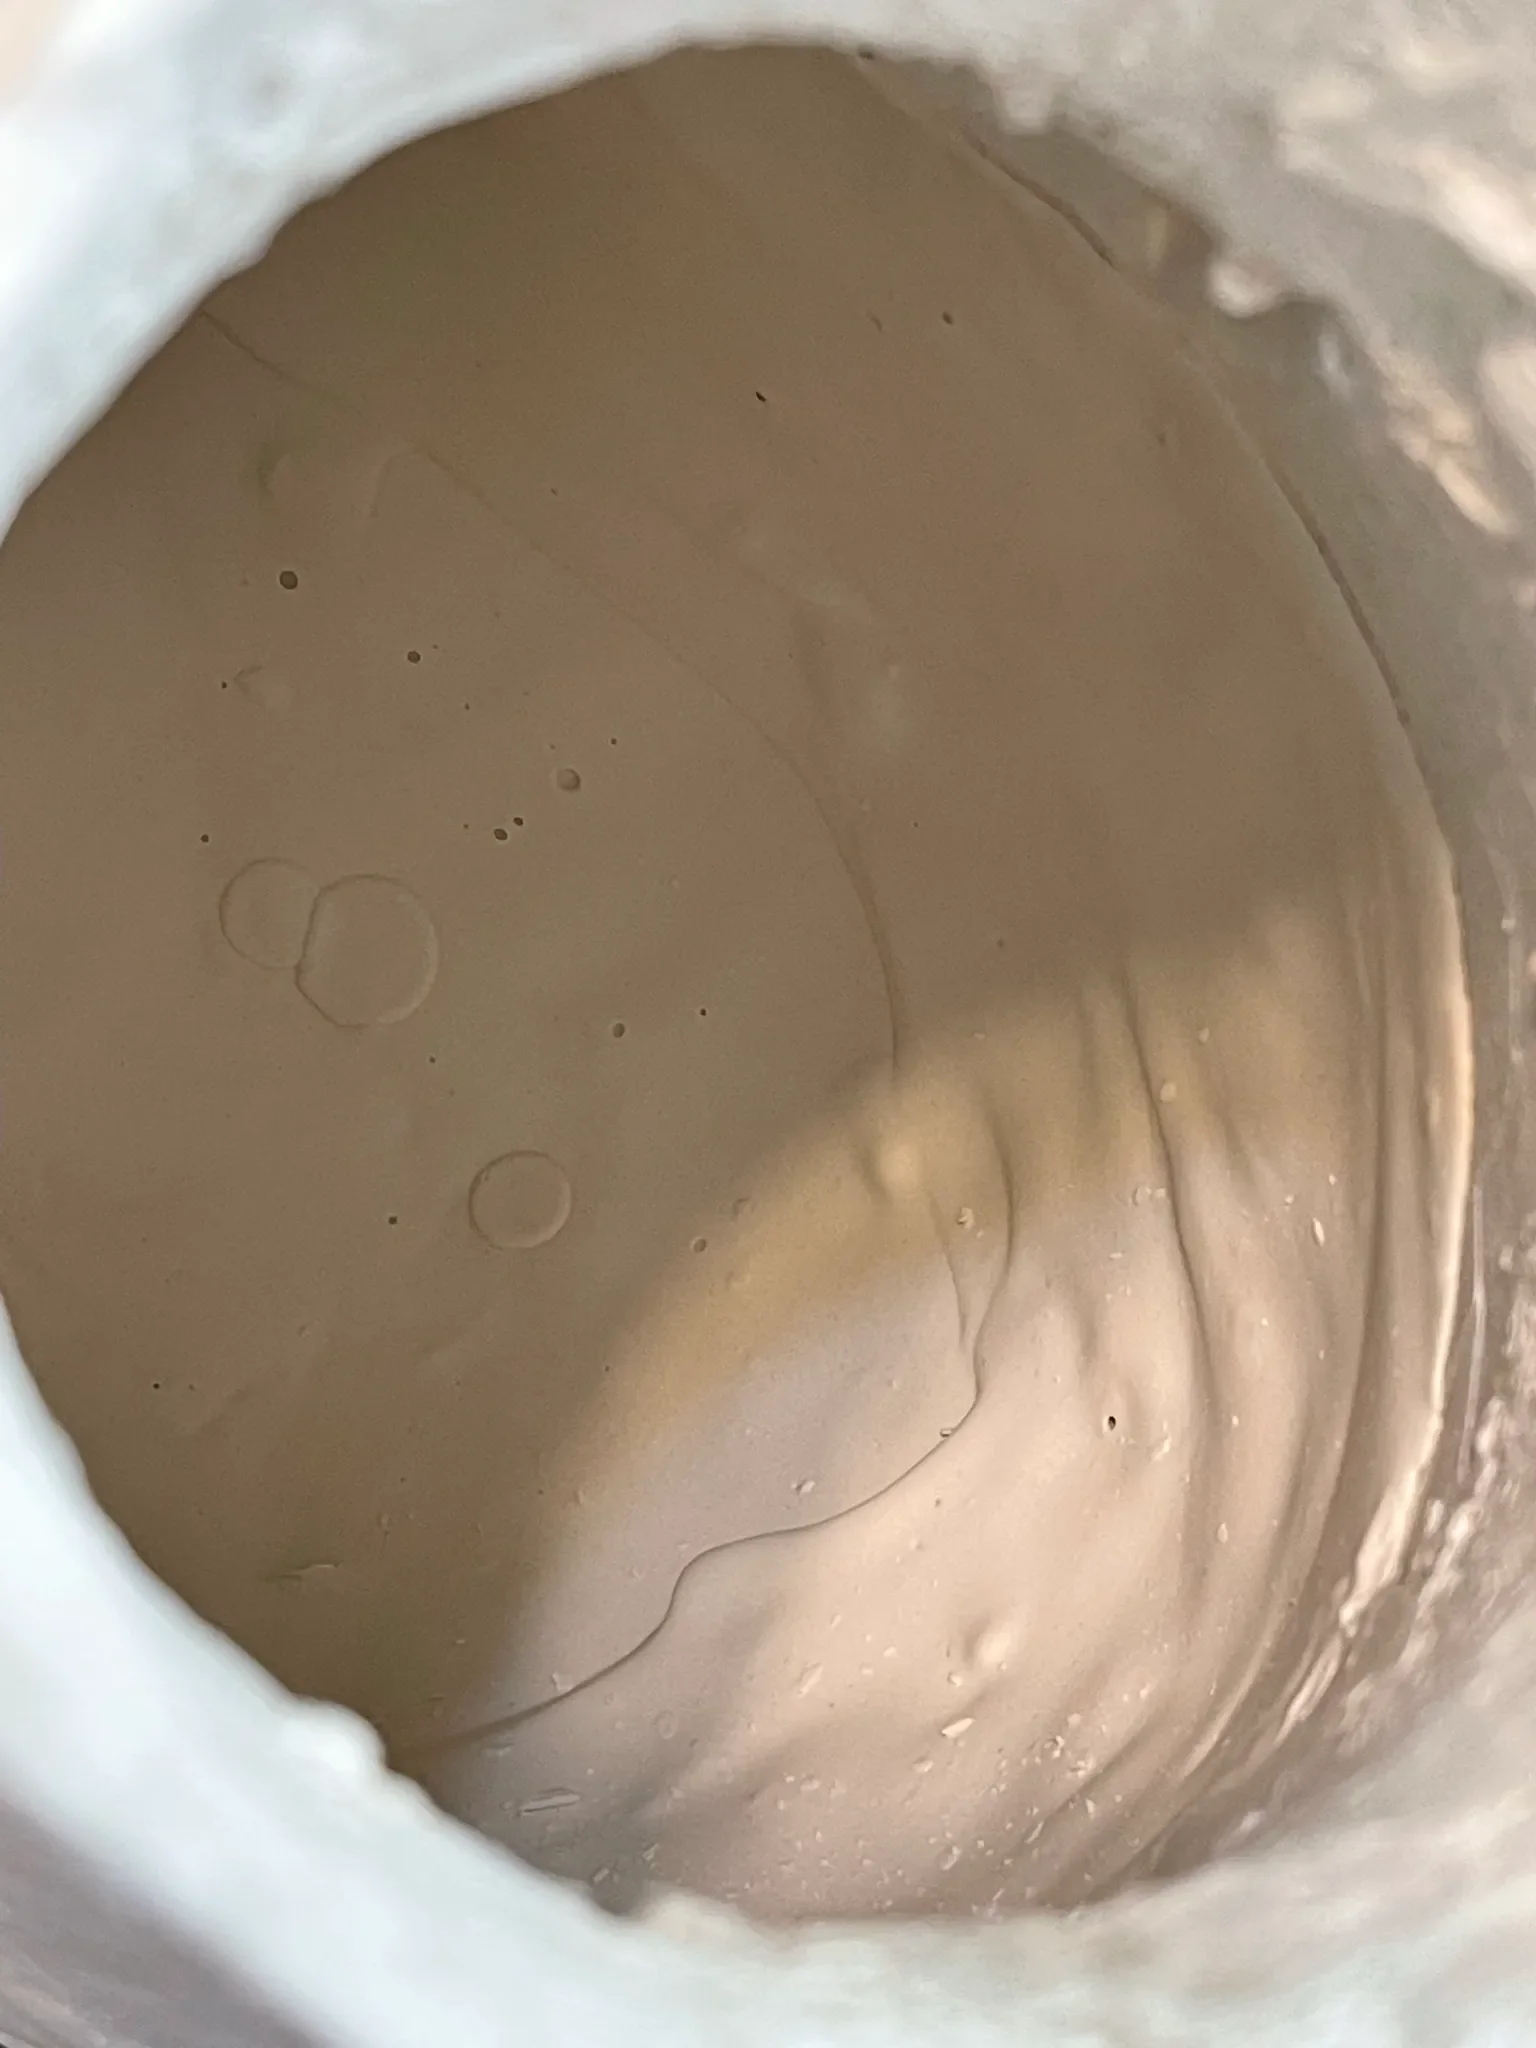
Mix a batch of runny plaster and pour it inside your head.
Rotate the head so the plaster coats the inner surface.
Set aside to dry overnight.
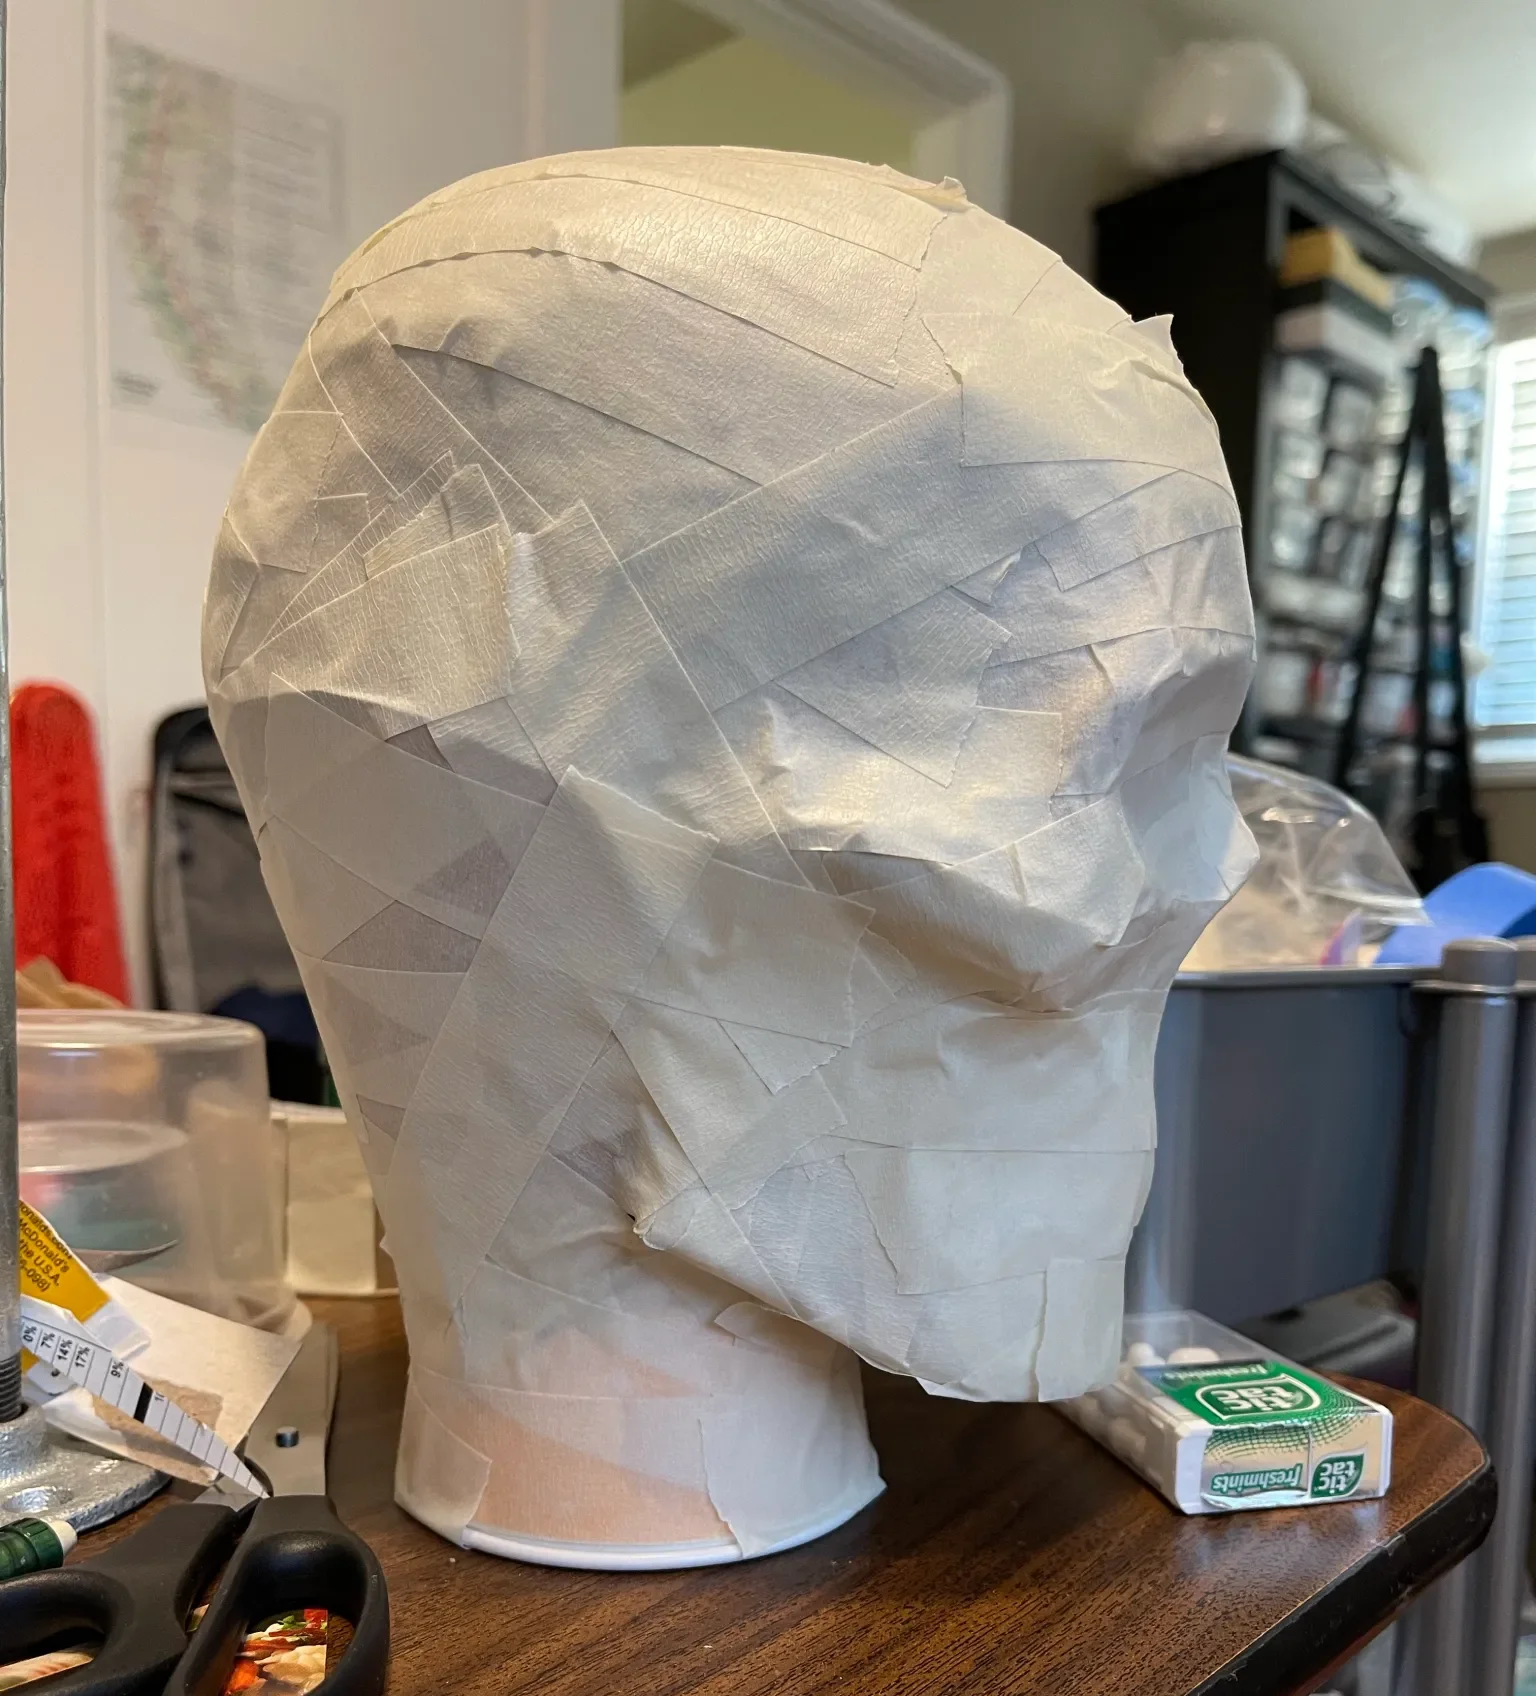
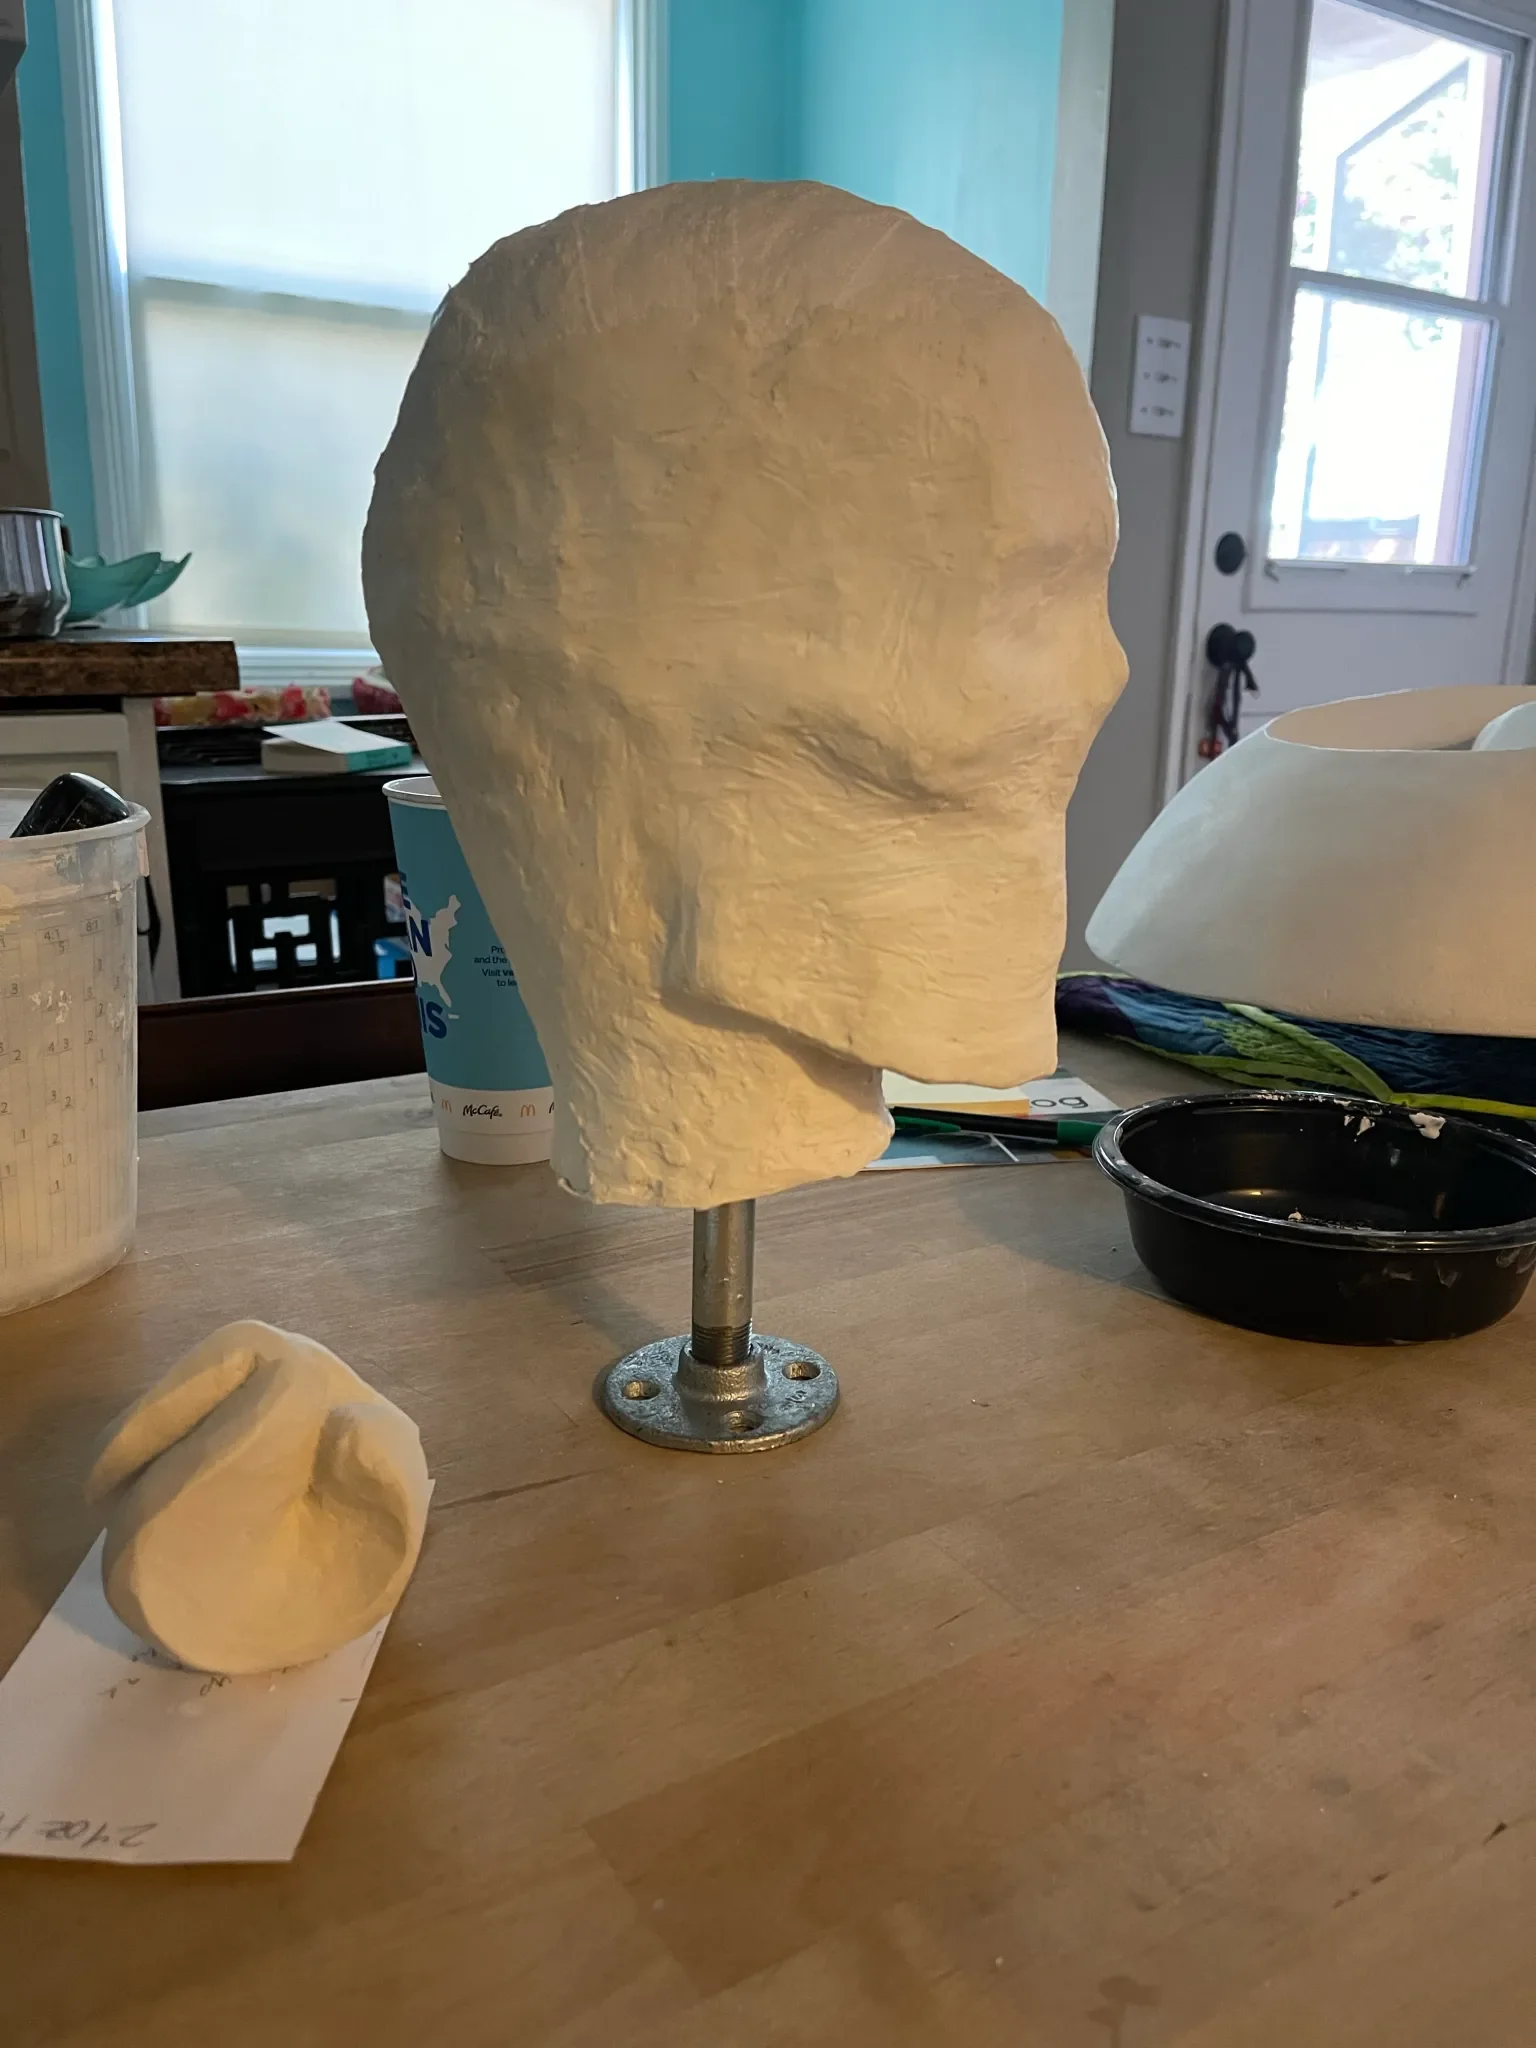
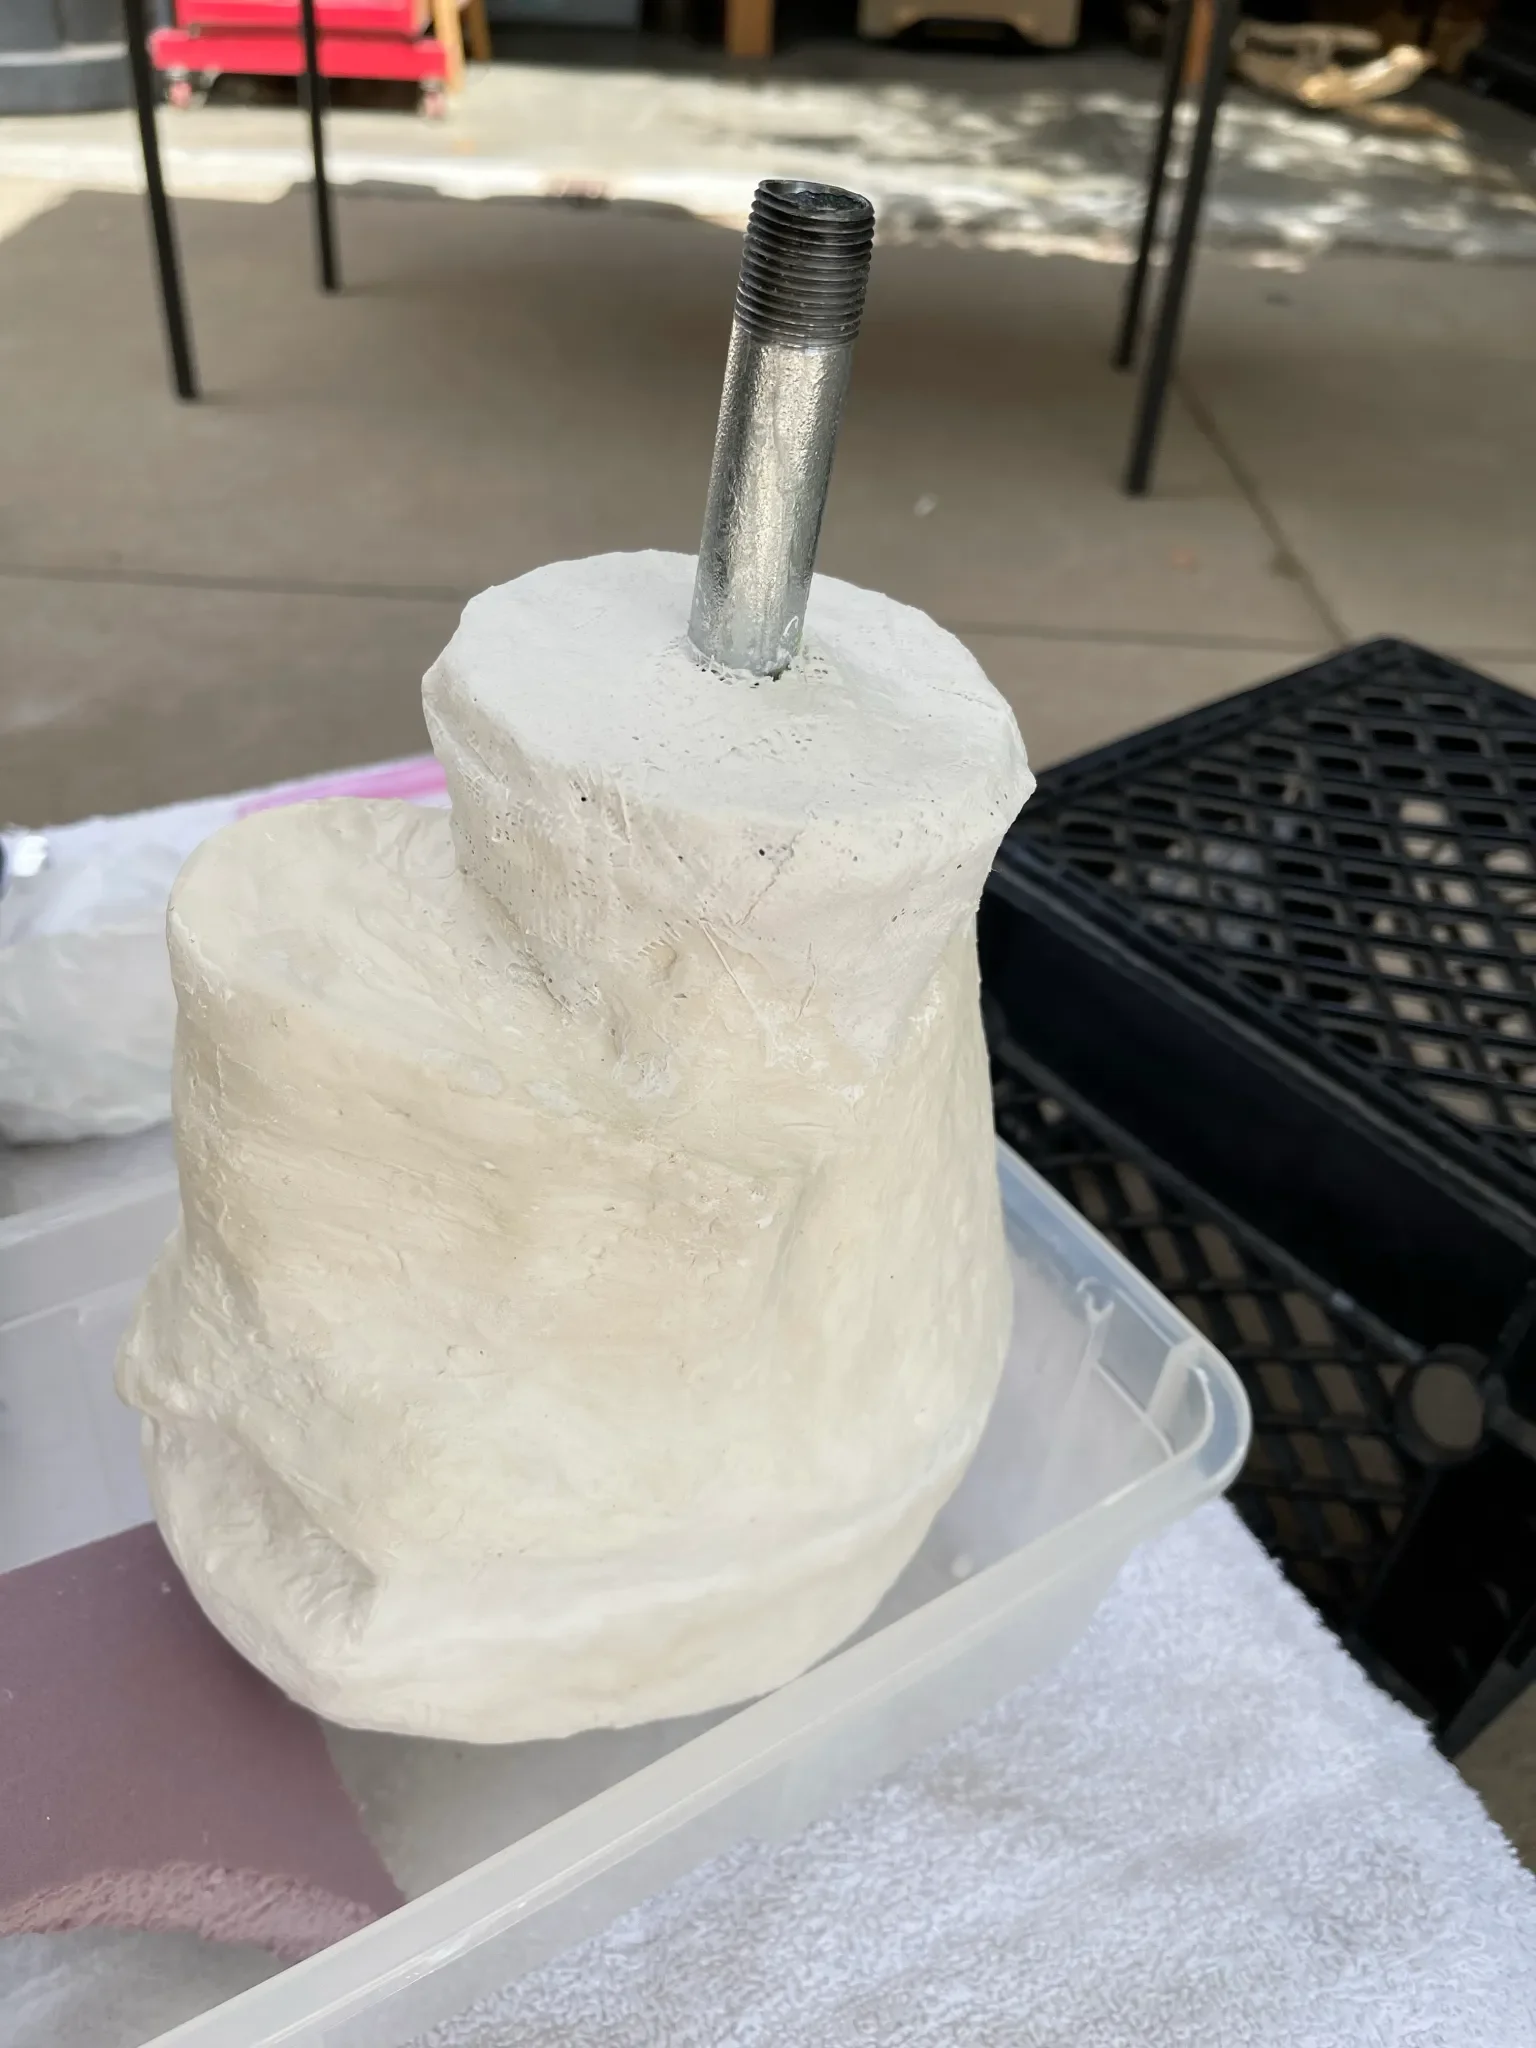
Next smooth the rough outside of the head with a coat of plaster, let it dry and shape with files.
(Image shown has not had the outside coated in plaster)
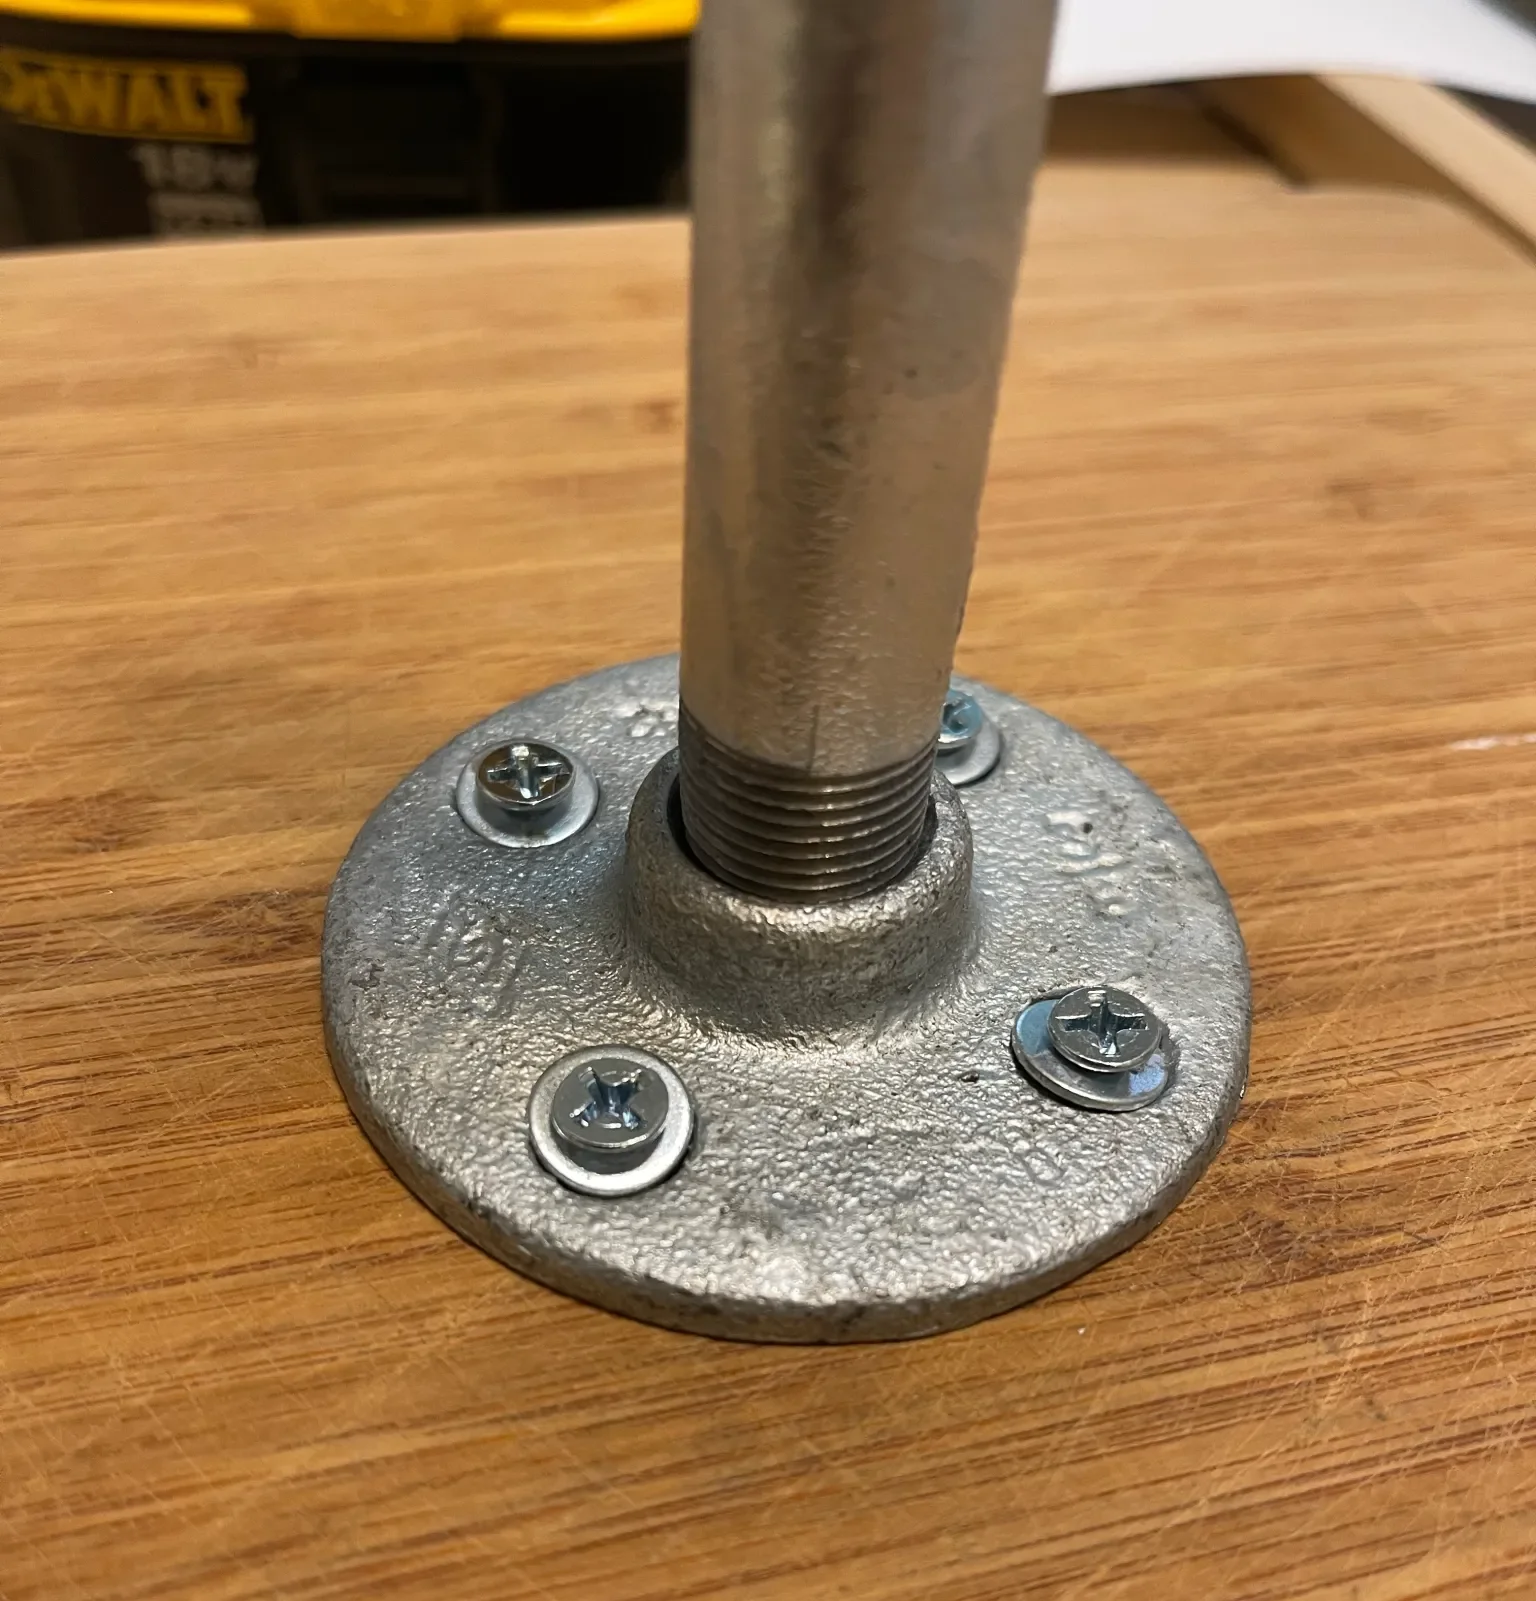
Screw a conduit flange plate into heavy piece of wood and add the pipe.
Place your head onto the pipe and check the tilt. The goal is to have the head straight up and down.
Move the head on the pipe to find the right point. Note the point on the top the head where the pipe makes contact on the inside. (No. 1 on photo)
The second point, where the pipe exits the neck opening, also needs to be notes as you will need to make a “donut” shaped plug to fill the gap.
Depending on your tilt, the second point may or may not be centered in the neck hole.
This means the hole in your donut may not be in the center of the plug.
This is possibly the most confusing part of the construction but is important as these two points will determine the final angle of your head.
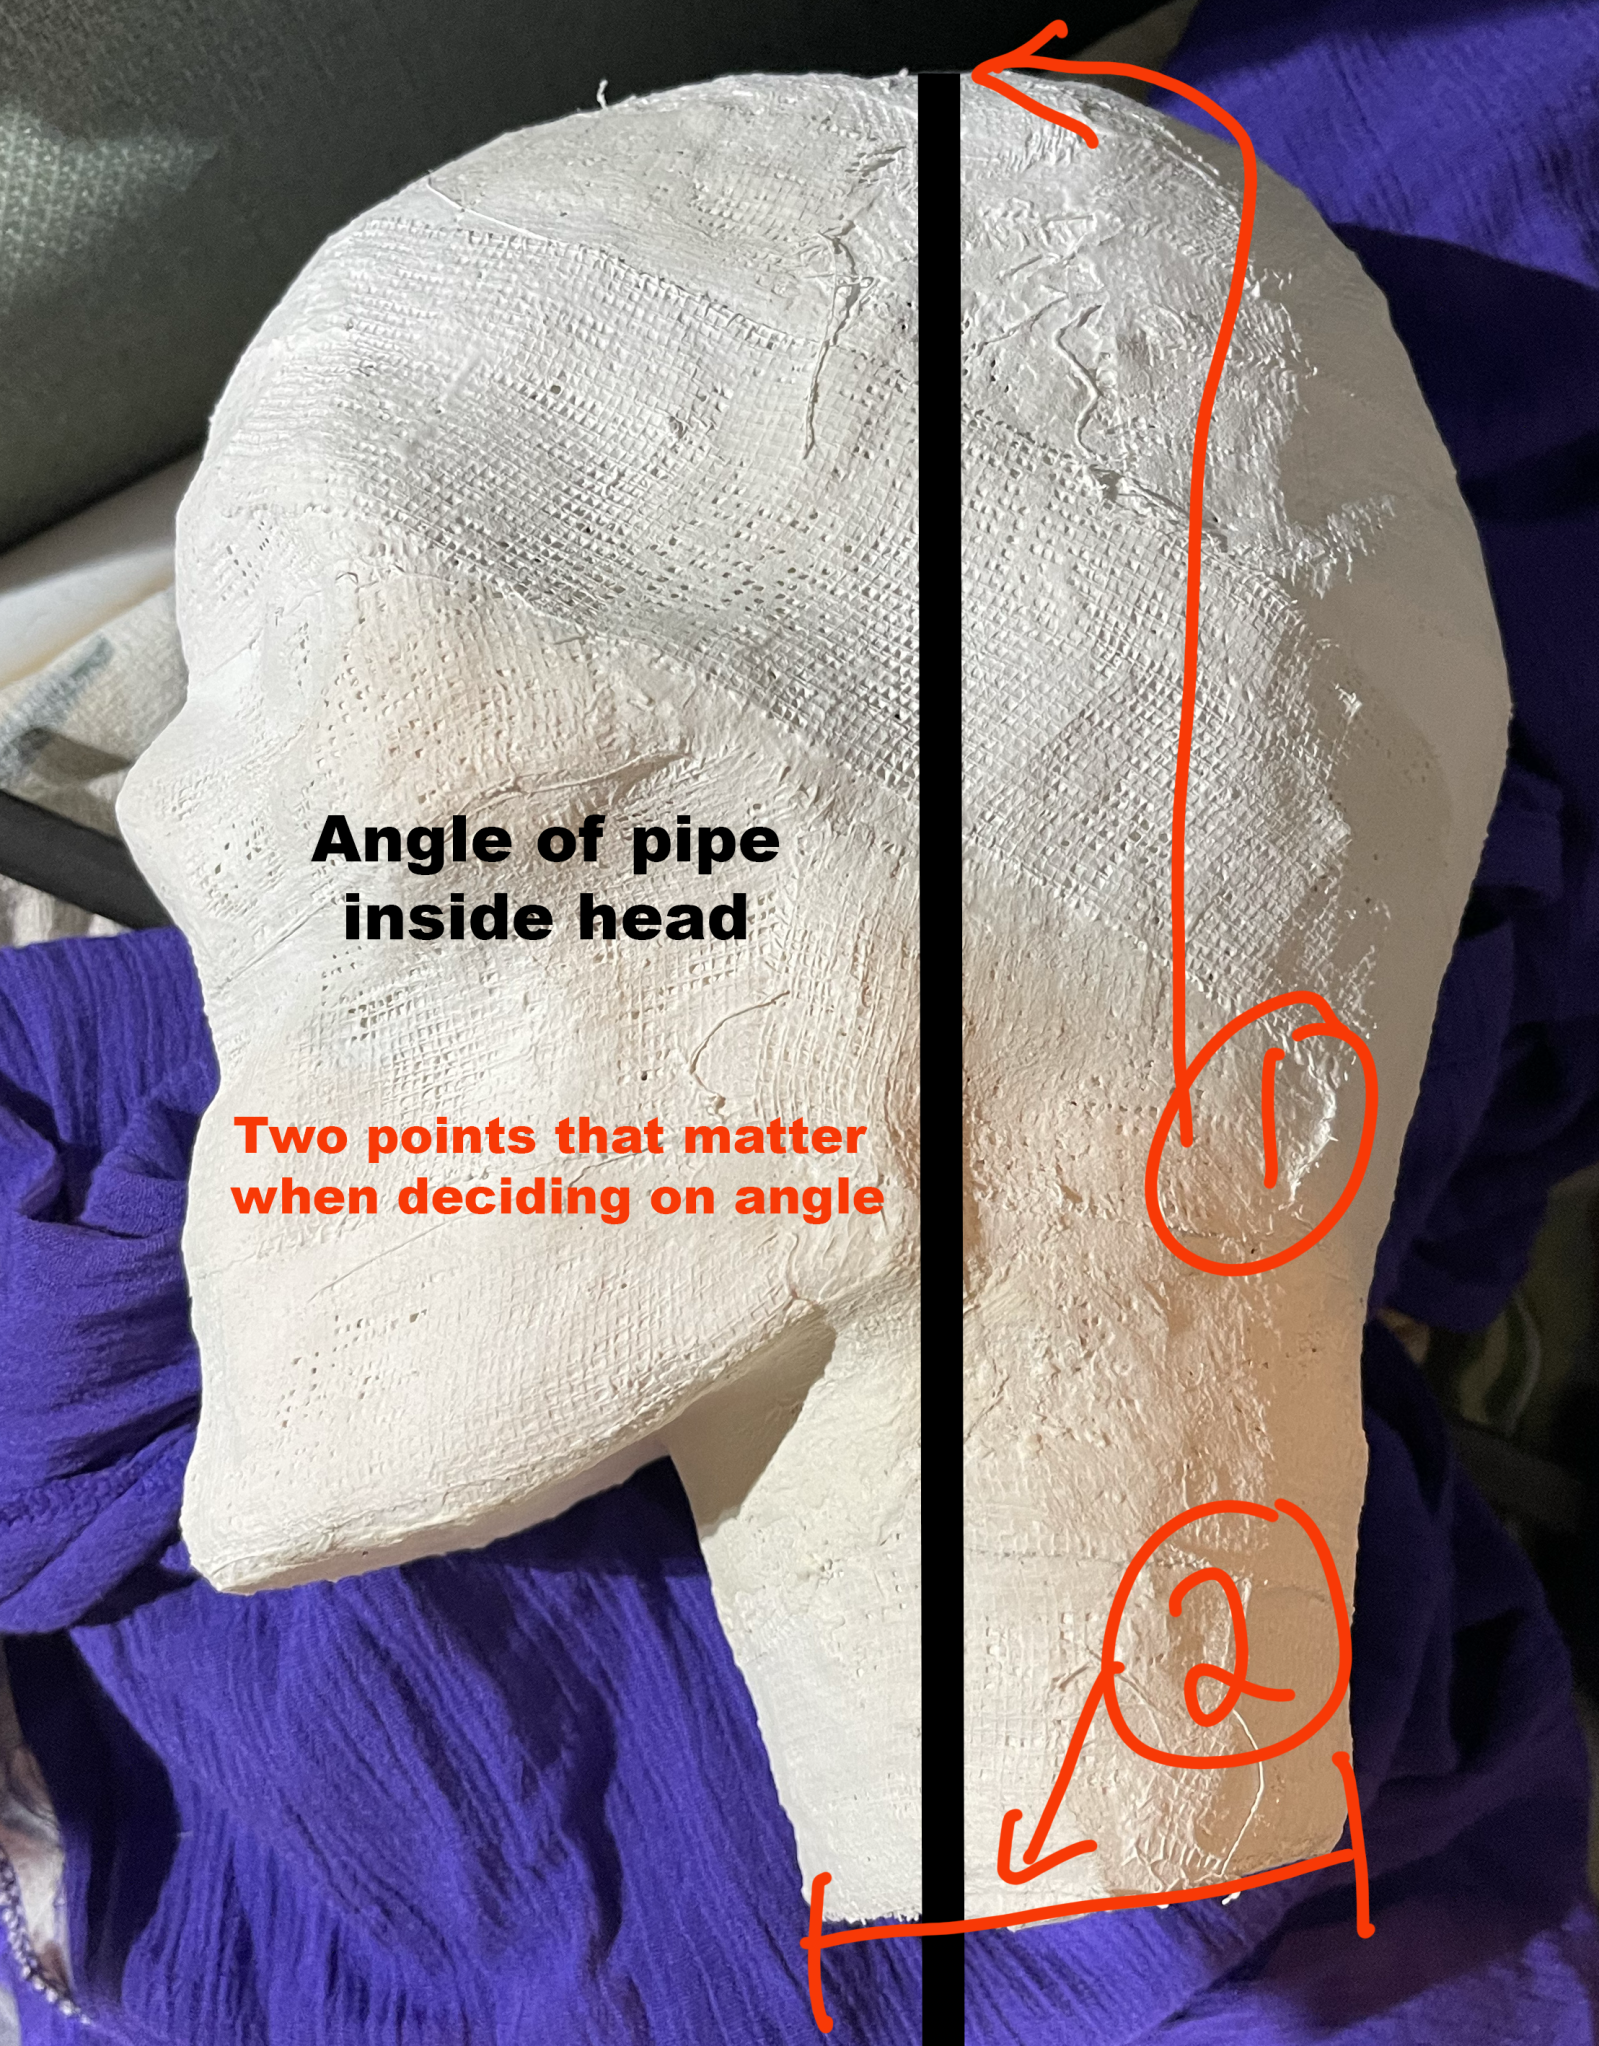
If you have the angle too far forward or backward your face will not be straight up and down.
You probably don’t want your chin tucked down and your forehead tilted downward.
I made the mistake of having my chin tucked slightly down in my first version and resolved to change the neck and fix the issue on my next version.
You can cut or form a donut shape in whatever material you’d like to plug the neck around the pipe. This plug will help keep the pipe tilted at the angle that is right for your needs.
The next step entails filling the void with low expansion spray foam. Rig a way to hold the pipe at the correct angle while the expanding foam cures. The plug can be put in place after you spray the foam.
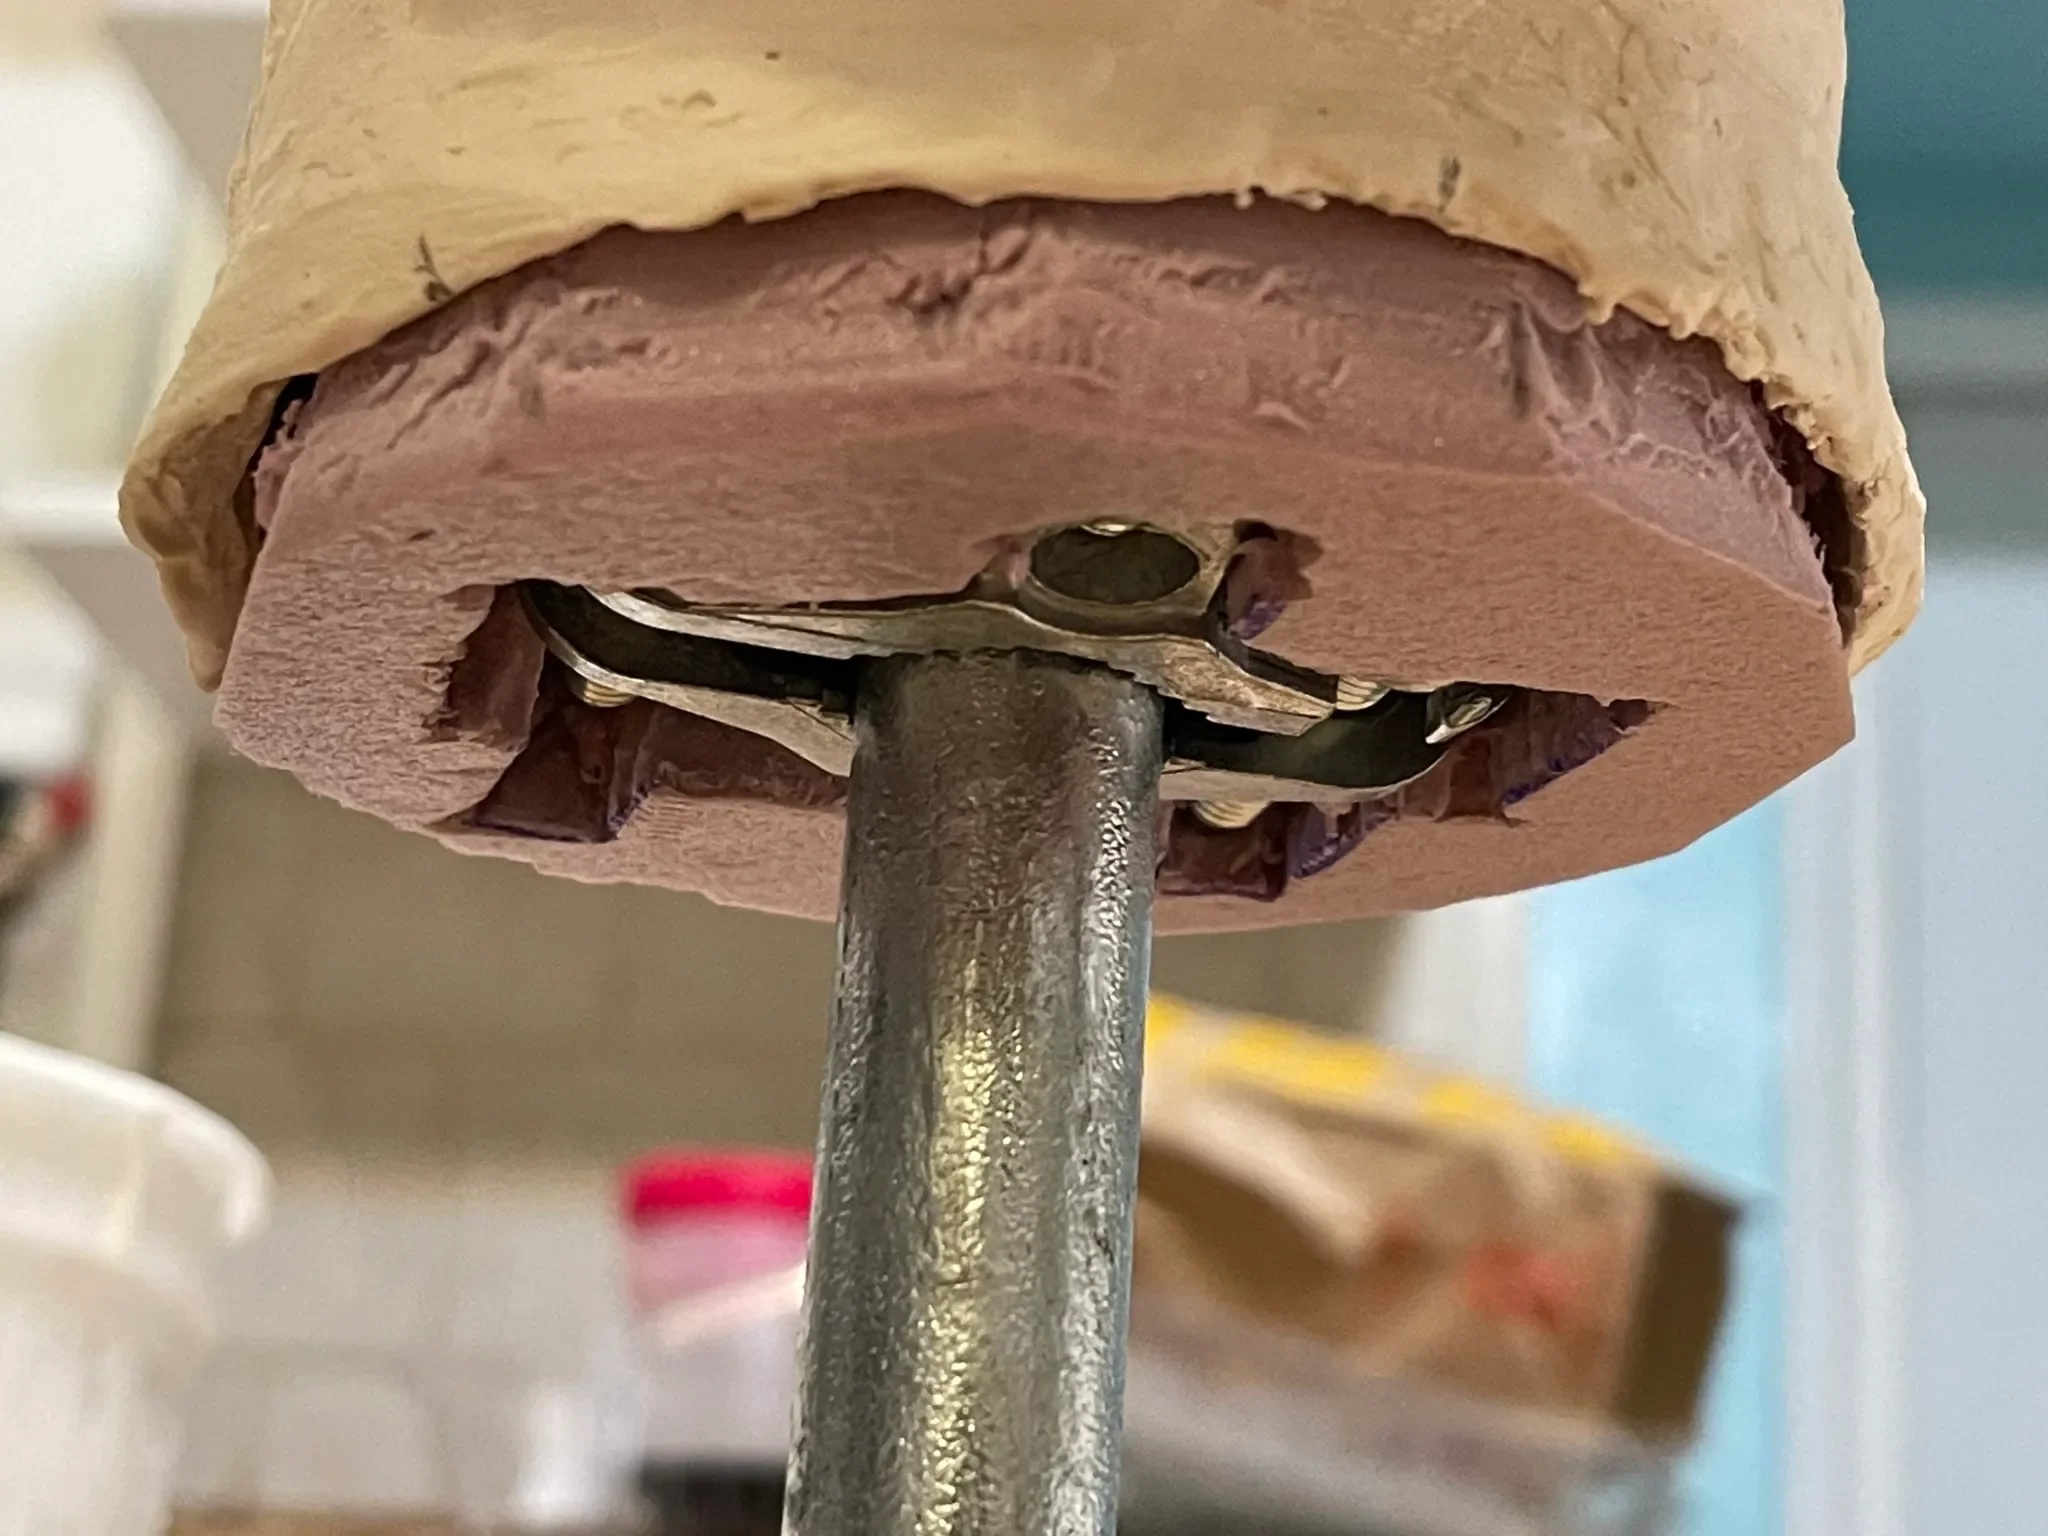
I filled mine and left it overnight – this is how it looked in the morning.
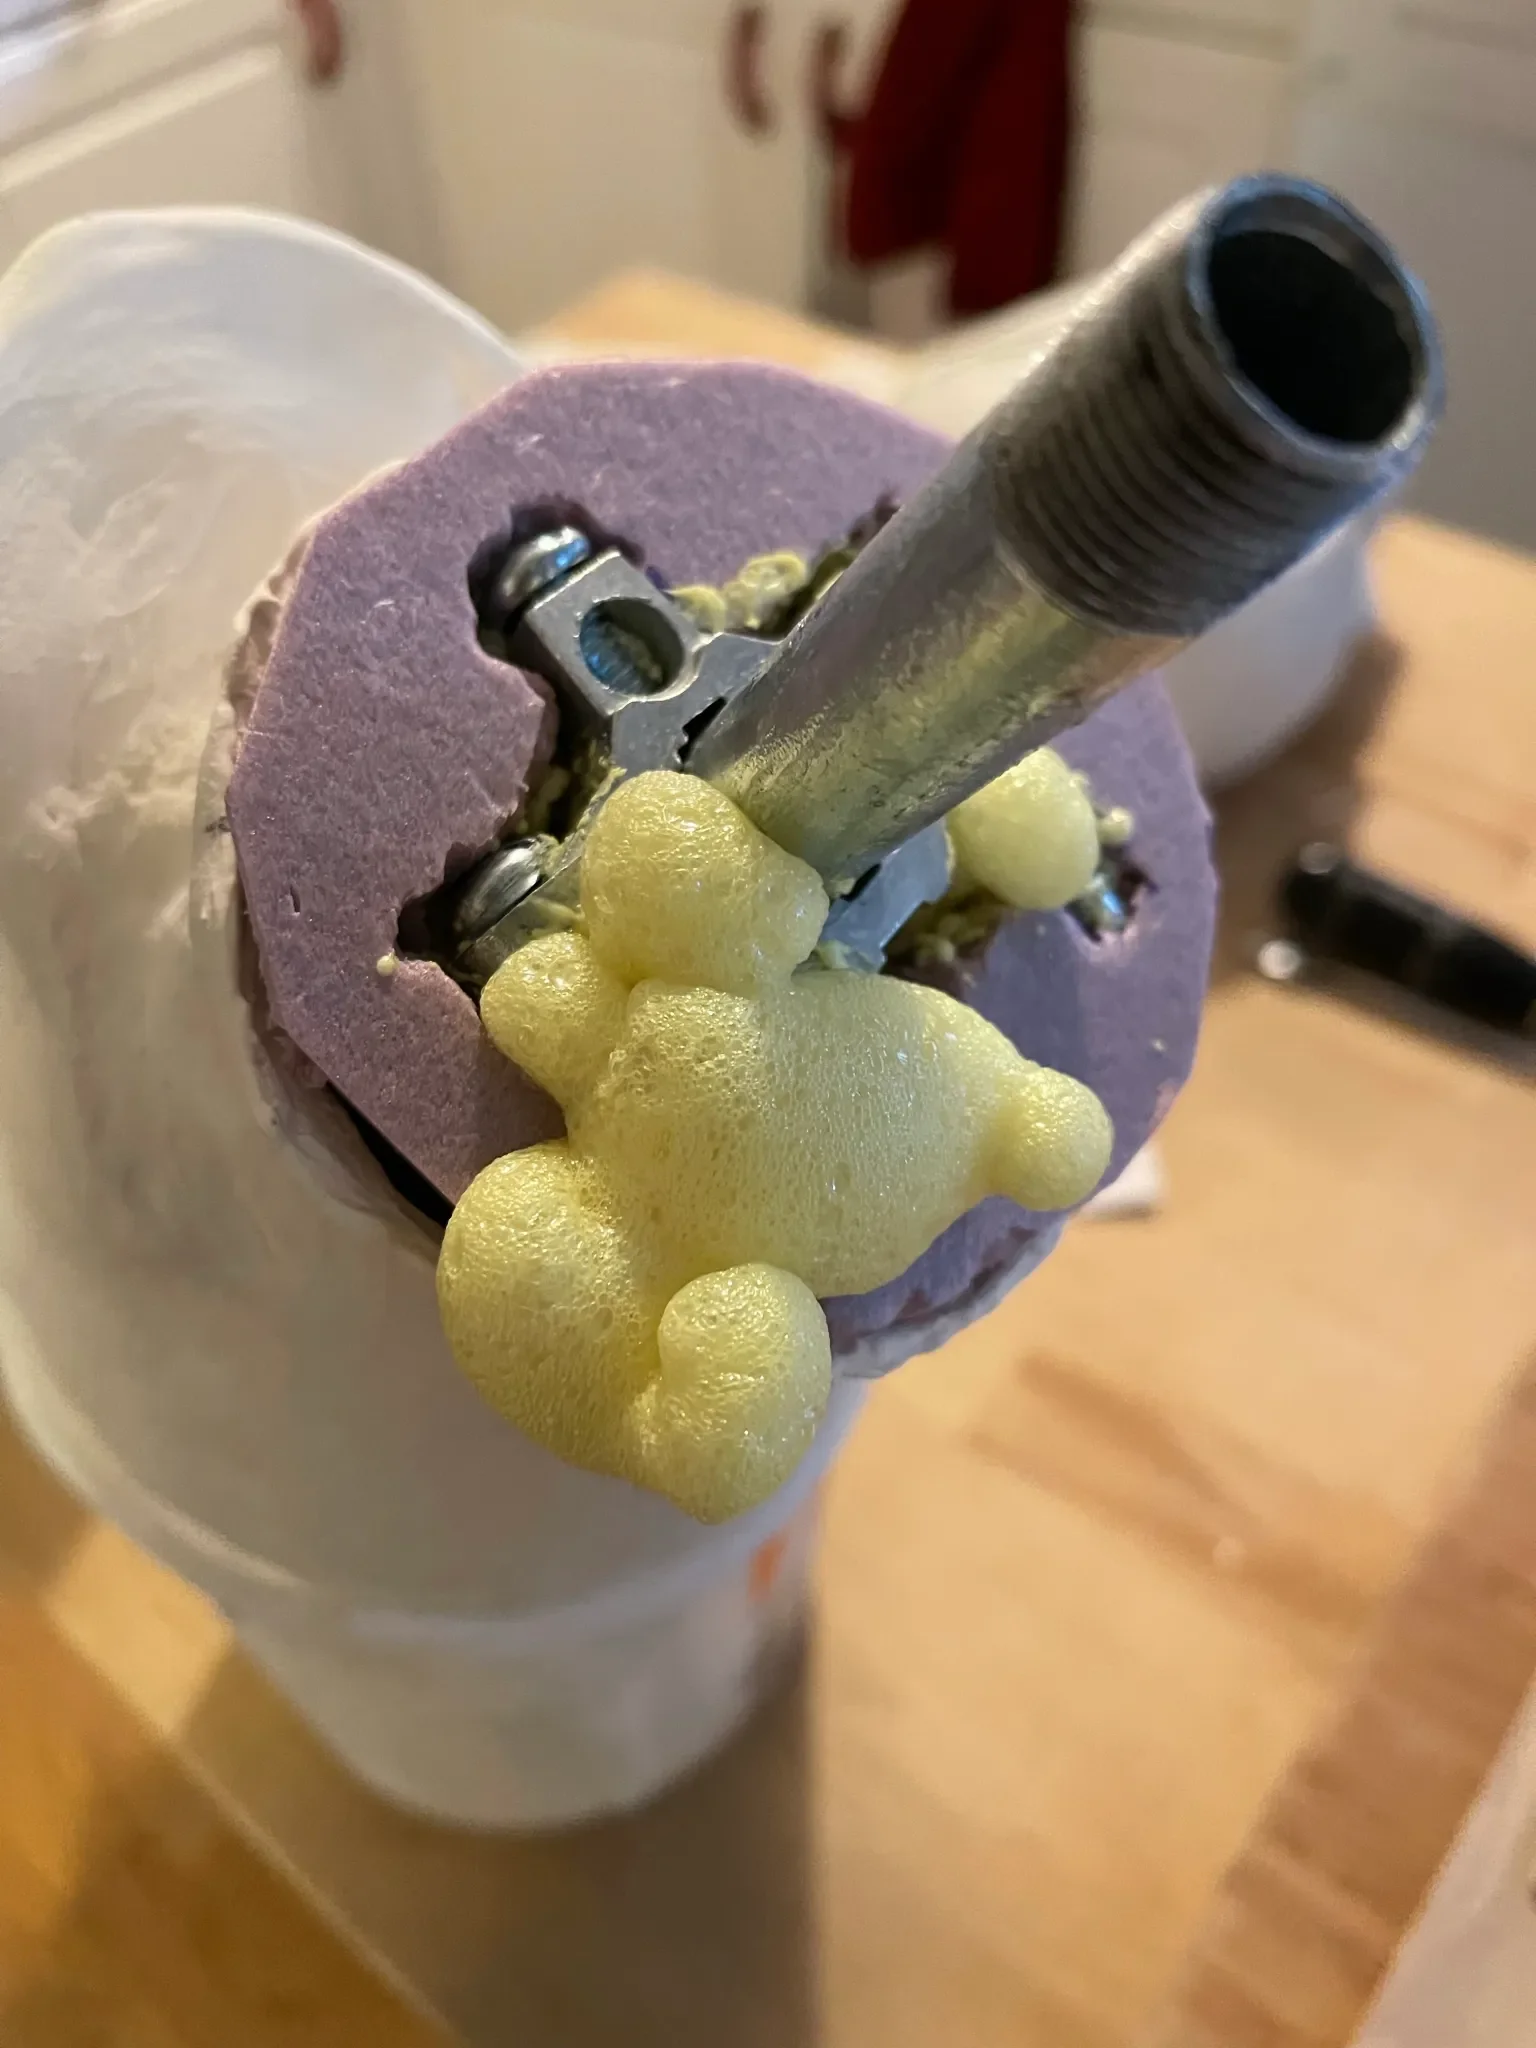
Ignore the metal piece (shown in the center of pink rigid insulation) as it isn’t necessary.
If need be, cut away the excess foam. Cover the plug and neck with plaster cloth to join the pieces into a single unit.
Then refine the shape as you wish. I used files and rasps. You may also wish to smooth a layer of plaster over the cloth.
The surface does not need to be perfectly smooth as the only time it will be seen is between sketches.
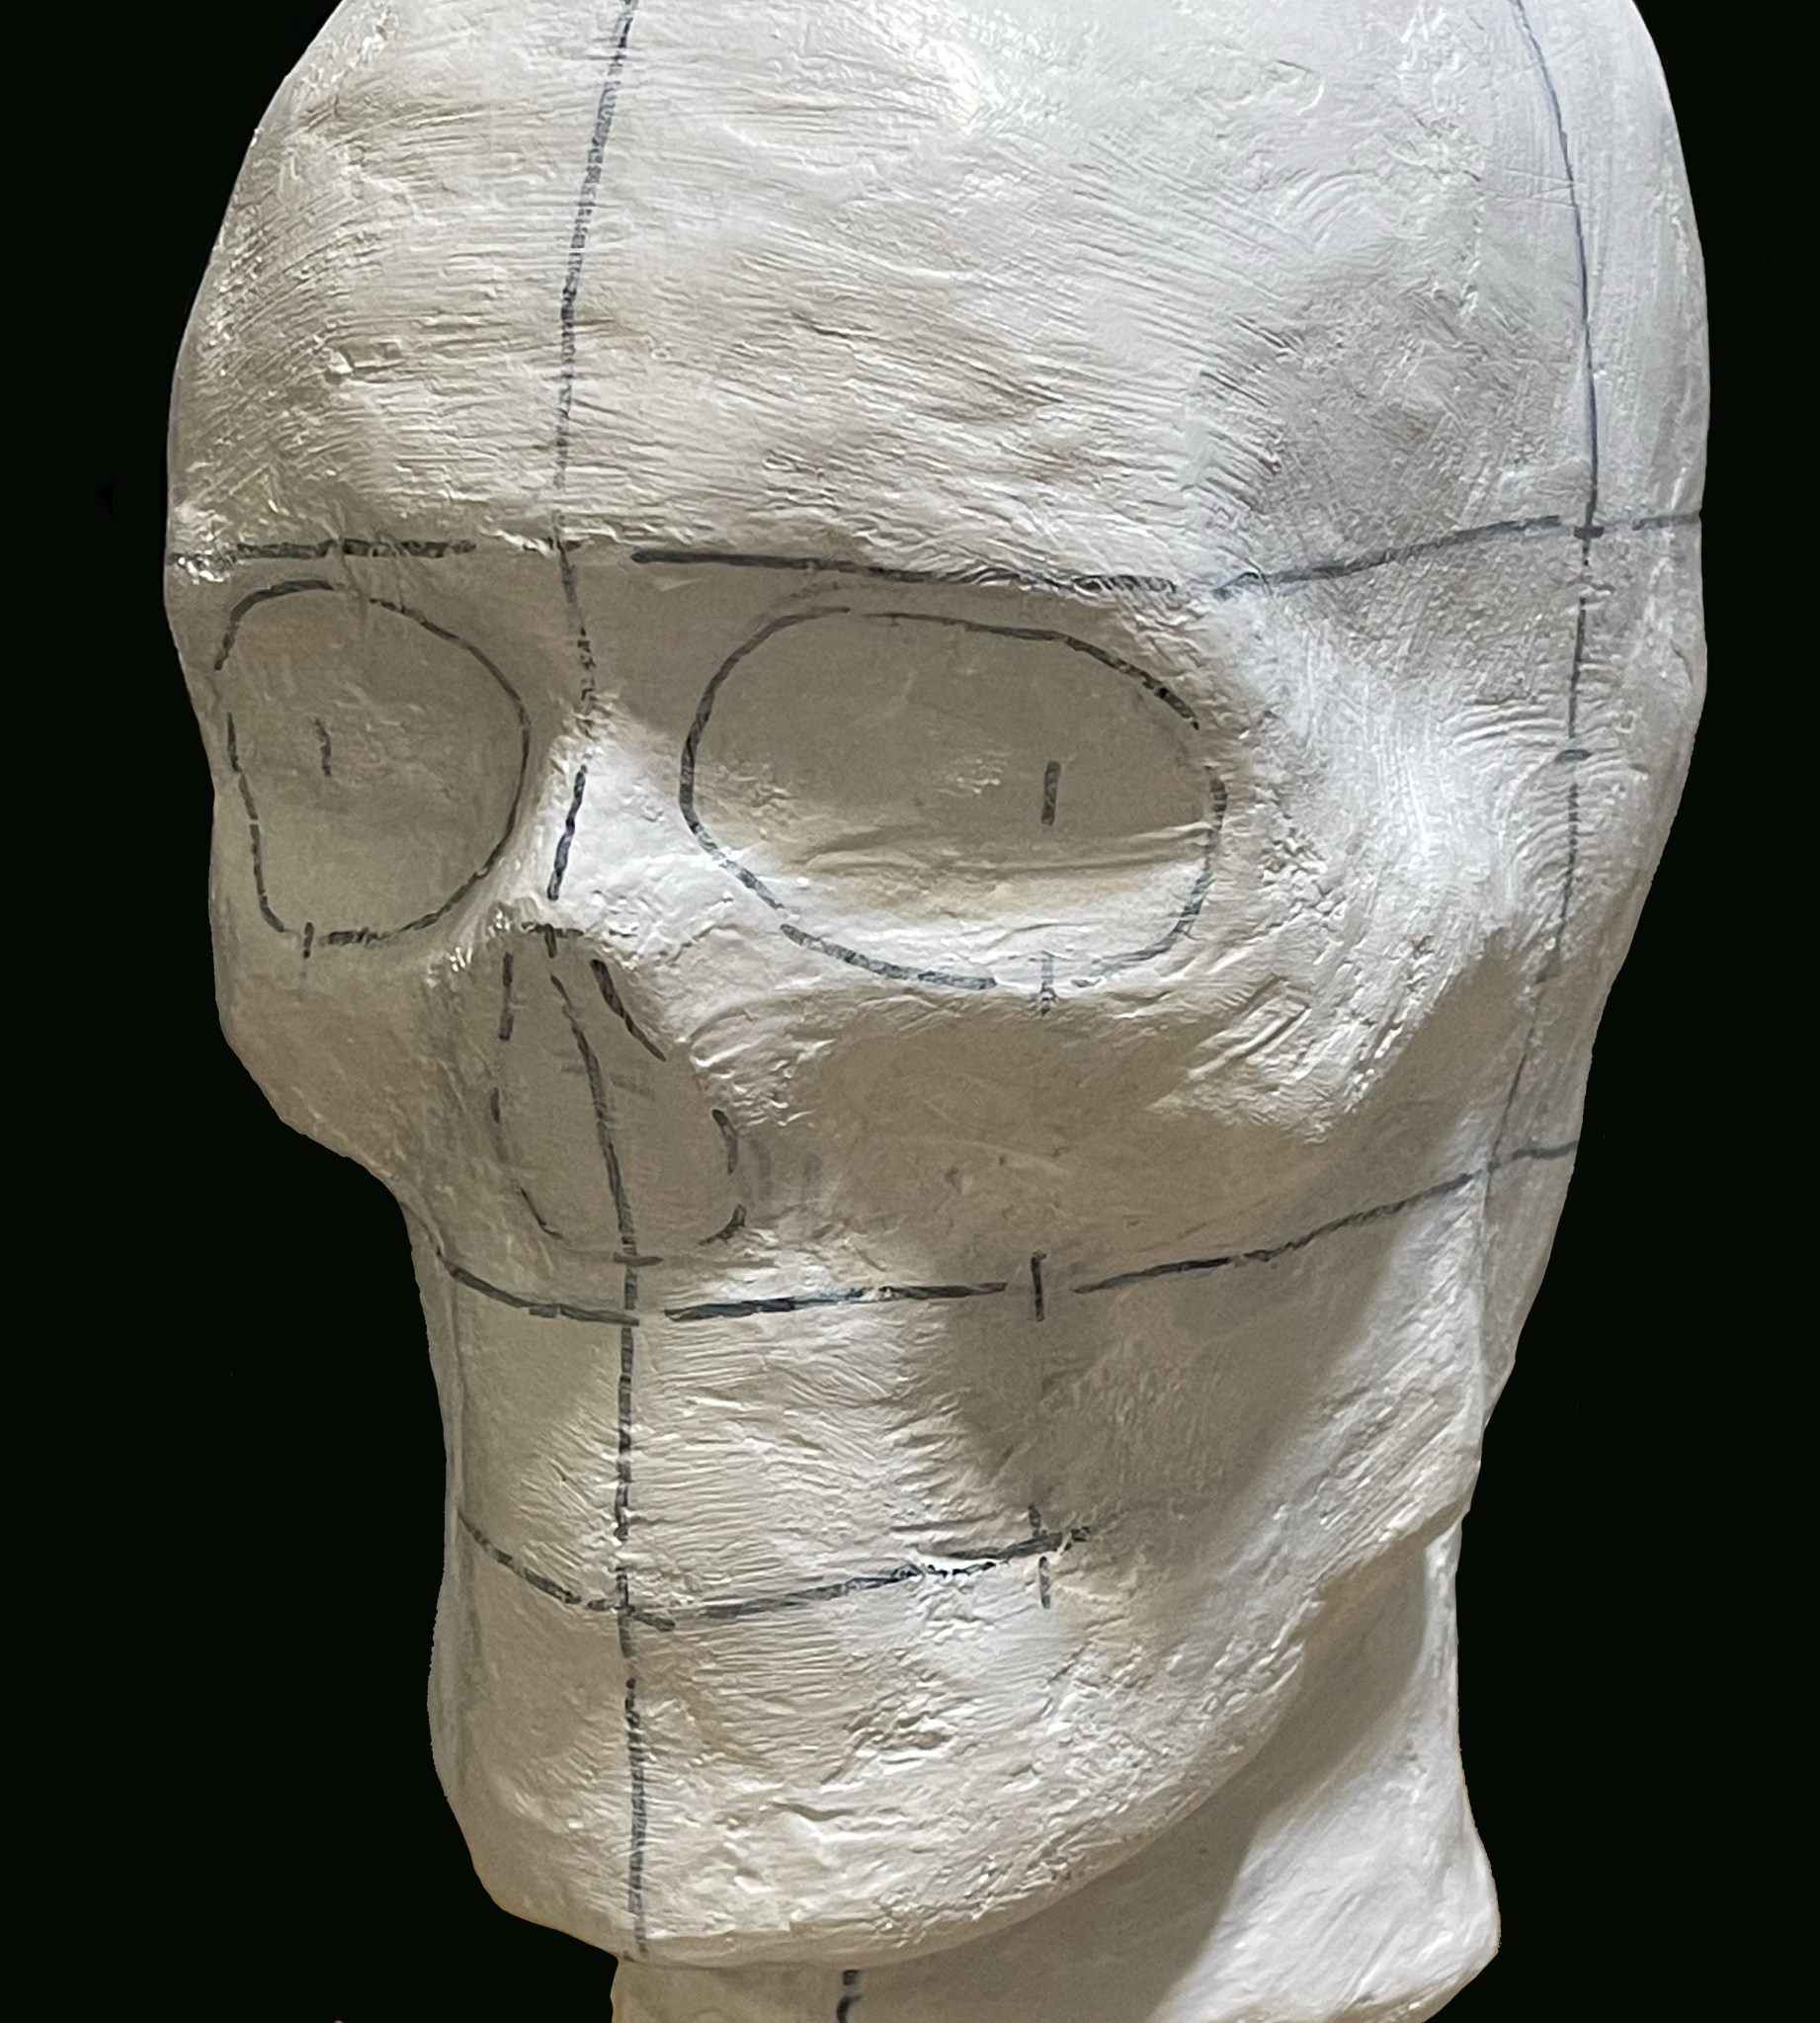
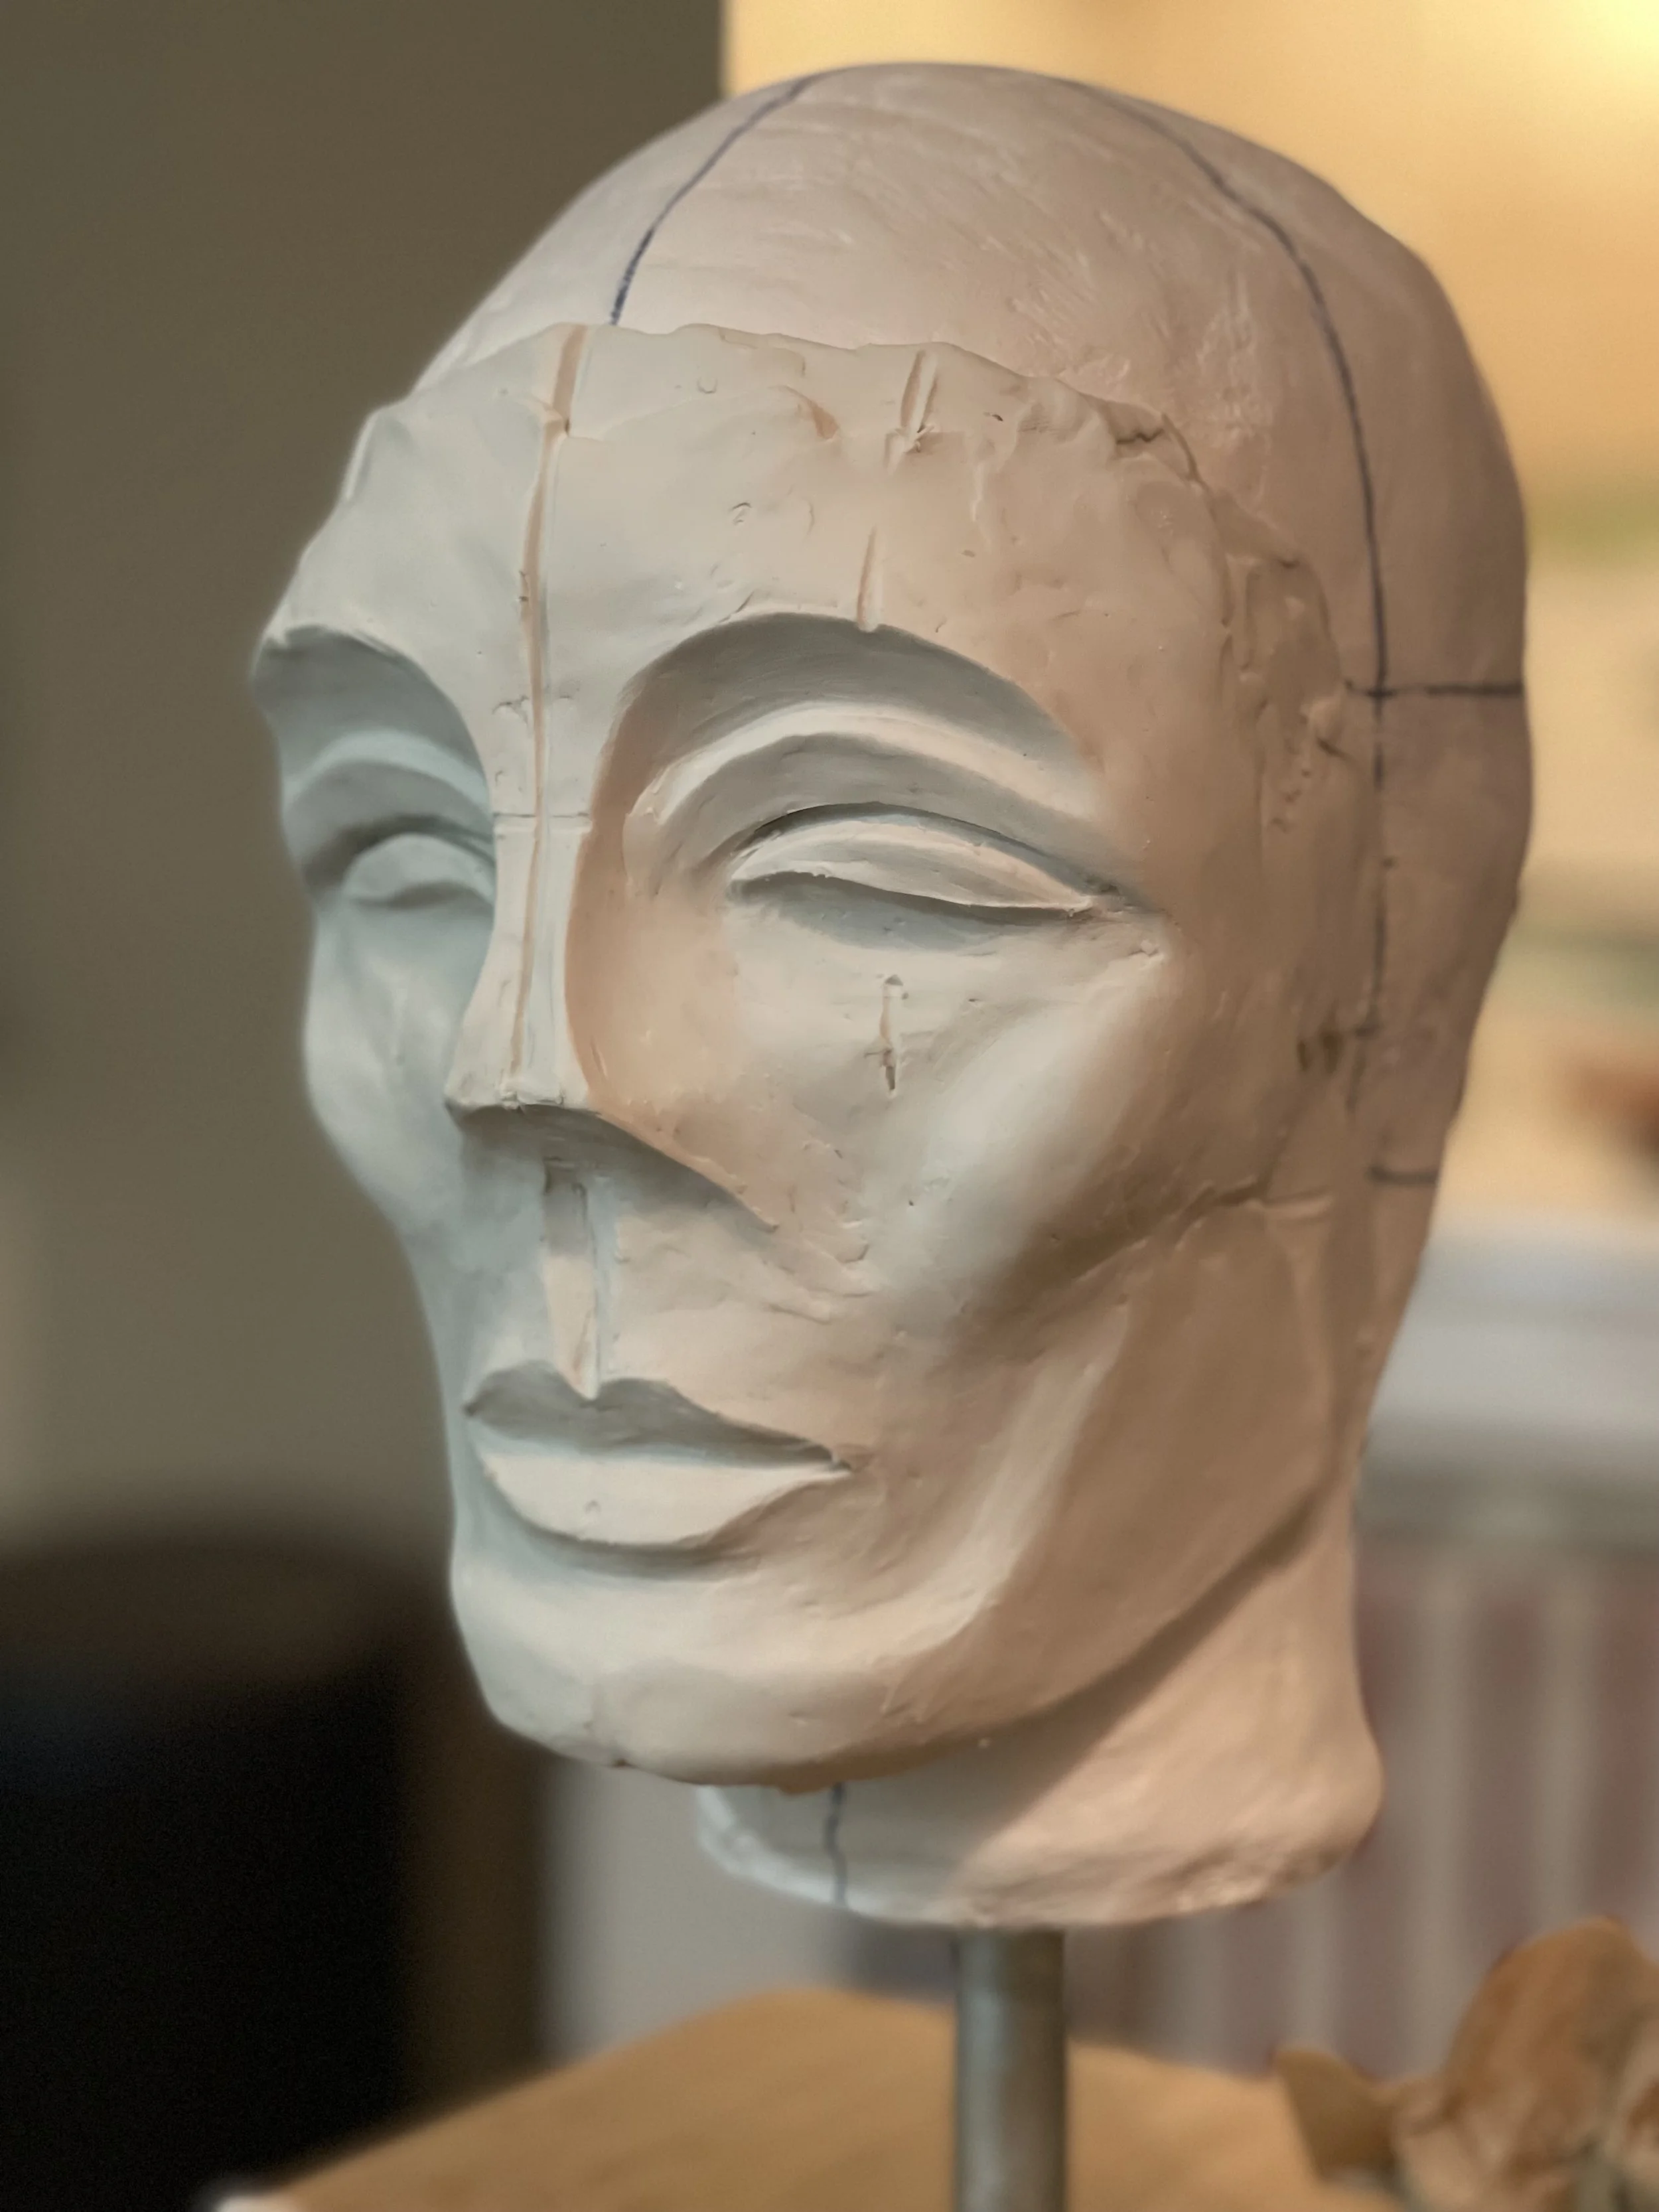
I coated the plaster with acrylic paint and added lines in permanent marker. The lines are optional.
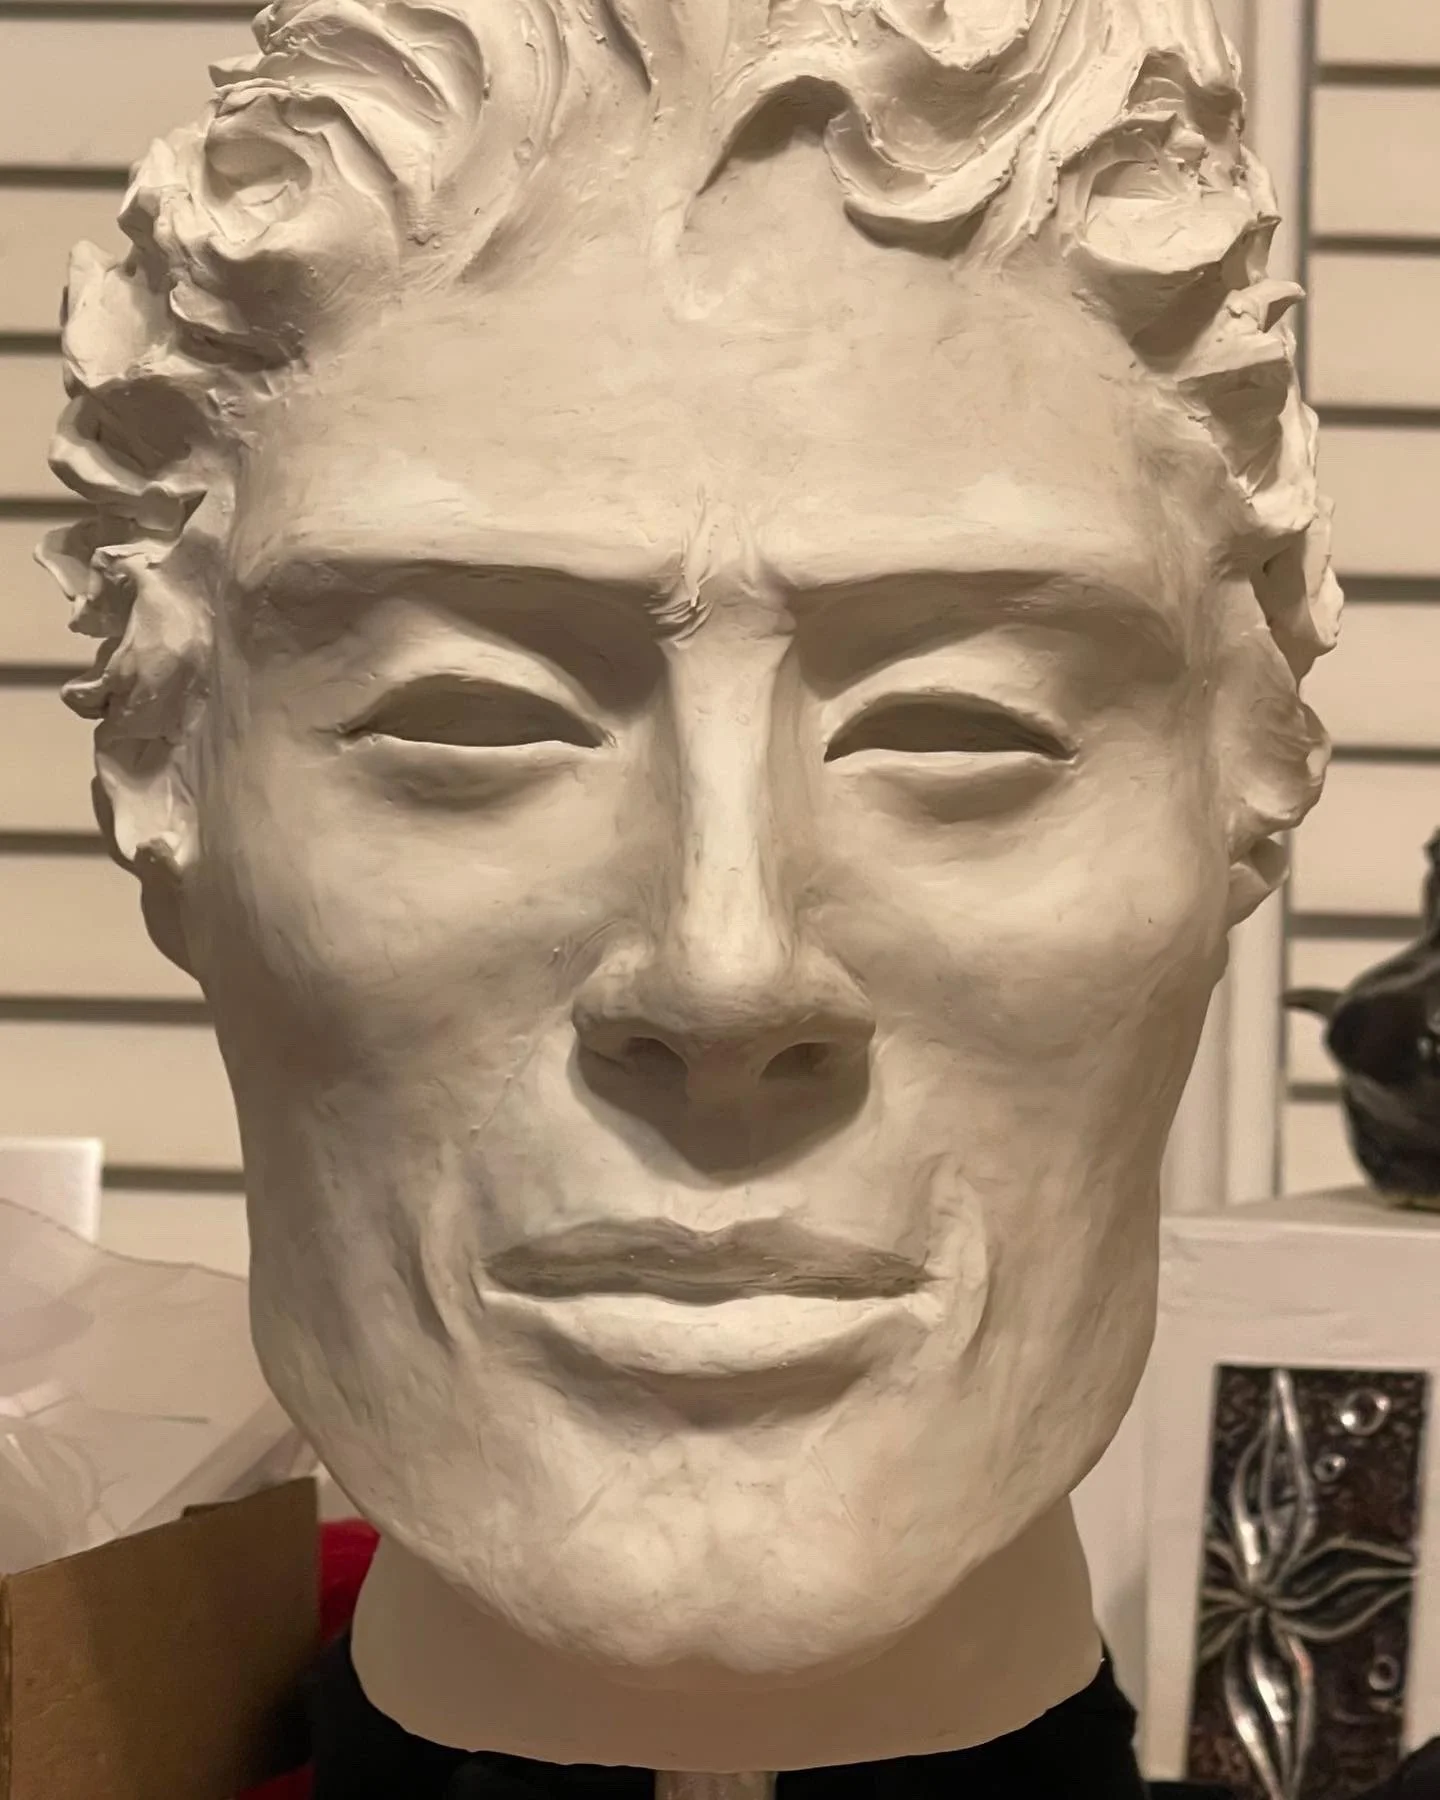
Version 1 between sketches
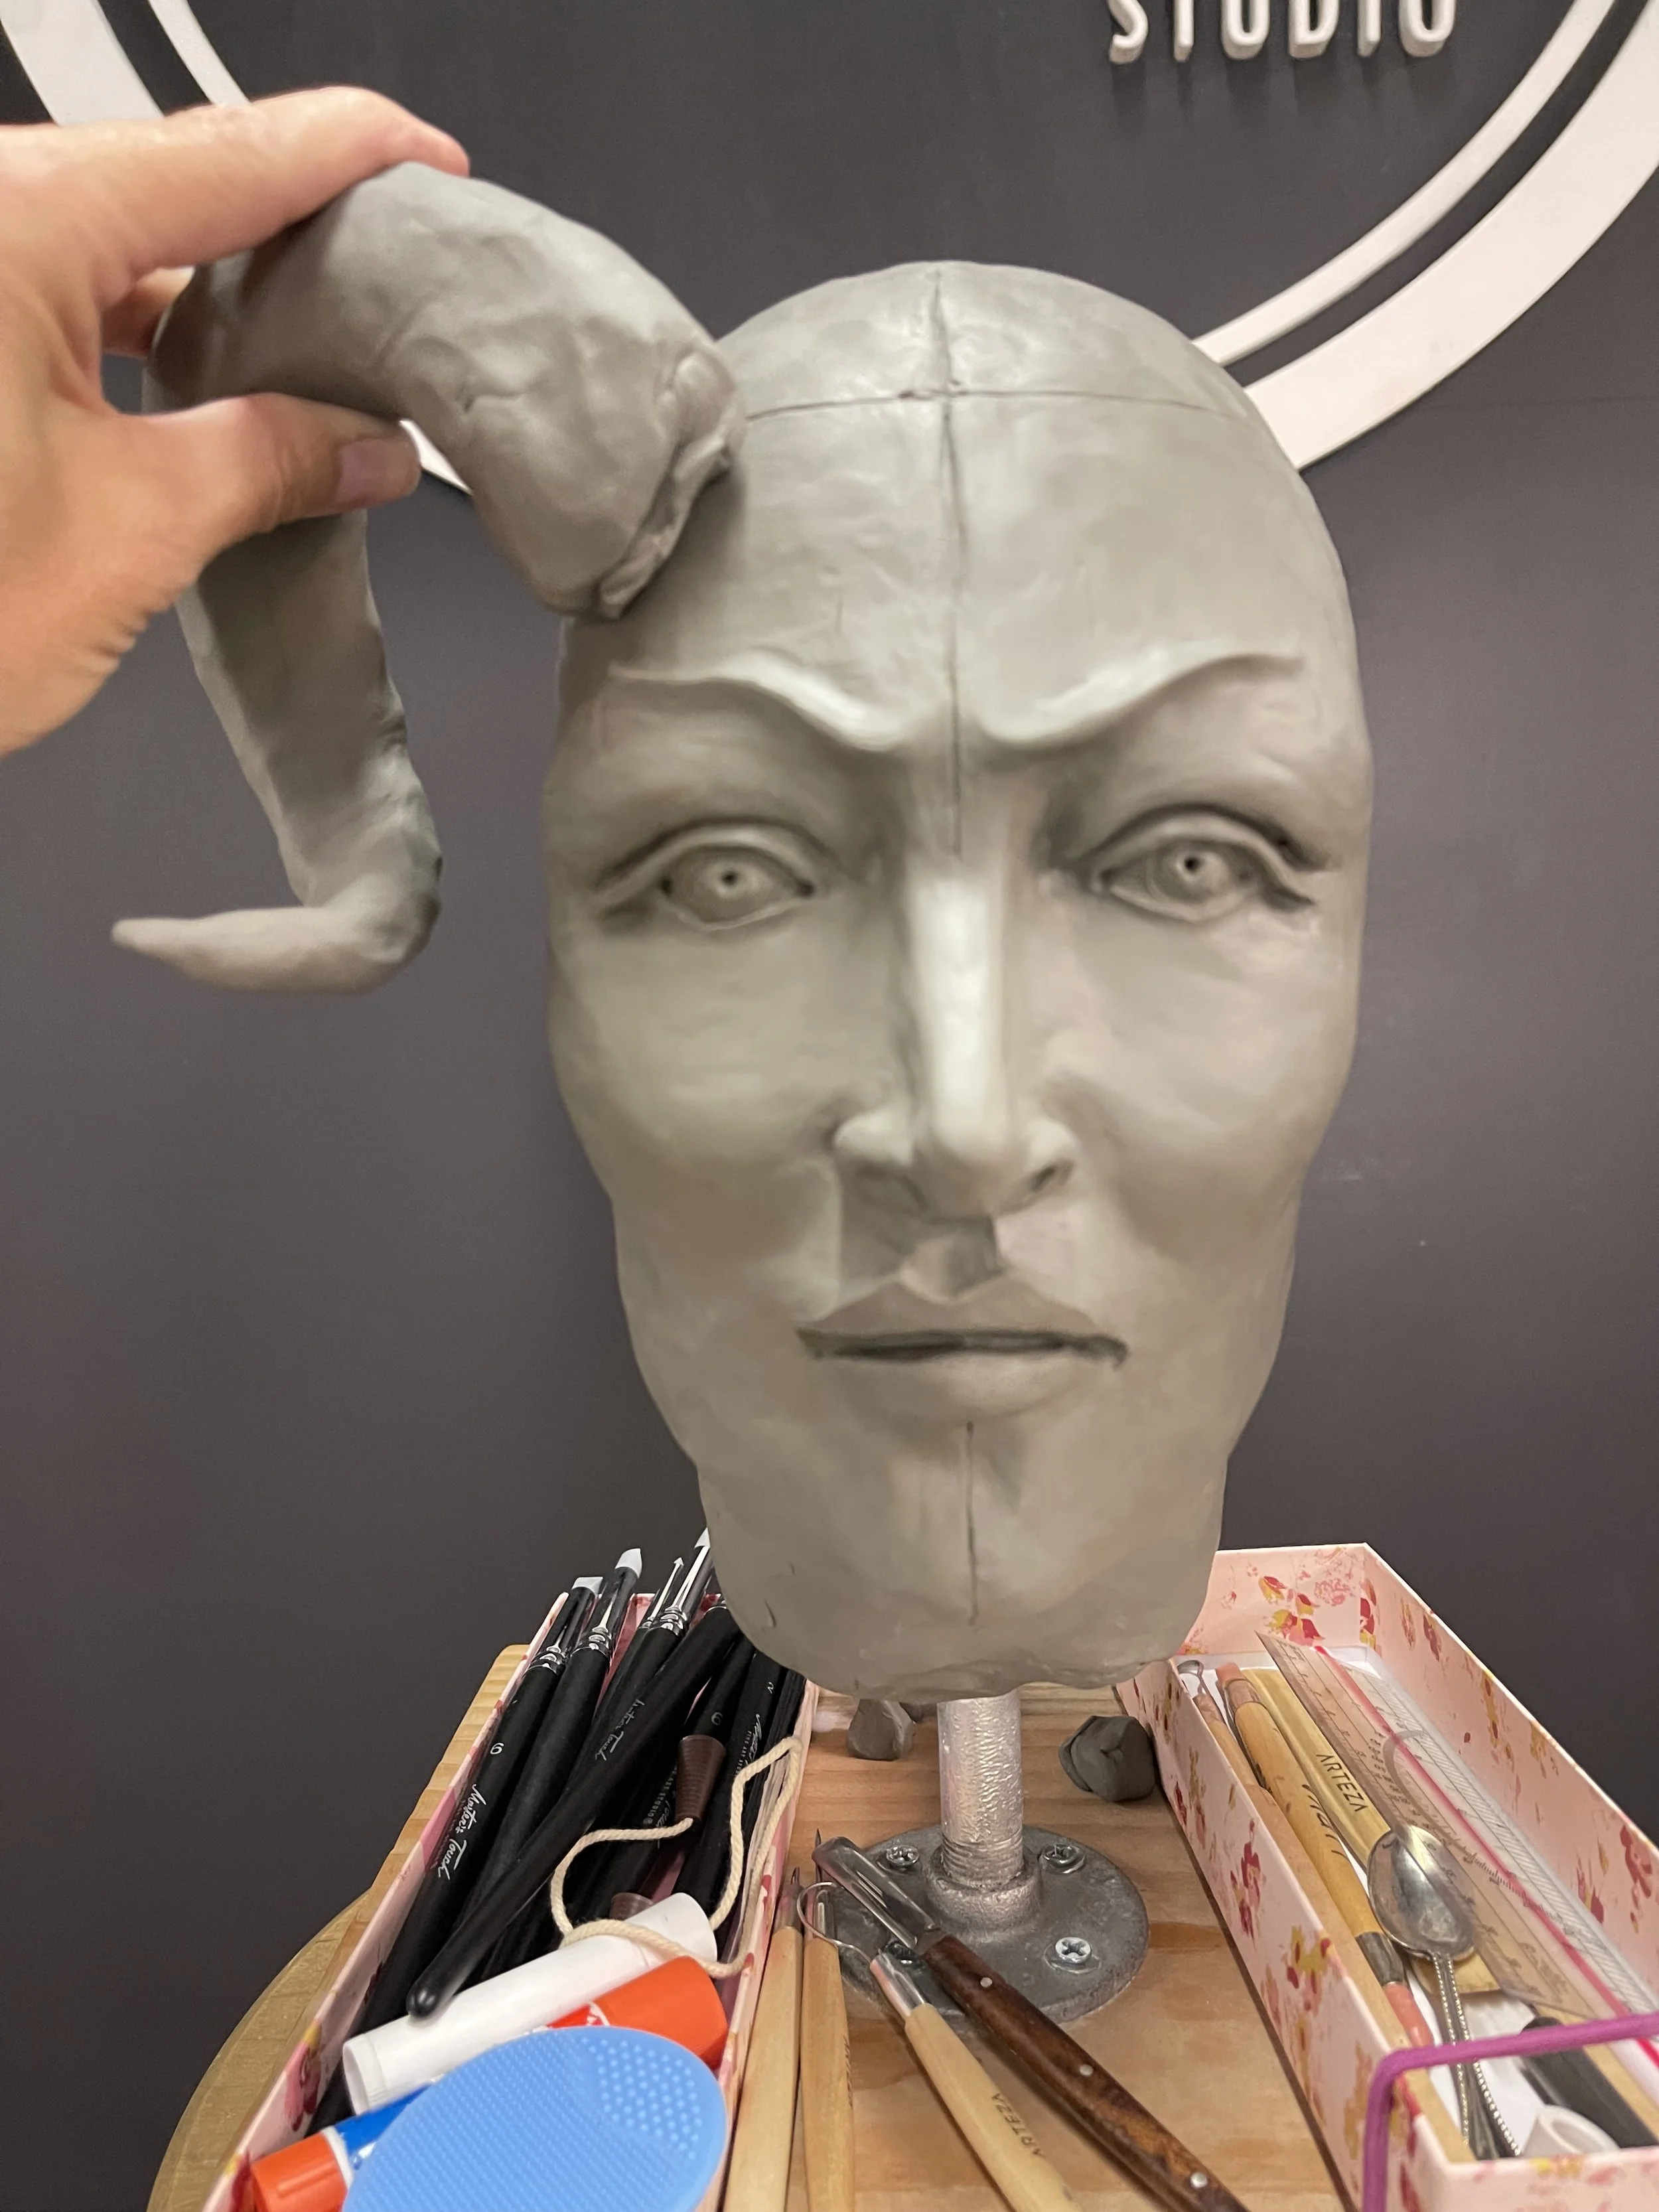
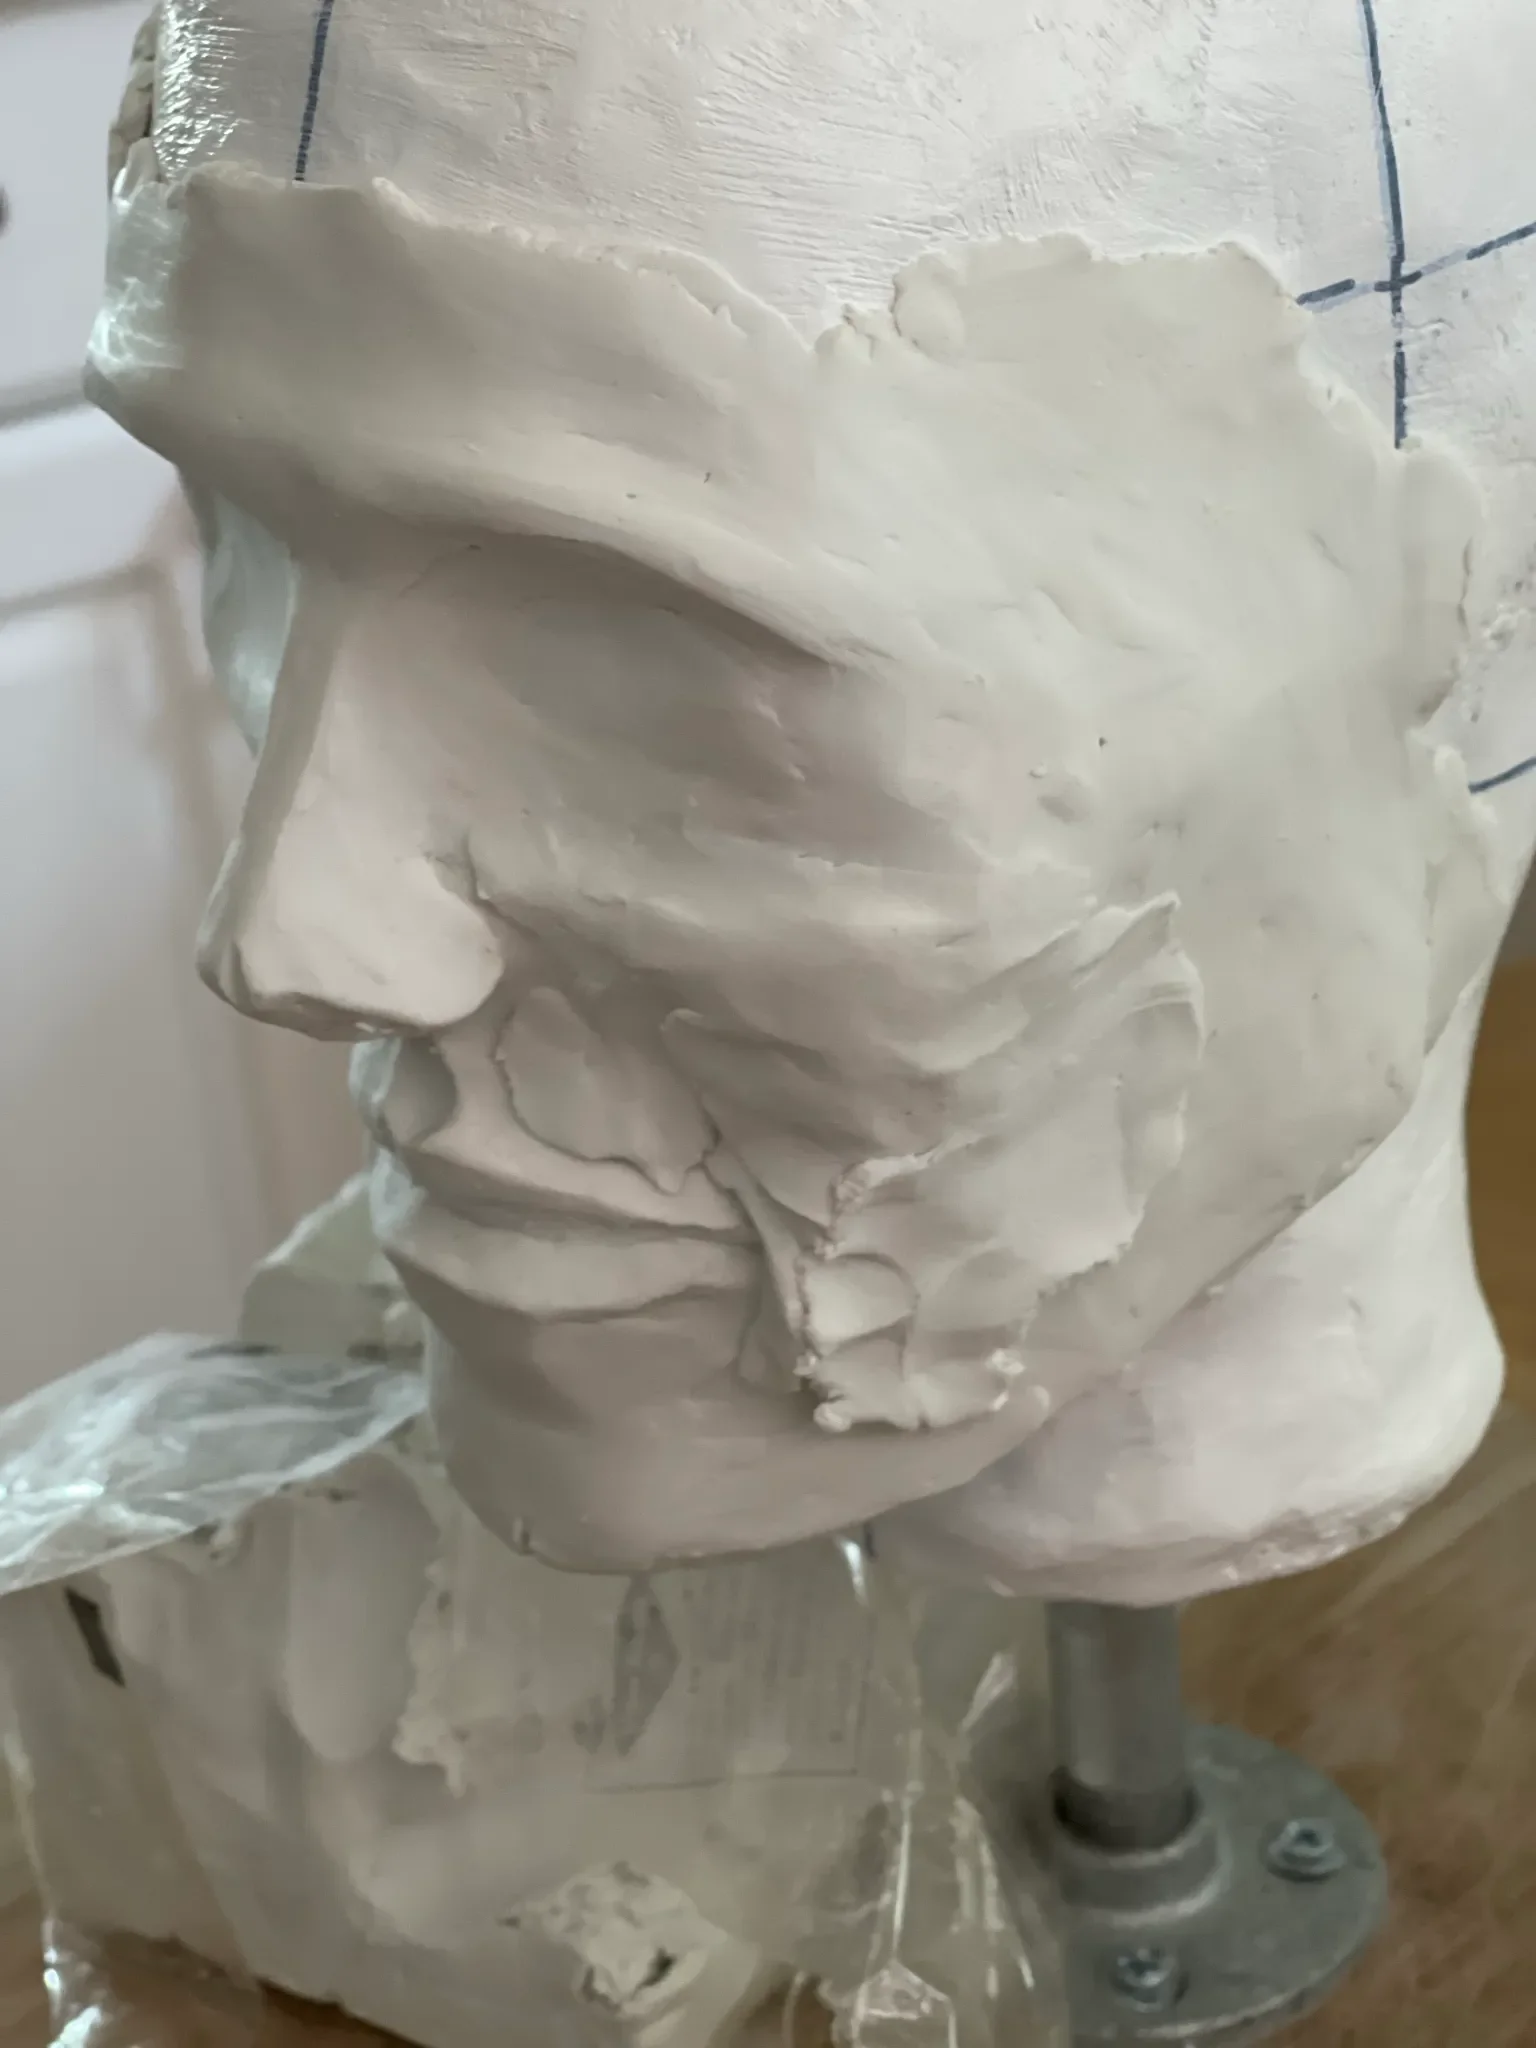
Version 2 before use
Version 2 before use
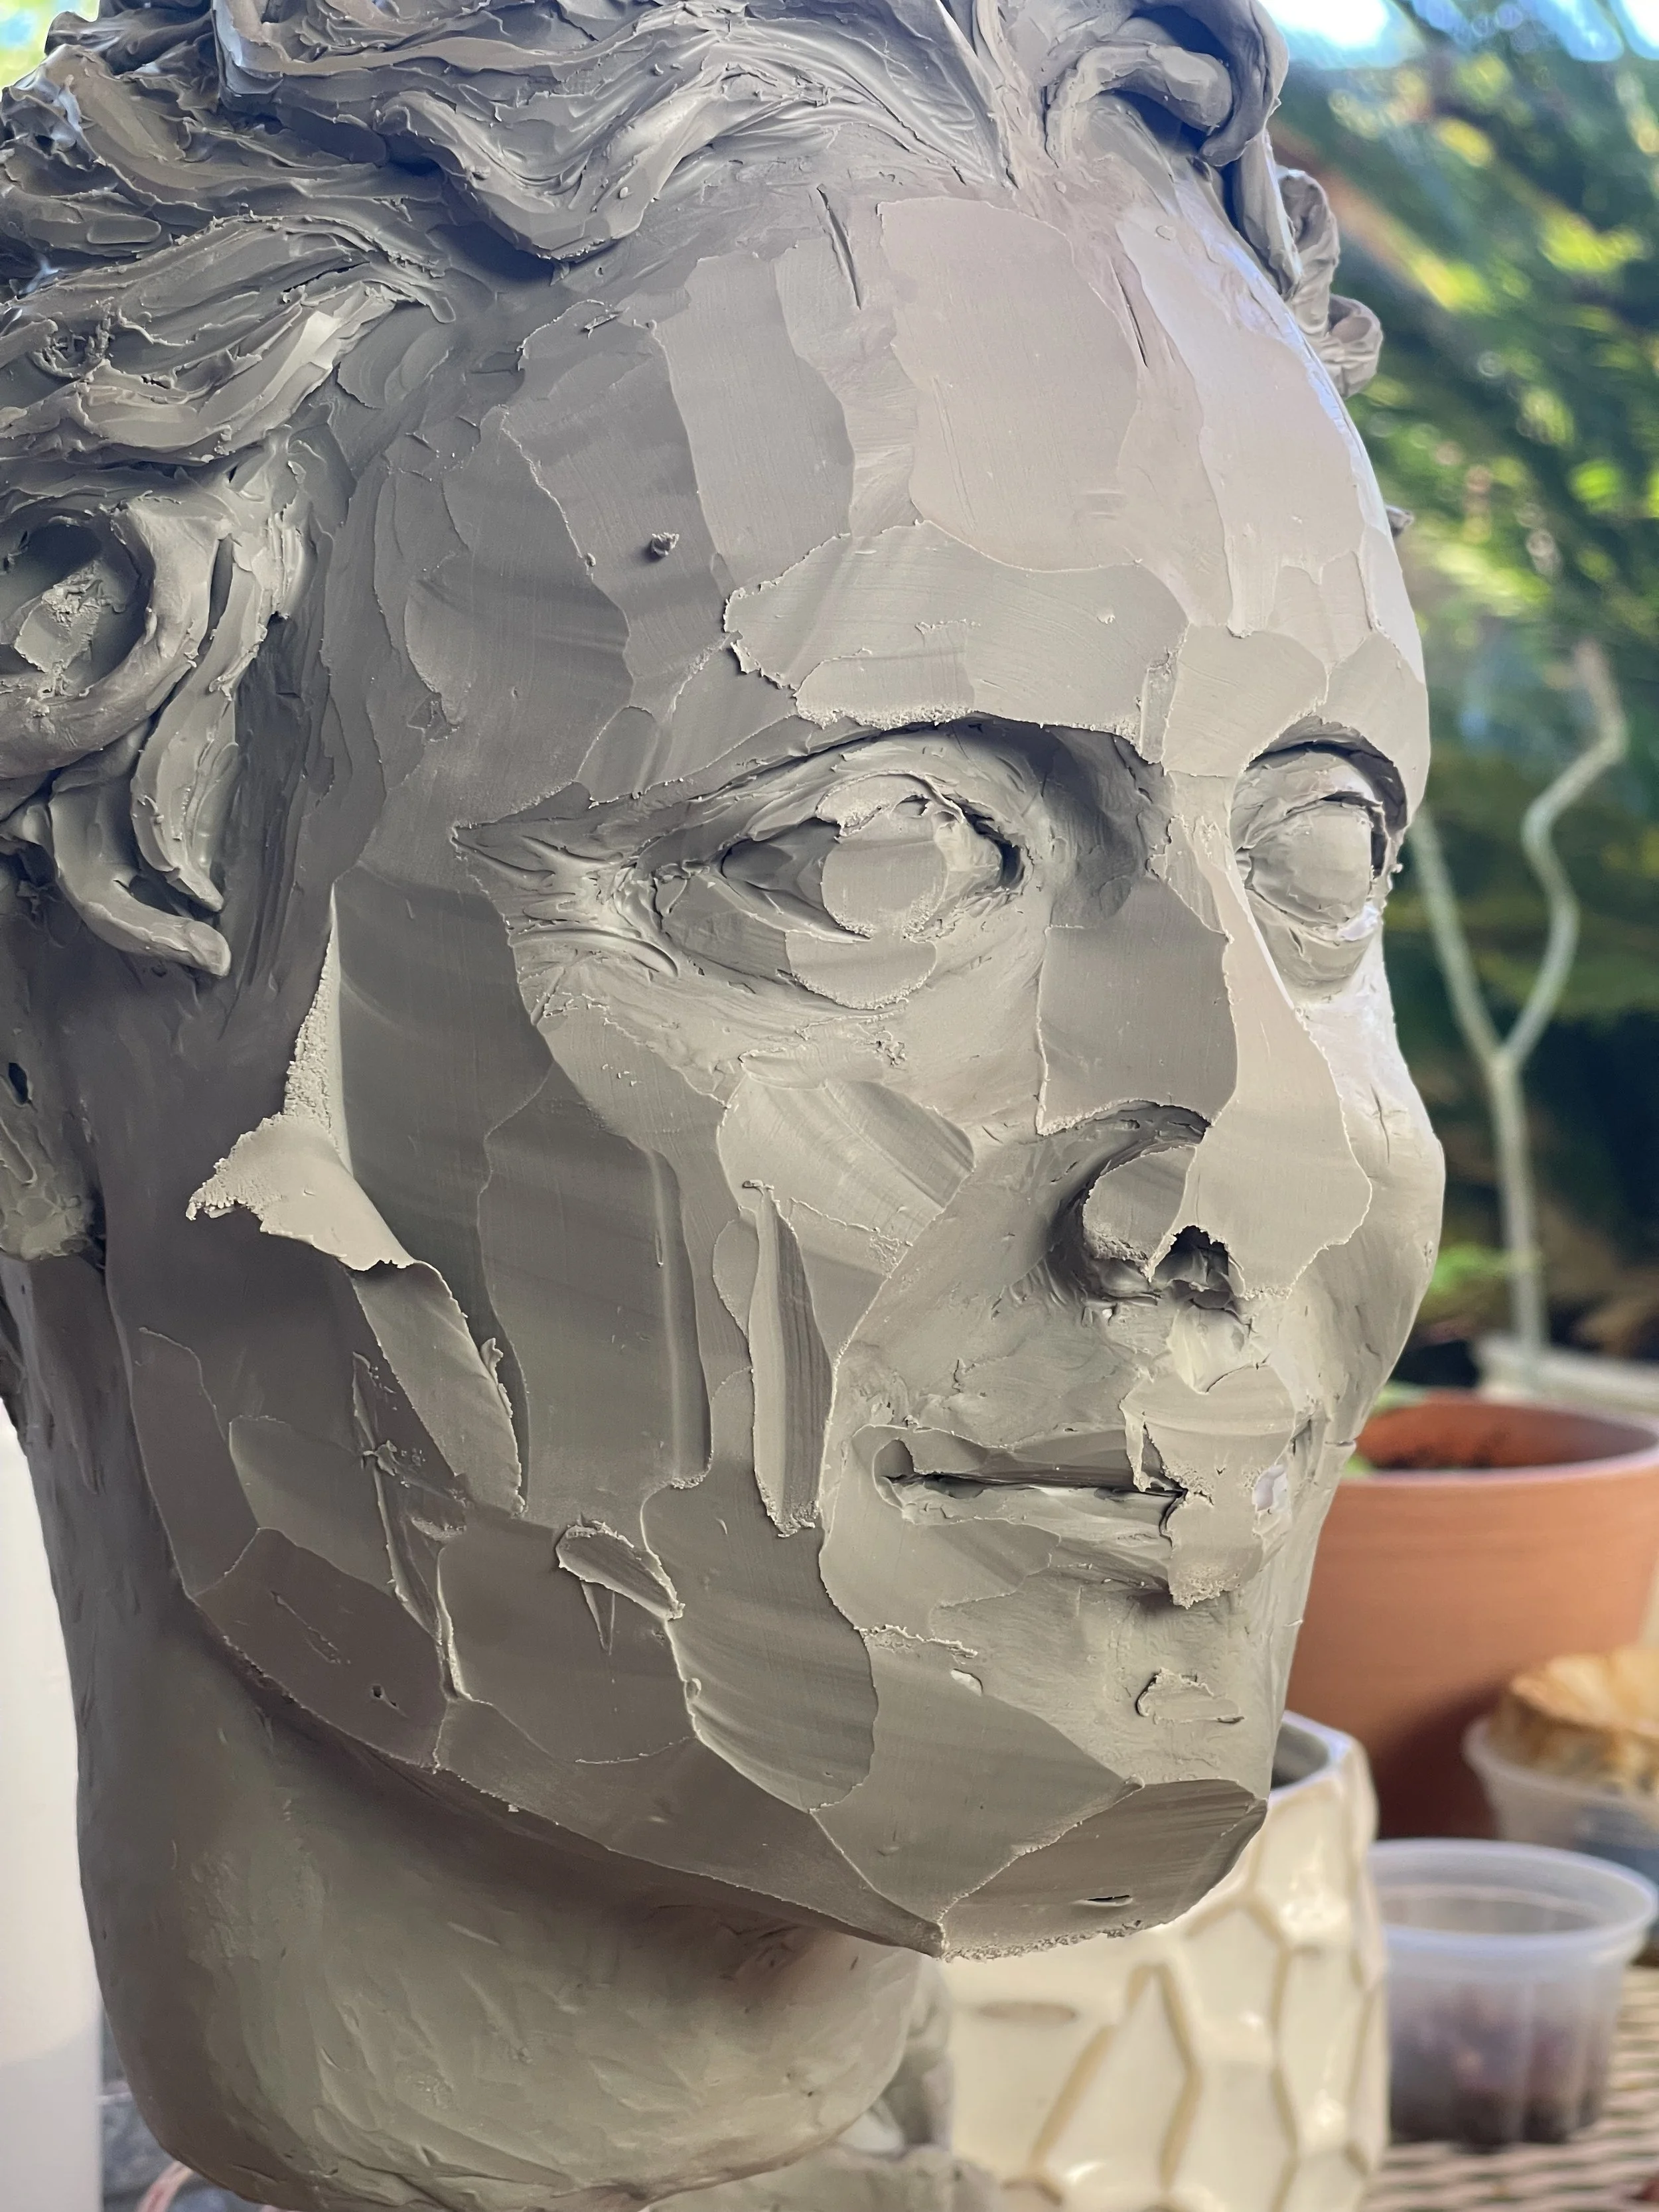
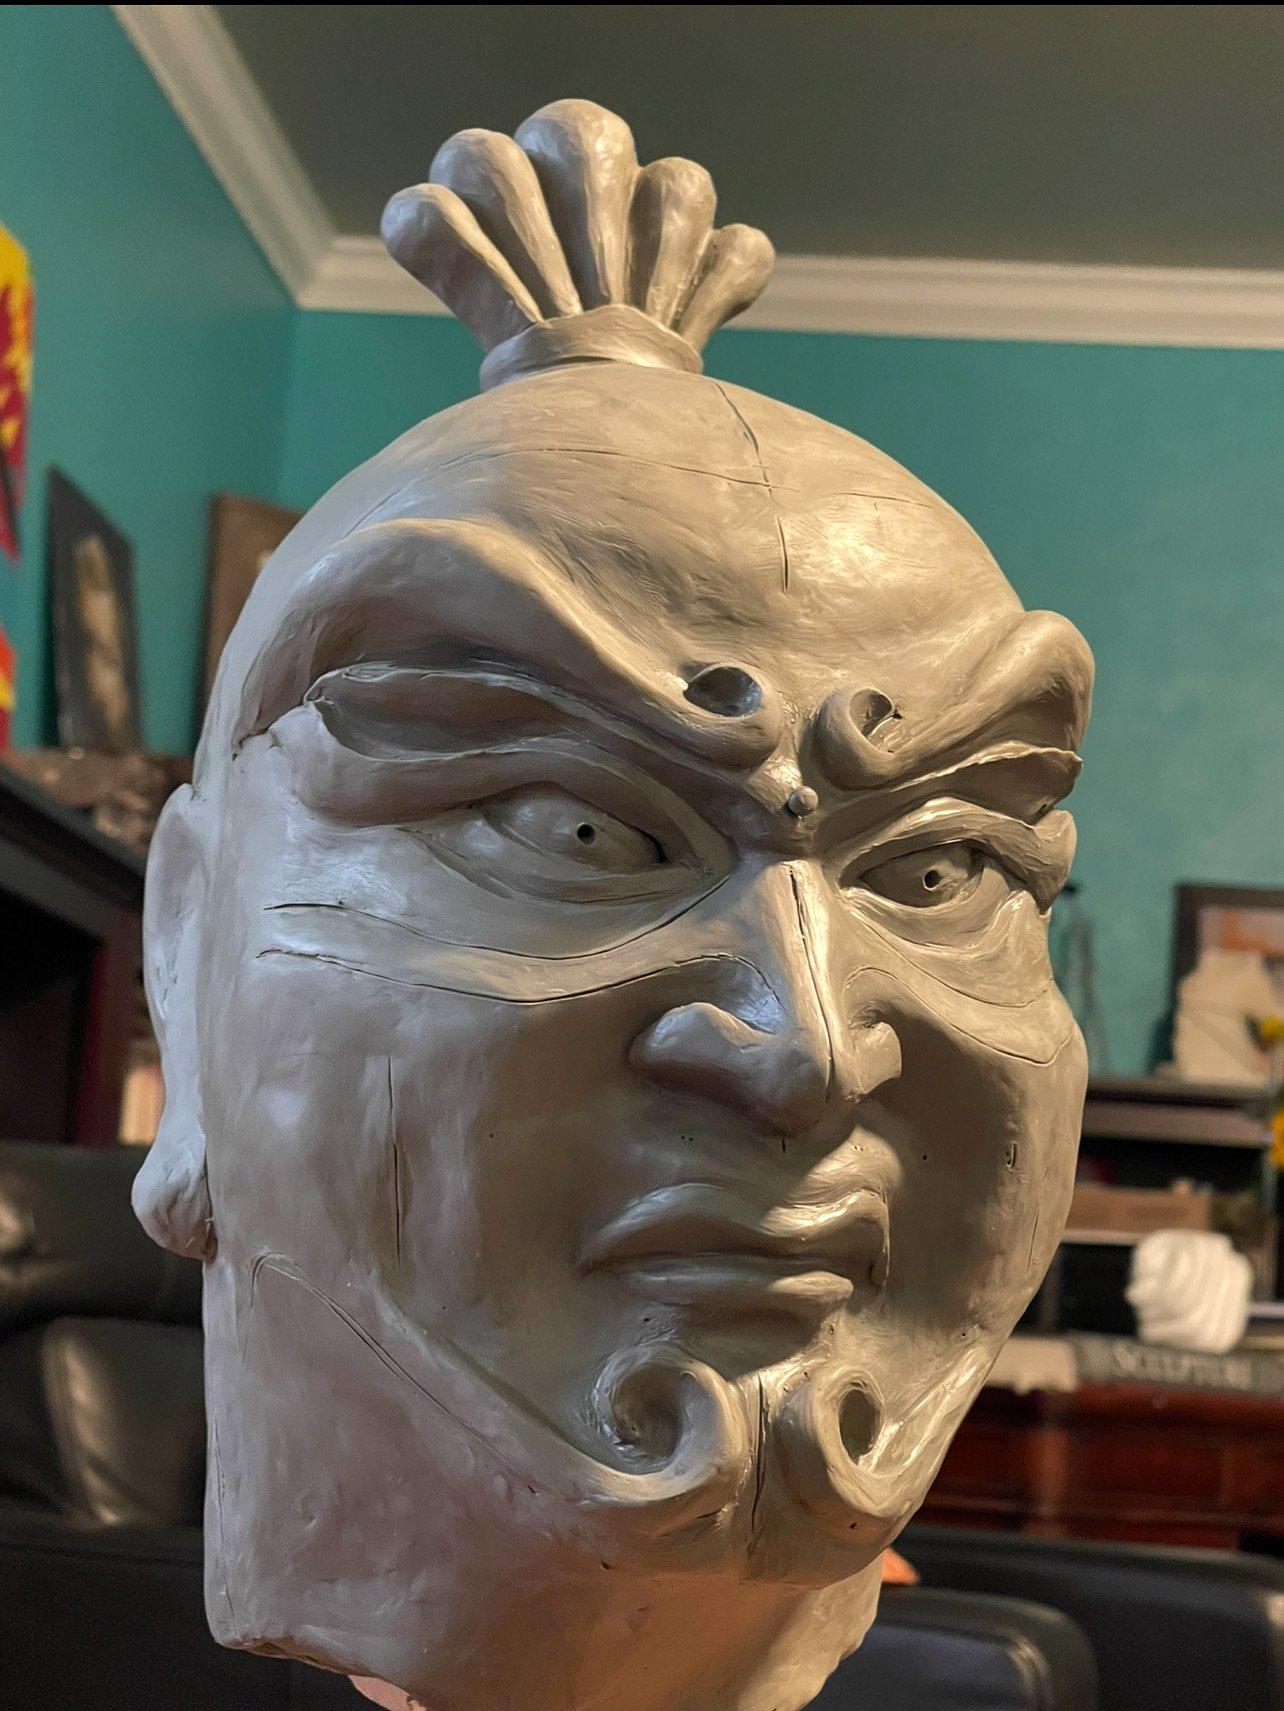
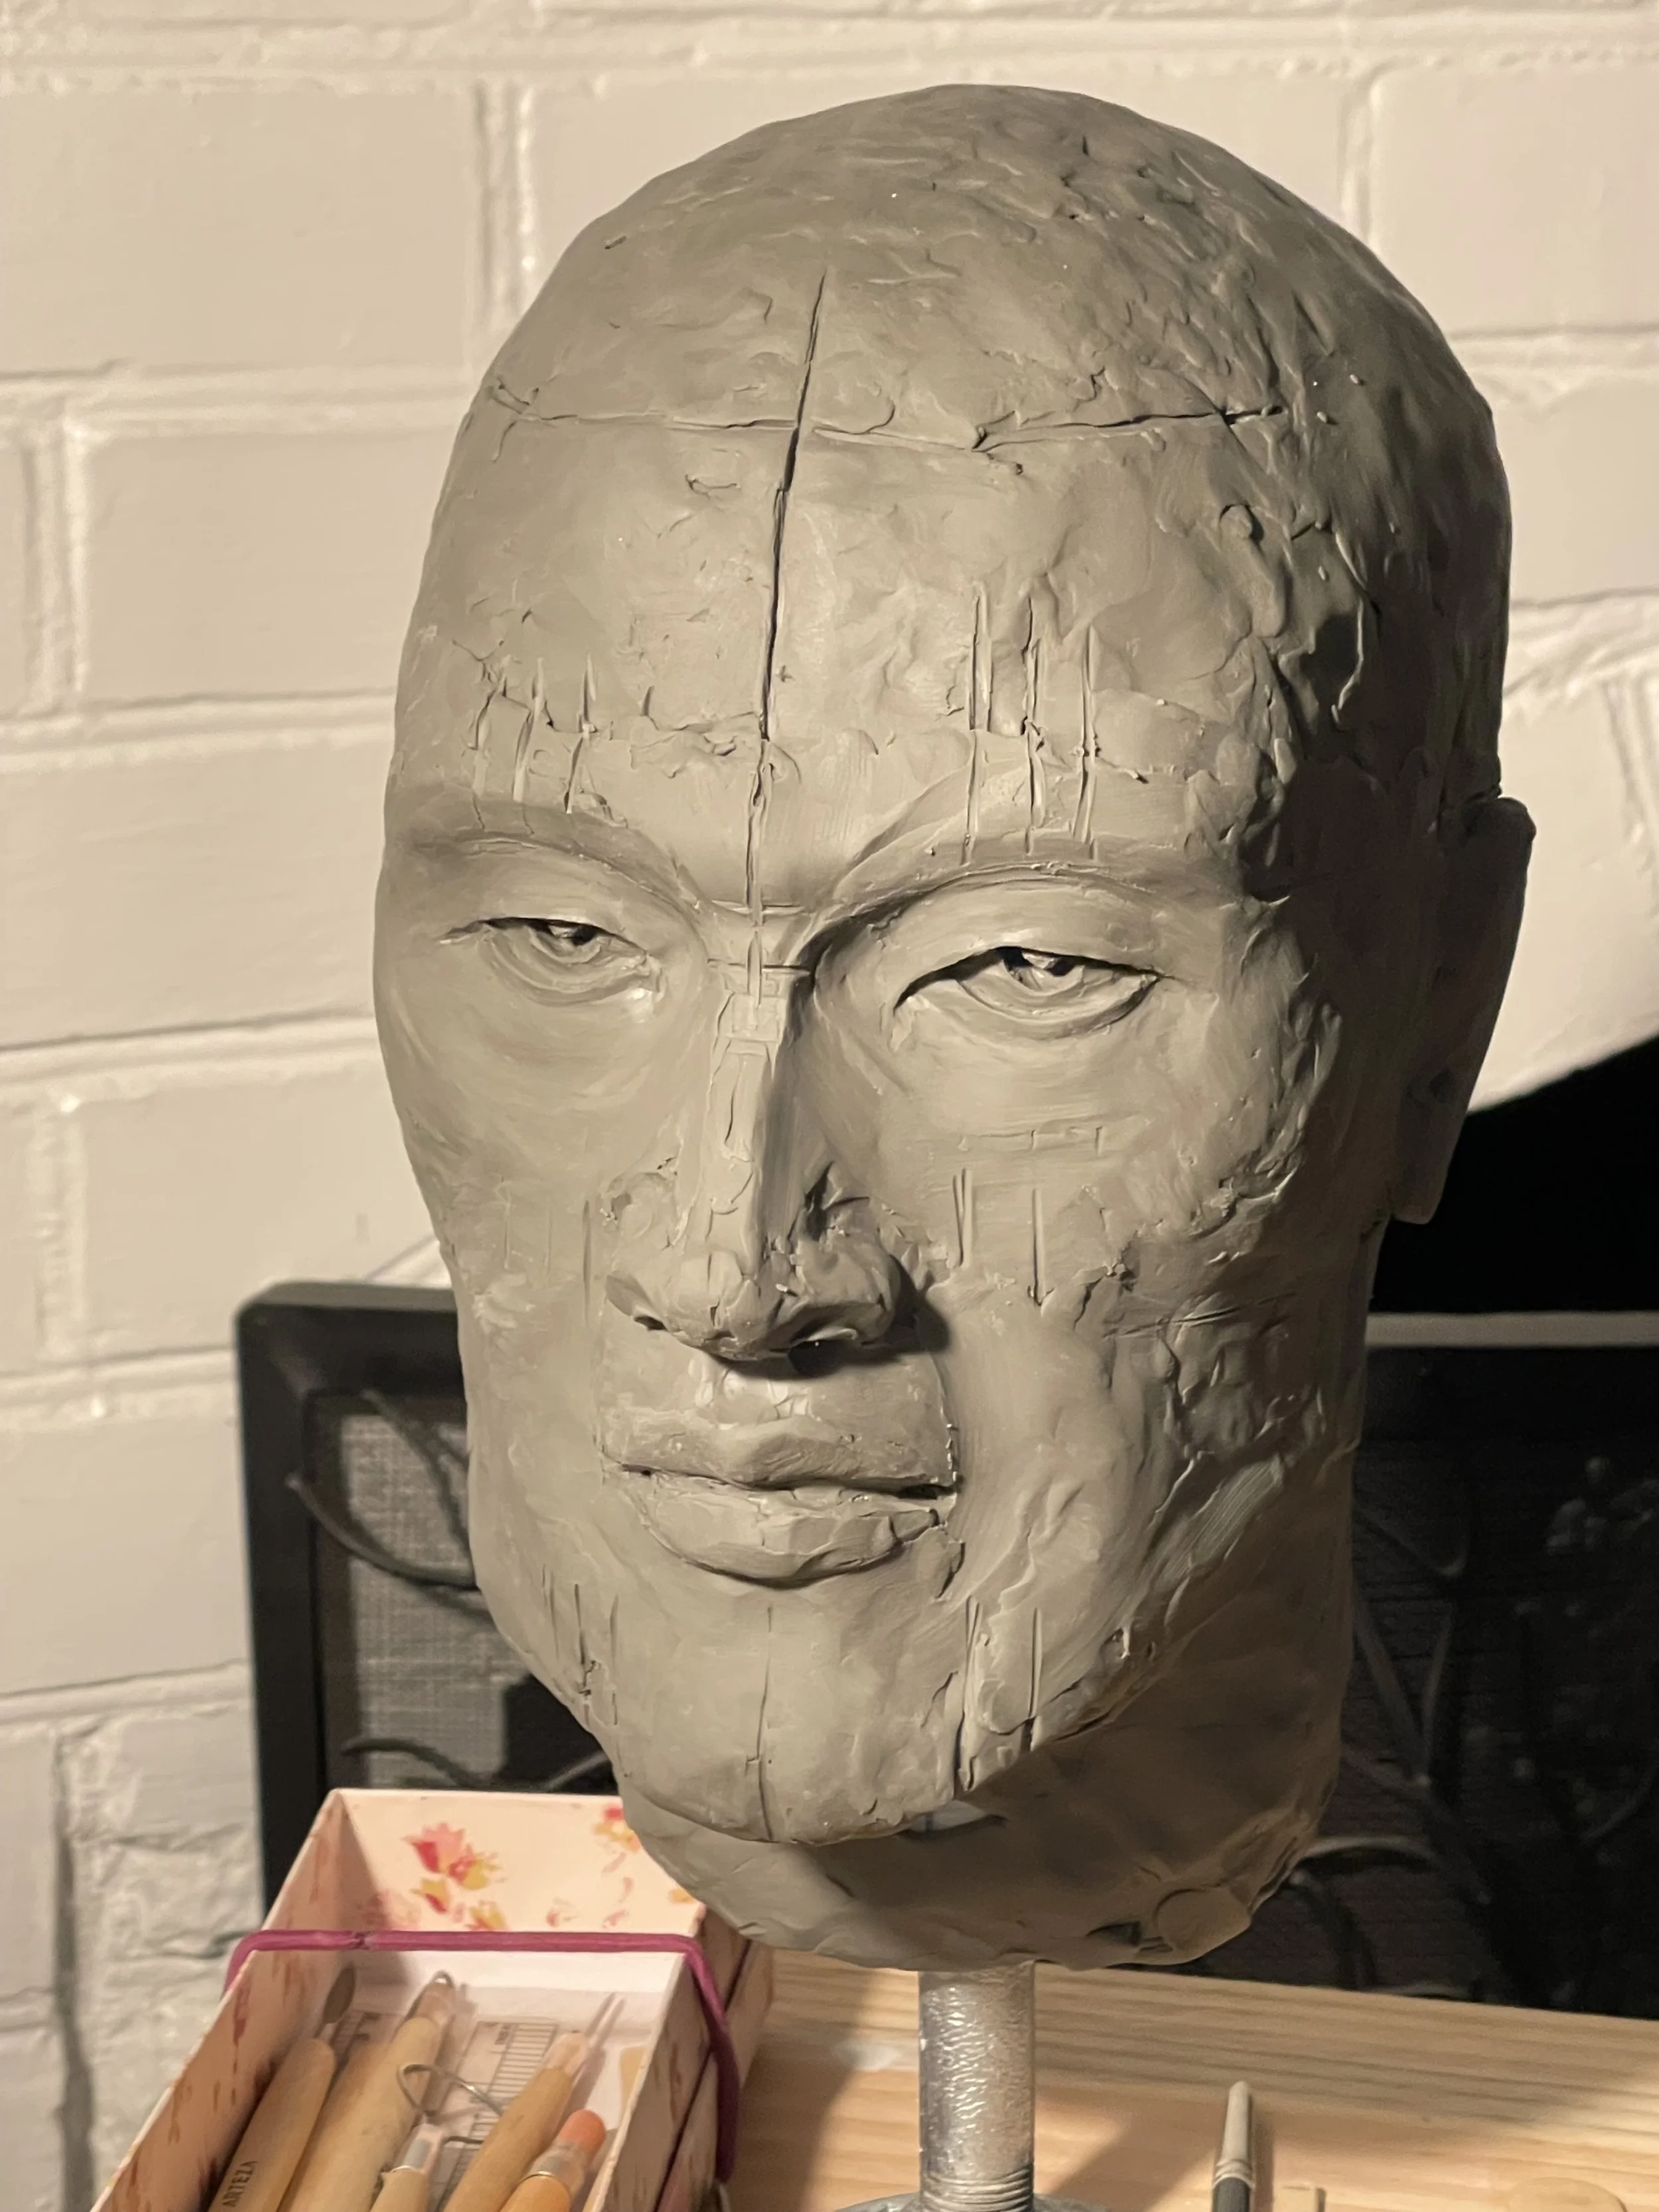
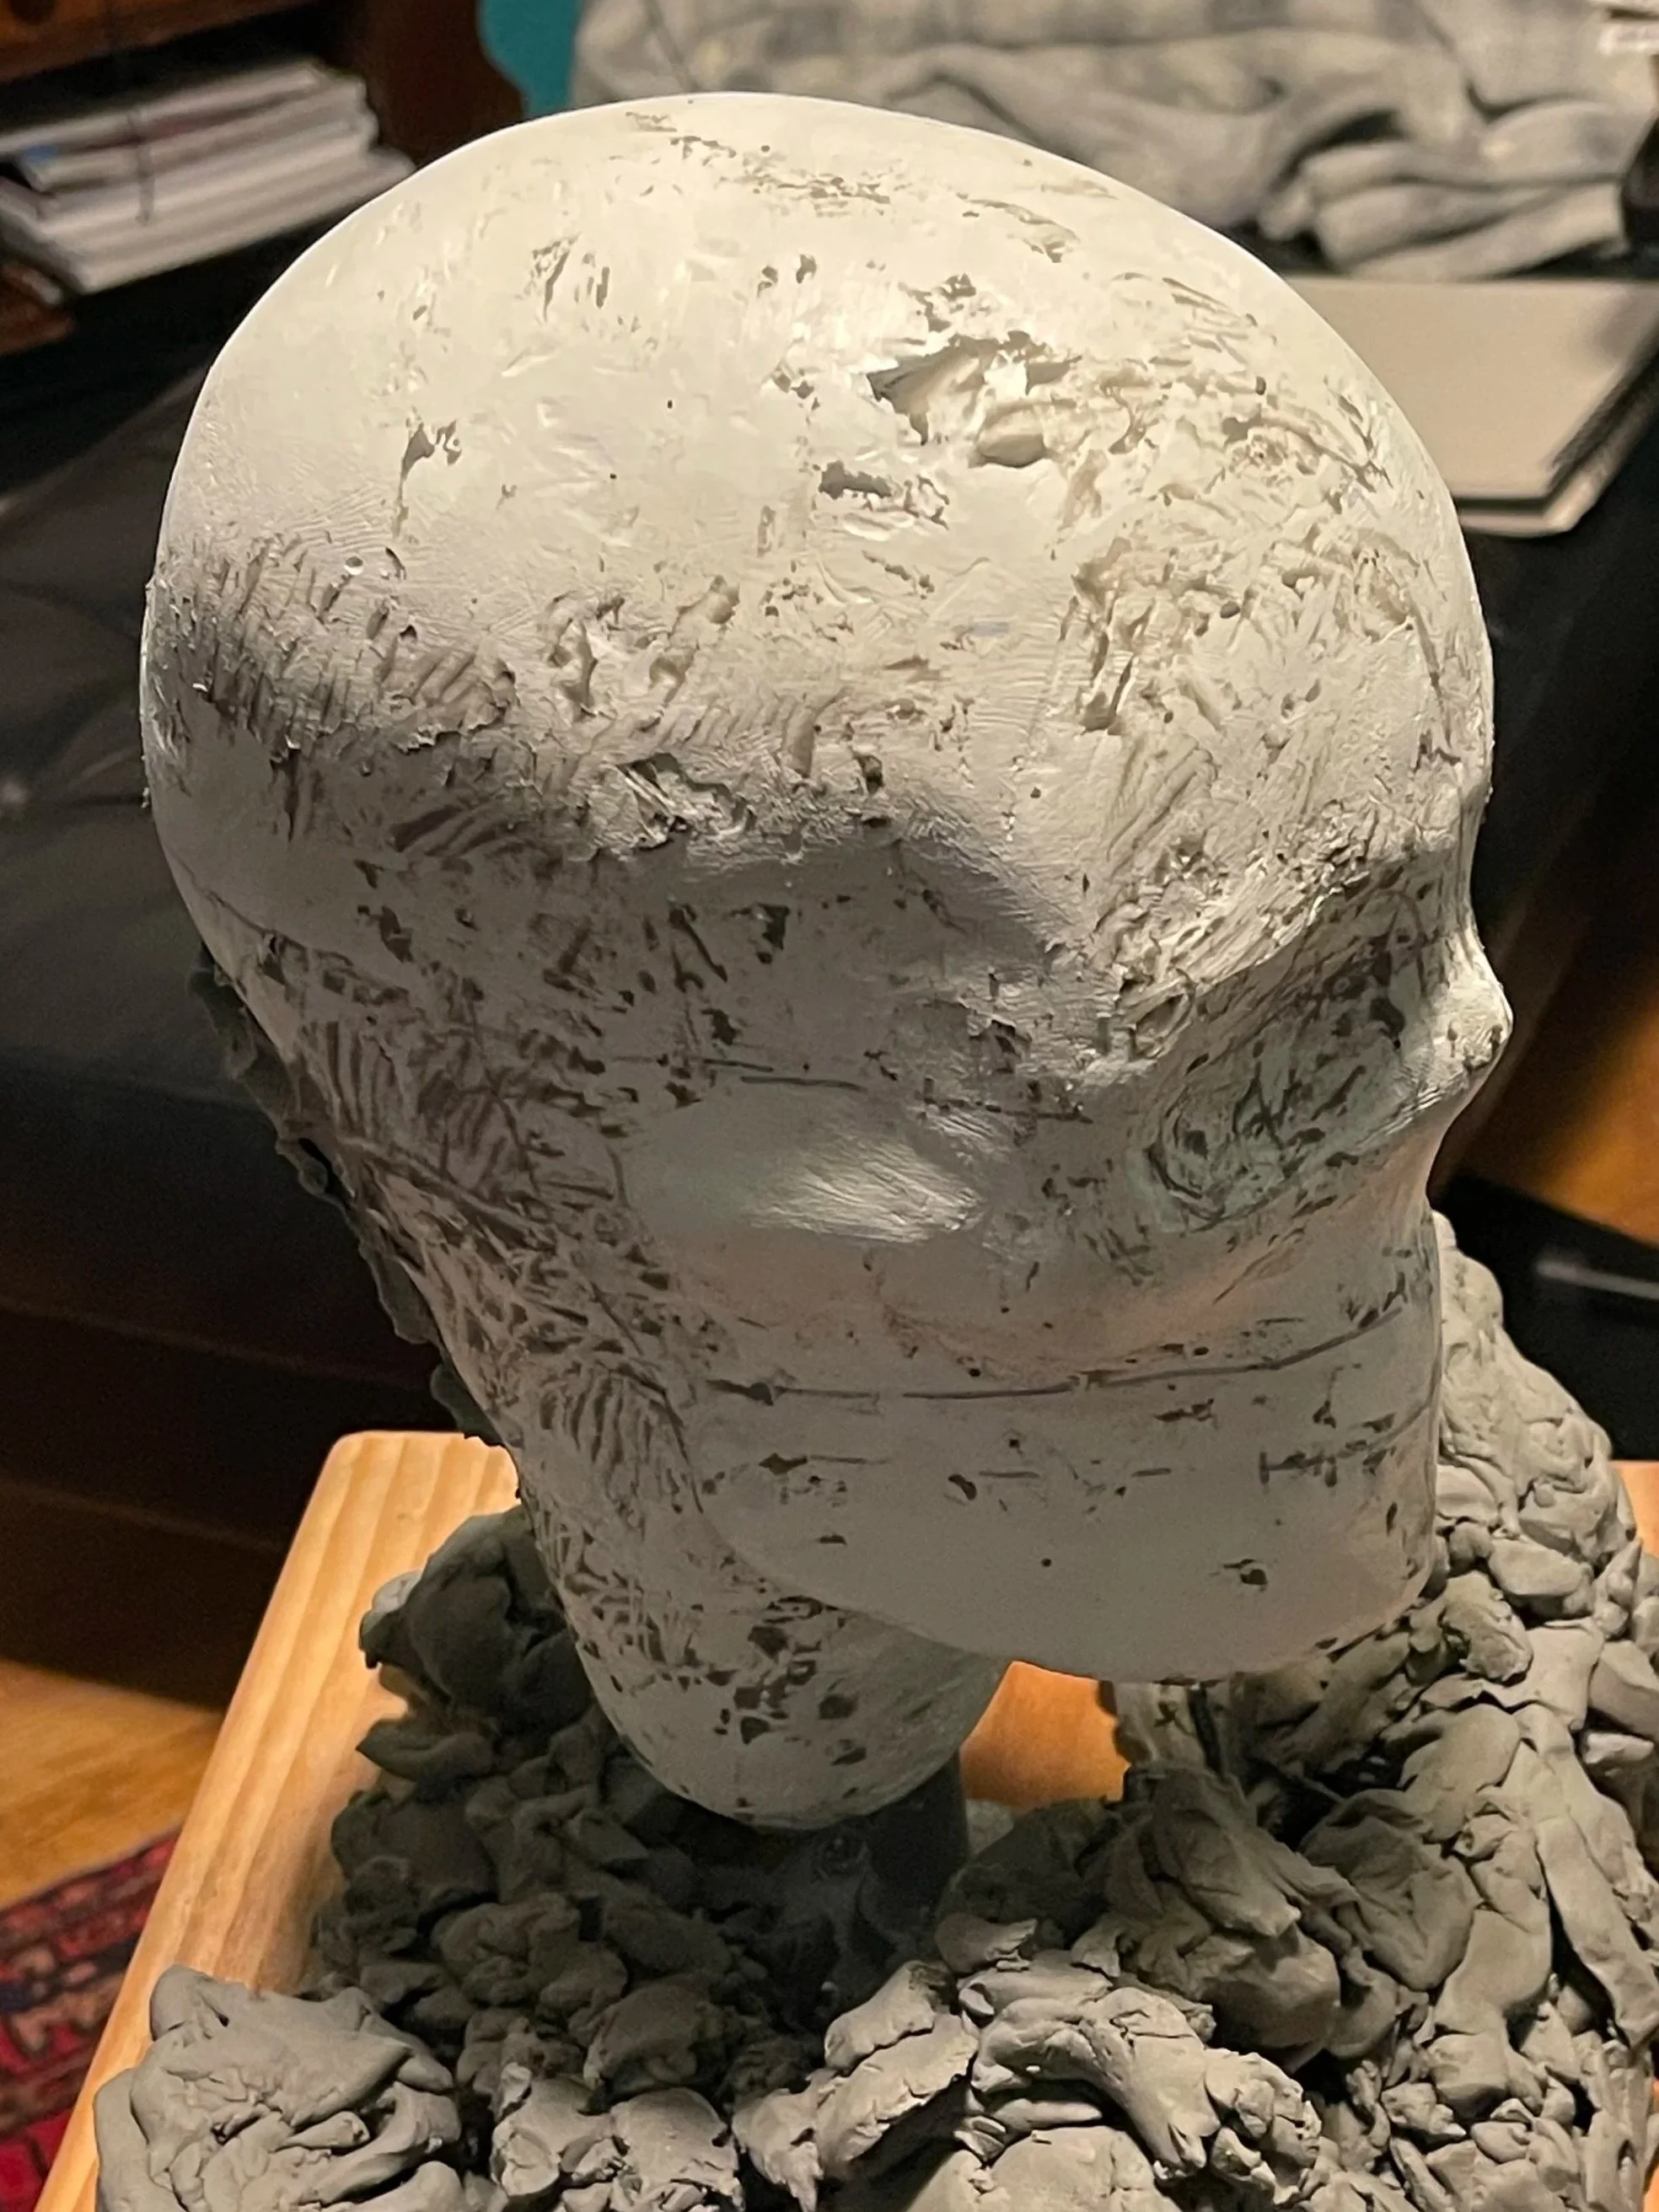
Removing the oil clay in cuts can reveal interesting lines on a face.
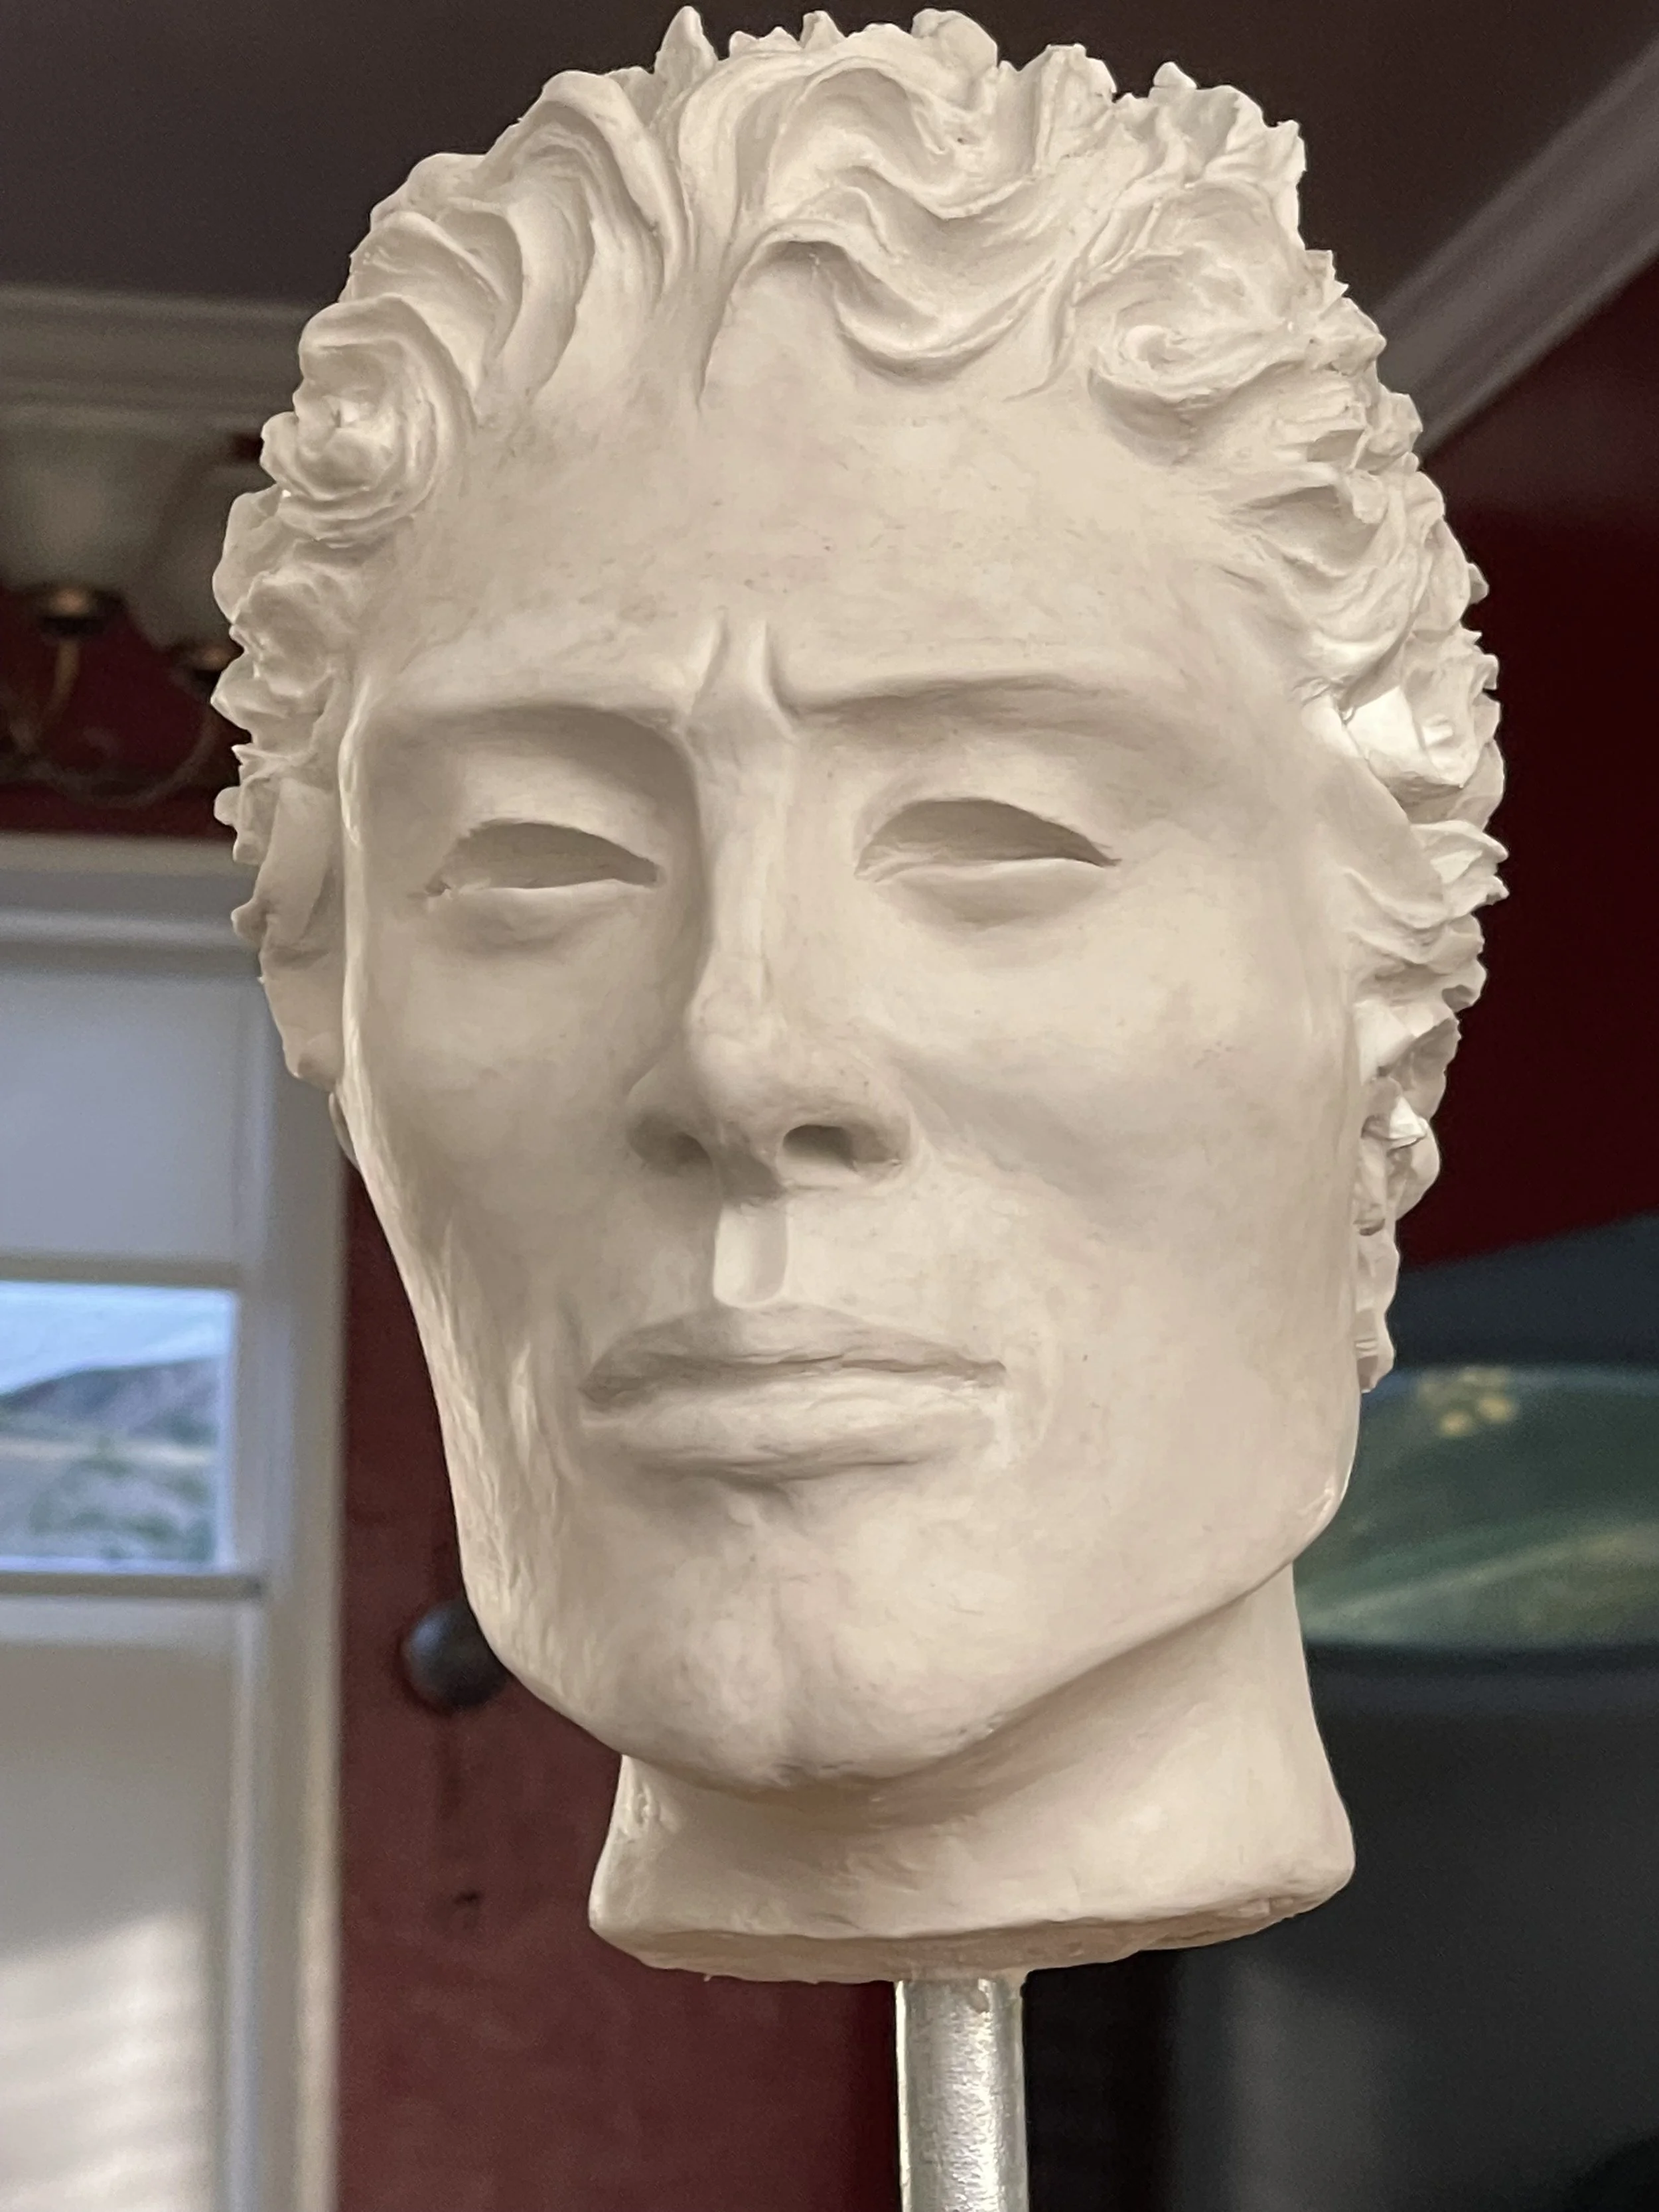
The first time using the form, I realized it was just what I needed!
The goal here is to use what you have on hand to make the head. Things you might find in your recycling bin work well, like wadded up paper, cereal boxes and a paper cup. I used cheap dollar store masking tape to cover the base form that I then used to make the plaster cloth form.
My jawline is a bit uneven and the form isn’t perfectly symmetrical – but I am alright with that as the oil clay covers those imperfections.
I hope you found this explanation interesting and helpful. Please, let me know if you make an armature.
Happy sketching!
© 2026 Jill HH Lipka. All rights reserved.